Cross Stitch for Beginners in 7 Practical Steps
Cross Stitch for Beginners in 7 Practical Steps
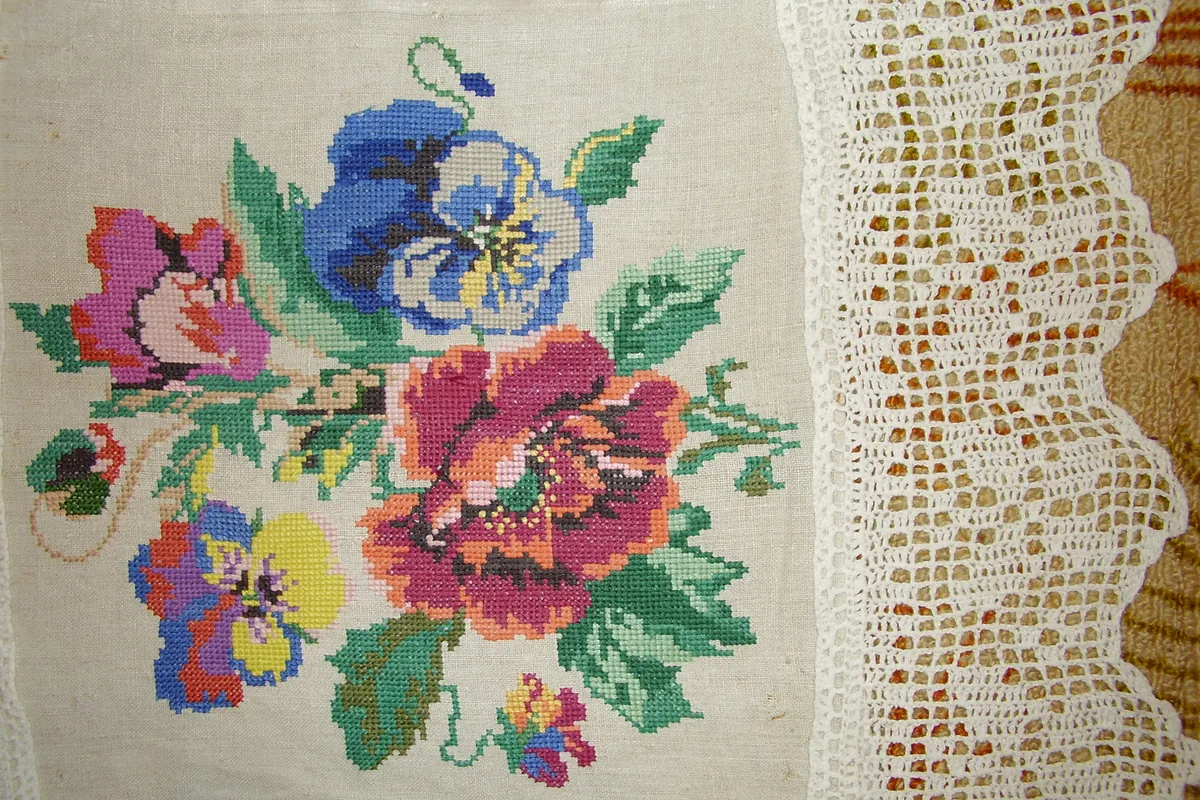
The blue and pink flowers above are built from small crossed stitches. Their many colors may look ambitious, but the basic movement is the same X you can learn on a scrap of fabric. This guide to cross stitch for beginners walks you through a nine-stitch practice square, with a check after every stage. The licensed photographs show materials and reference projects; they are not photographs of our practice square.
Cross stitch is a counted form of embroidery: you follow a grid to place stitches. If you prefer tracing a design and combining several stitch shapes, our hand embroidery guide offers that approach. Here, keep your first goal small: three tidy rows, secured thread, and fabric that stays flat.
In This Guide
- Gather a Small Cross Stitch Kit
- Read the Chart Before You Stitch
- Find the Center and Support the Fabric
- Separate the Floss and Make a Loop Start
- Complete Your First X
- Build Three Rows and Check Your Counting
- Secure the Thread and Inspect the Result
1. Gather a Small Cross Stitch Kit
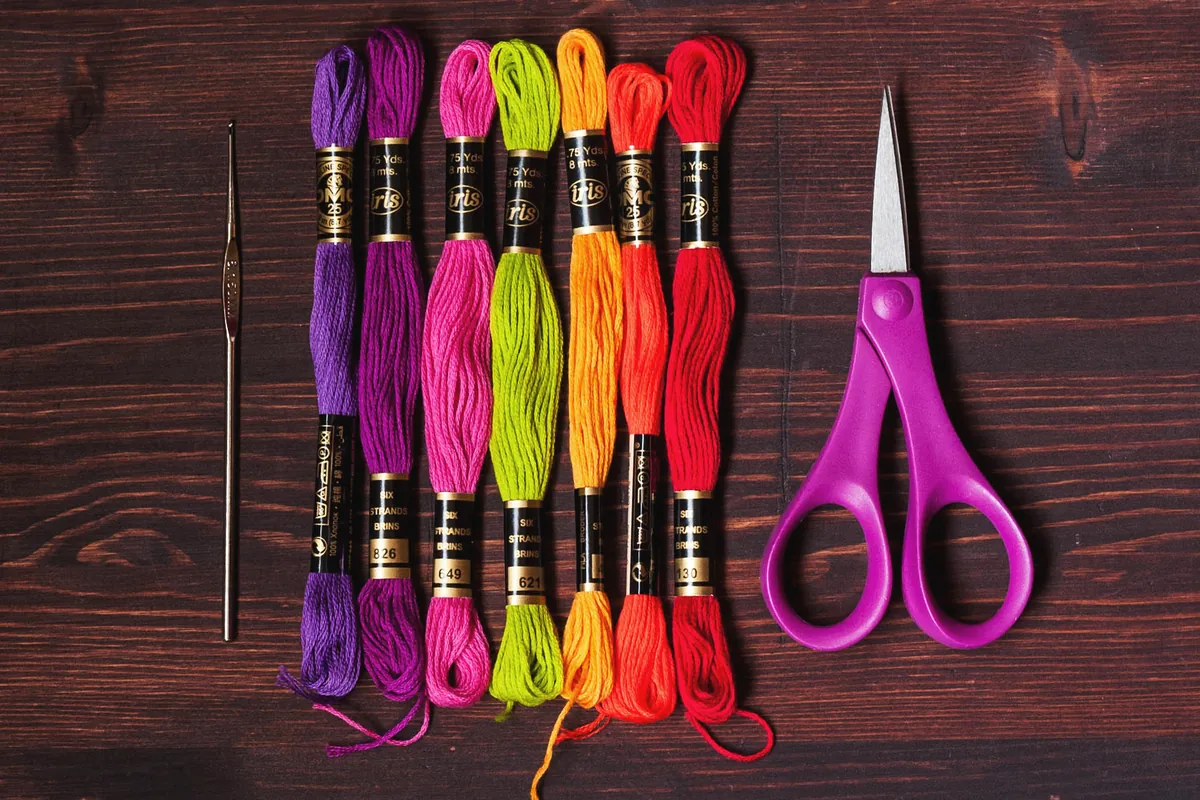
The floss and scissors in this photograph cover two of your basics; add light-colored 14-count Aida, a blunt tapestry needle, and a small embroidery hoop. Choose a needle that slips through the fabric holes without forcing them wider. Aida has a visible grid, and “14-count” means 14 stitch spaces per inch. DMC recommends 14-count Aida for beginners. For this practice, use one solid floss color that contrasts with the cloth. You do not need every color in the photograph.
Set aside an 8-inch square of Aida and a 4-inch hoop for a small practice patch. This leaves fabric to hold outside the ring. Keep the floss label so you can identify the color later. Ready check: you can see the holes clearly in your working light, and the needle passes through one without a hard push.
2. Read the Chart Before You Stitch
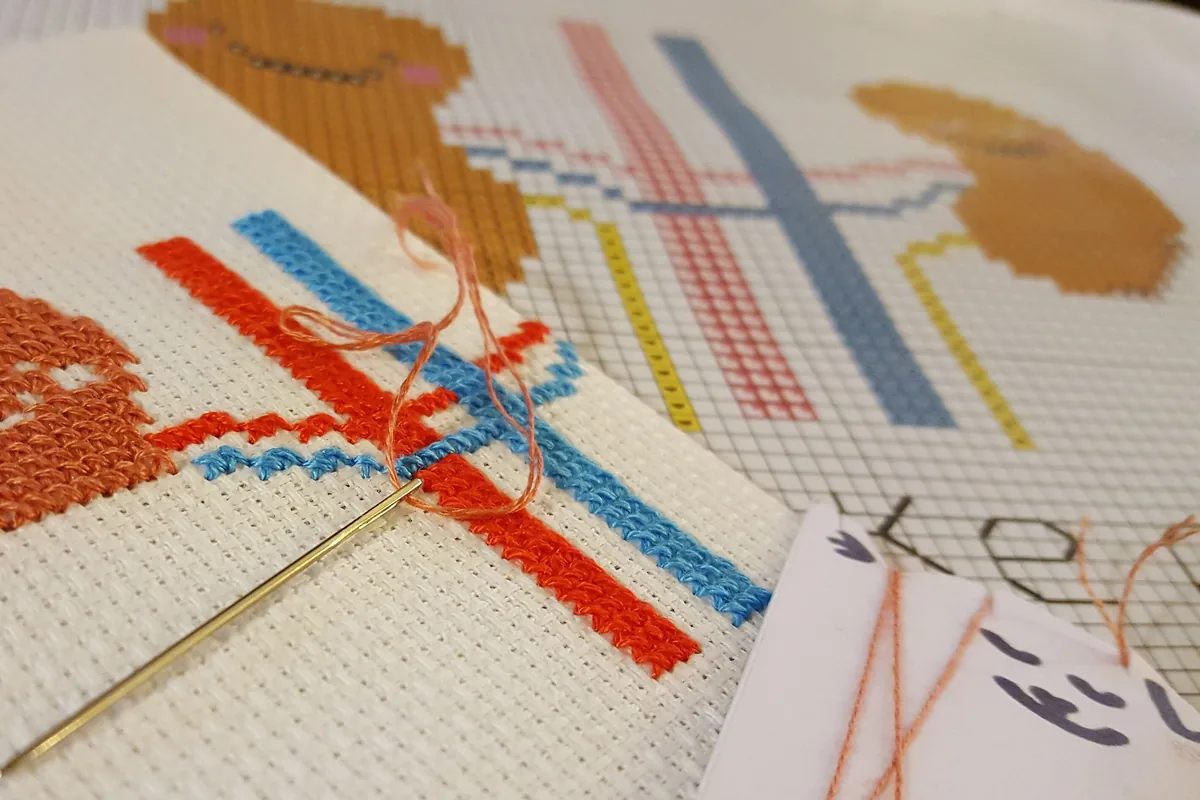
The paper grid behind the stitched fabric shows how a design becomes a map. In a basic full-cross pattern, one chart square corresponds to one X on one Aida block. Read the symbol key first: a symbol identifies a thread color, while an empty square usually remains unstitched unless the instructions say otherwise. Some charts also include lines or partial symbols for other stitches, so choose full crosses only for your first project. DMC’s chart-reading guide explains those differences.
For this tutorial, make a simple practice chart on paper: draw a three-by-three grid and place an X in all nine squares. Use one color throughout. Label the rows A, B, and C from top to bottom and columns 1, 2, and 3 from left to right. This is a counting exercise, not the larger design in the photographs. Ready check: your chart contains nine full crosses and no empty spaces.
3. Find the Center and Support the Fabric
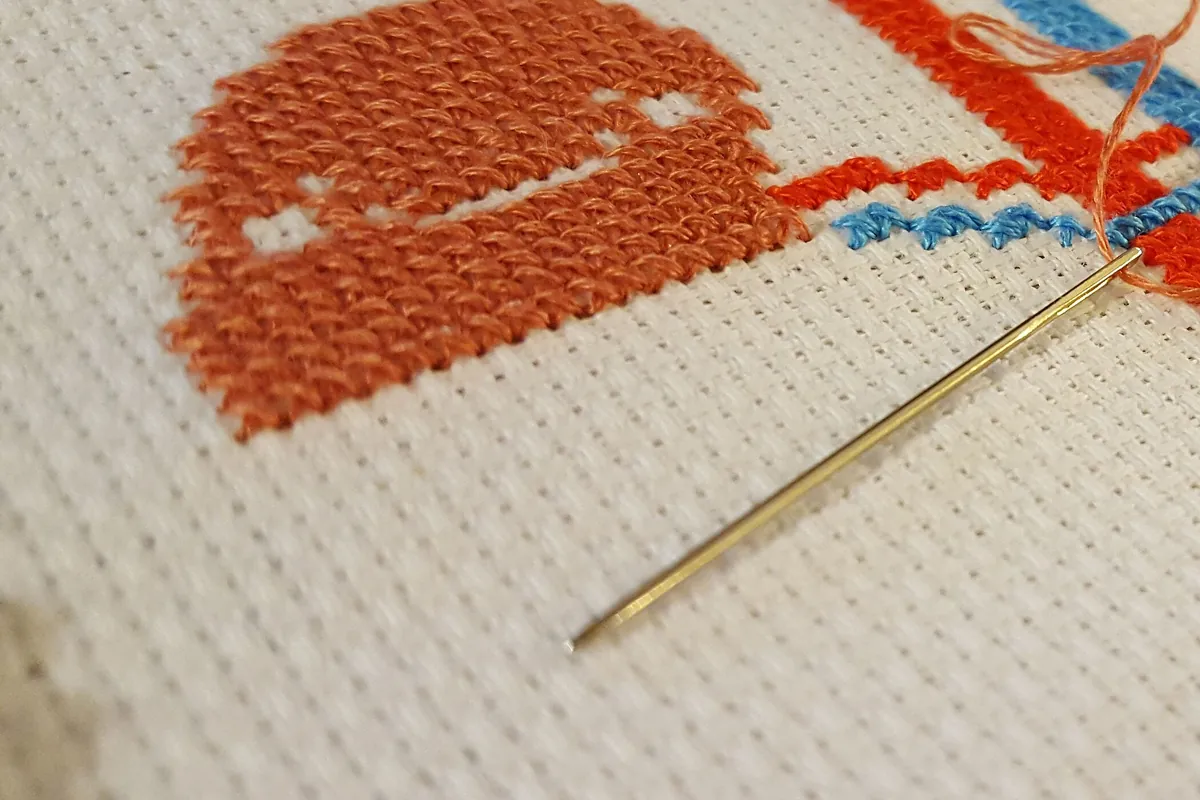
Look at the uncovered Aida beside the needle: the holes define the corners of each stitch space. Fold your fabric in half both ways, then unfold it to find the center. For the tiny practice patch, choose the nearest whole Aida block as the center block, B2. Its top-left neighbor is A1, where you will begin. Place the fabric over the inner hoop, press the outer ring over it, and tighten the screw. Adjust until the cloth lies evenly taut without pulling the grid out of square.
DMC’s fabric preparation guide recommends allowing at least three inches around a design intended for mounting and framing. Larger patterns therefore need more fabric than this practice exercise. Finish fraying edges with a simple overcast or zigzag stitch. Ready check: A1 has room above and to its left, and the hoop holds the fabric without visible sagging.
4. Separate the Floss and Make a Loop Start
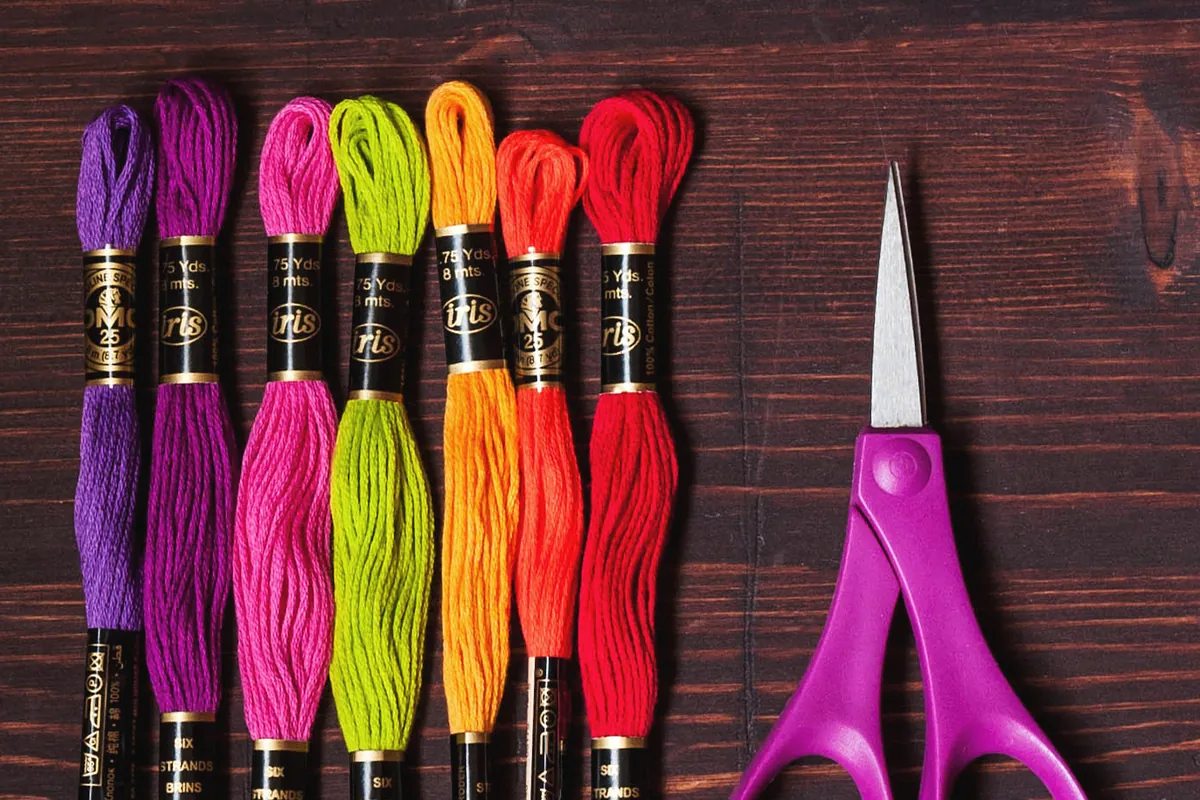
Each colorful skein contains several finer strands; do not thread the whole bundle through the needle. For this two-strand exercise, cut about 30 inches of solid-colored six-strand floss, separate one strand, and fold it in half. Thread both cut ends through the needle, leaving the fold as a loop at the long end. You now have two strands working together. This is a useful beginner setup; follow the specified strand count when you move to a purchased pattern.
At A1, bring the needle up through the bottom-left hole, leaving the loop behind the fabric. Go down through the top-right hole of the same block. Turn the work over, pass the needle through the loop, and pull gently until it settles against the back. Ready check: one diagonal lies on the front and the loop is secured on the back. See Bobo Stitch’s photographed loop-start demonstration for the hand movements.
5. Complete Your First X
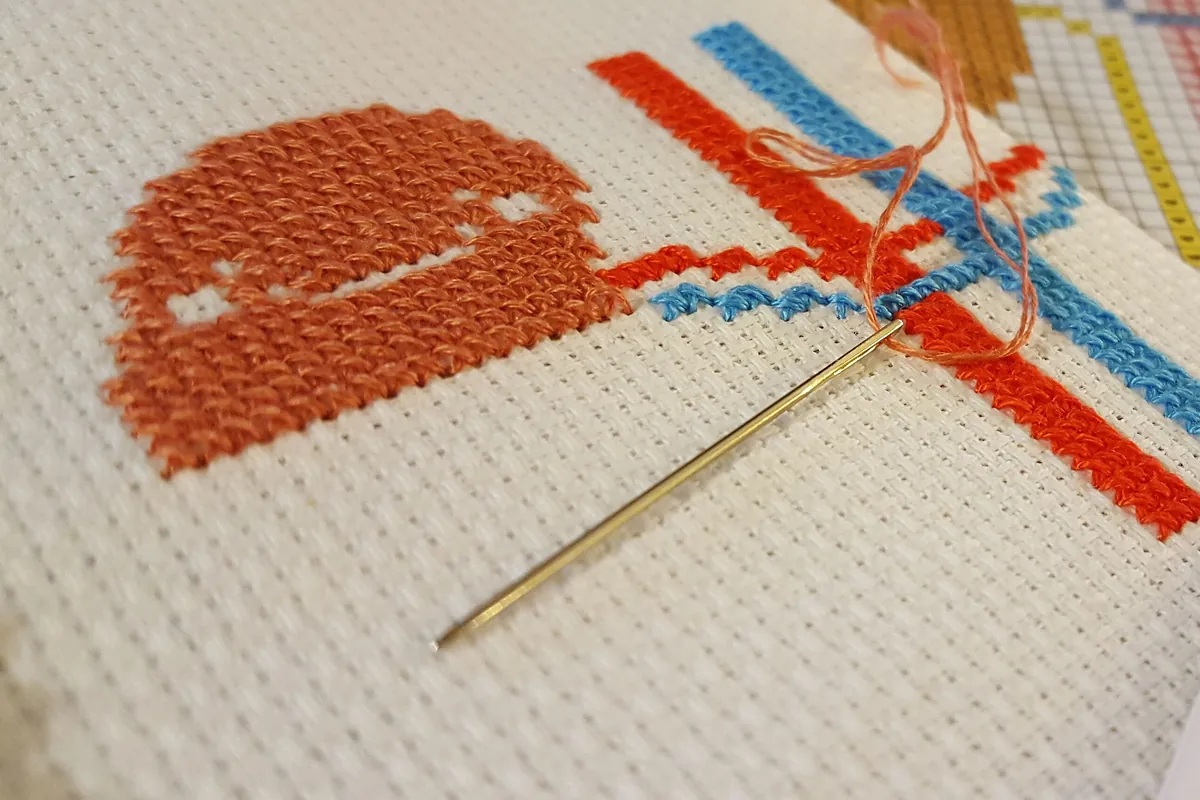
The orange stitched area shows the small crosses you are aiming to make; the photograph is an example of finished stitch texture, not a picture of the nine-stitch practice. With the first diagonal already in A1, bring the needle up through that block’s bottom-right hole and down through its top-left hole. The two diagonals now cross in the middle. Pull only until the thread rests on the surface: tightening until the fabric dimples makes the work harder to keep even.
Complete A2 and A3 the same way, making each bottom-left-to-top-right diagonal first and each bottom-right-to-top-left diagonal second. Finishing each X before moving on makes this tiny exercise easy to check. For larger areas, you can work a row of half stitches and cross them on the return journey. DMC’s cross-stitch diagrams show both approaches. Ready check: row A contains three Xs with their upper diagonals facing the same way.
6. Build Three Rows and Check Your Counting
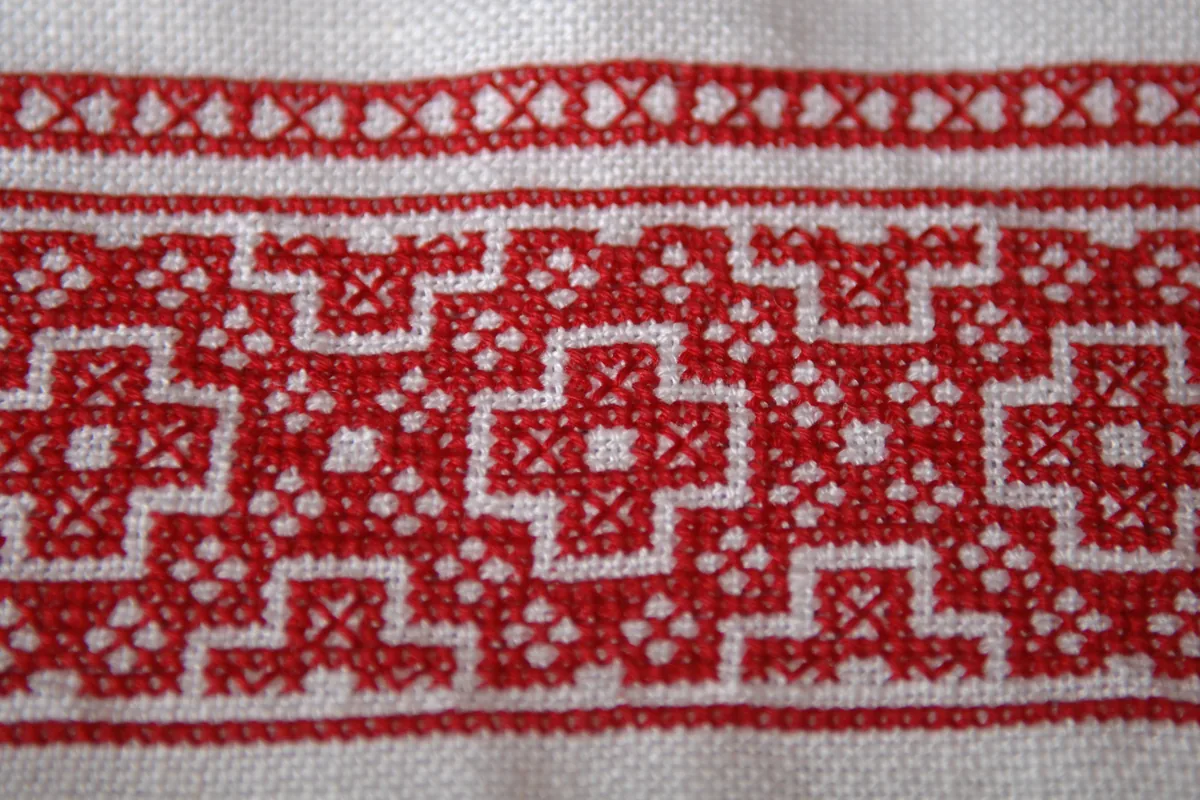
The repeated red shapes illustrate why counting matters: matching motifs depend on stitches landing in consistent positions. Return to column 1 immediately below your first row and stitch B1, B2, and B3. Then repeat for C1, C2, and C3. Count fabric blocks rather than counting the holes around the outside; three adjacent blocks have four boundary holes along an edge. Neighboring Xs share corner holes, so you should not leave a blank block between them.
Mark each completed row on your paper chart. Your result should be a solid square, three stitches wide and three stitches tall: nine Xs total. If a row has only two or as many as four, stop and compare it with the chart before continuing. Undo the most recent stitches with the needle rather than cutting into the cloth. Ready check: all three rows line up, each has three crosses, and the fabric lies flat. This checkpoint is more useful than trying to stitch faster.
7. Secure the Thread and Inspect the Result
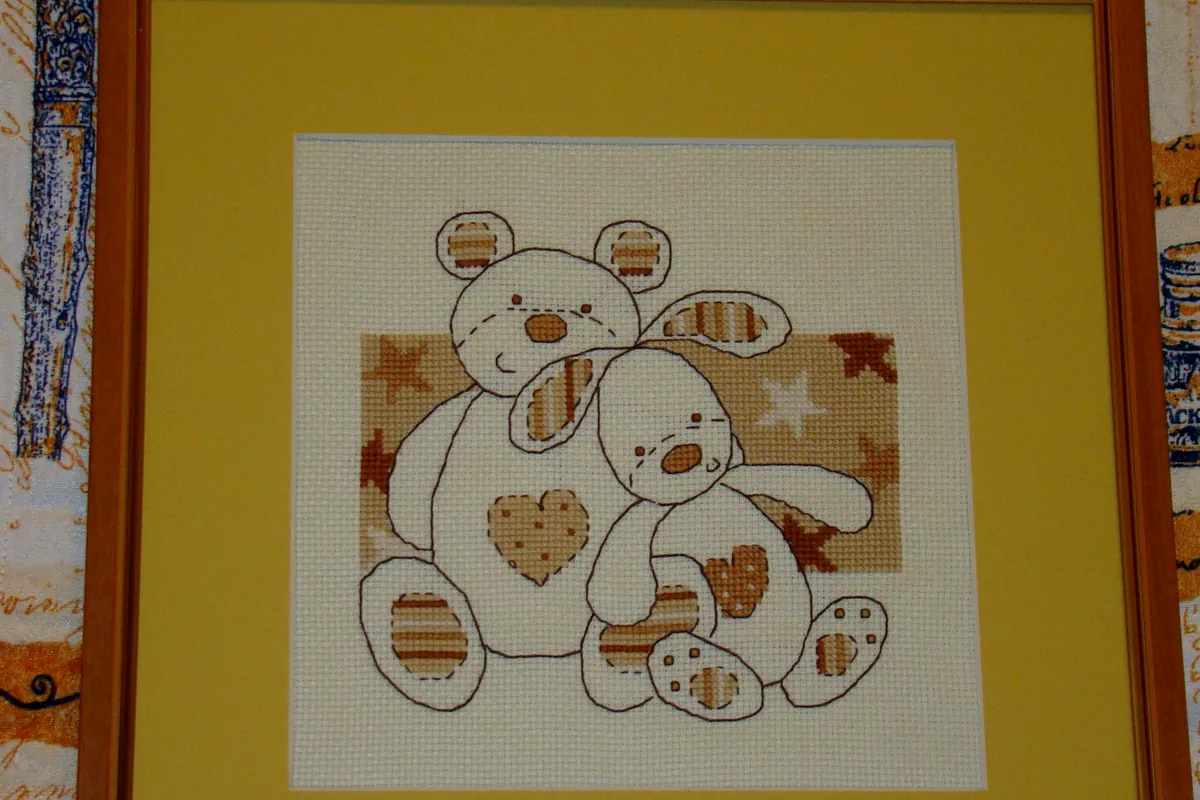
The framed bears show a later use for counted cross stitch: a finished piece with breathing room around the design. Your practice square is much smaller, but it still needs a secure end. Leave enough working thread to handle the needle comfortably. On the back, slide the needle under three or four existing stitches, pull through gently, and trim the loose end without snipping those stitches. Bobo Stitch demonstrates this fastening-off method.
Remove the hoop and inspect both sides. The front should have nine complete Xs and no pulled-out holes; the back should have secured ends rather than a loose loop waiting to catch. Keep this first square as a sample. Before framing a larger project, follow the particular fabric and thread care instructions. For your next design, choose a small full-cross motif with a few solid colors, then use DMC’s starting and counting advice to work outward from a known position.
Practical Tips
Use your practice square as a quick diagnosis. If one X looks darker or bulkier, check whether you accidentally stitched it twice. If a row slopes, compare the occupied blocks with your chart. If the cloth puckers, loosen your tension on the next sample rather than pulling harder to make the stitches match. Keep scissors and needles in a small closed container between sessions. When following a larger pattern, leave a note recording the last completed row so you can restart without guessing. An unframed sample is useful: label its fabric count and strand count on a separate card before trying a different combination.
Final Thoughts
Your first cross stitch project can be just nine stitches. That small square gives you a clear way to practice reading a grid, forming consistent crosses, and securing the thread. Move to a larger motif when you can explain where each stitch belongs and spot an extra or missing one. Choose a design you enjoy, but keep its stitch types and color changes manageable while the basic motions become familiar.
Useful Resources
For additional instruction, explore DMC’s cross-stitch lessons and the Bobo Stitch photo tutorial. These show techniques beyond the small exercise here. For another small needlecraft project, try our beginner granny square tutorial.
Photo credits: floral hero by Шалин and red geometric stitching by Dee.lite, both released into the public domain. Floss photographs by LornaWatt and framed bears by Ksenia Andreeva, under CC BY 2.0. Chart, fabric, and orange-stitch details by DomenikaBo, under CC BY-SA 4.0; those adapted photographs retain that license. All photographs were cropped, resized, and converted to WebP; several sections use different details of the same source photograph. This article was prepared with AI assistance.
You May Also Like
CRAFTS
Hand Embroidery for Beginners in 7 Practical Steps
Learn how to prepare a hoop, choose thread, and combine simple stitches in a small floral design.