How to Crochet a Granny Square for Beginners in 7 Steps
How to Crochet a Granny Square for Beginners in 7 Steps
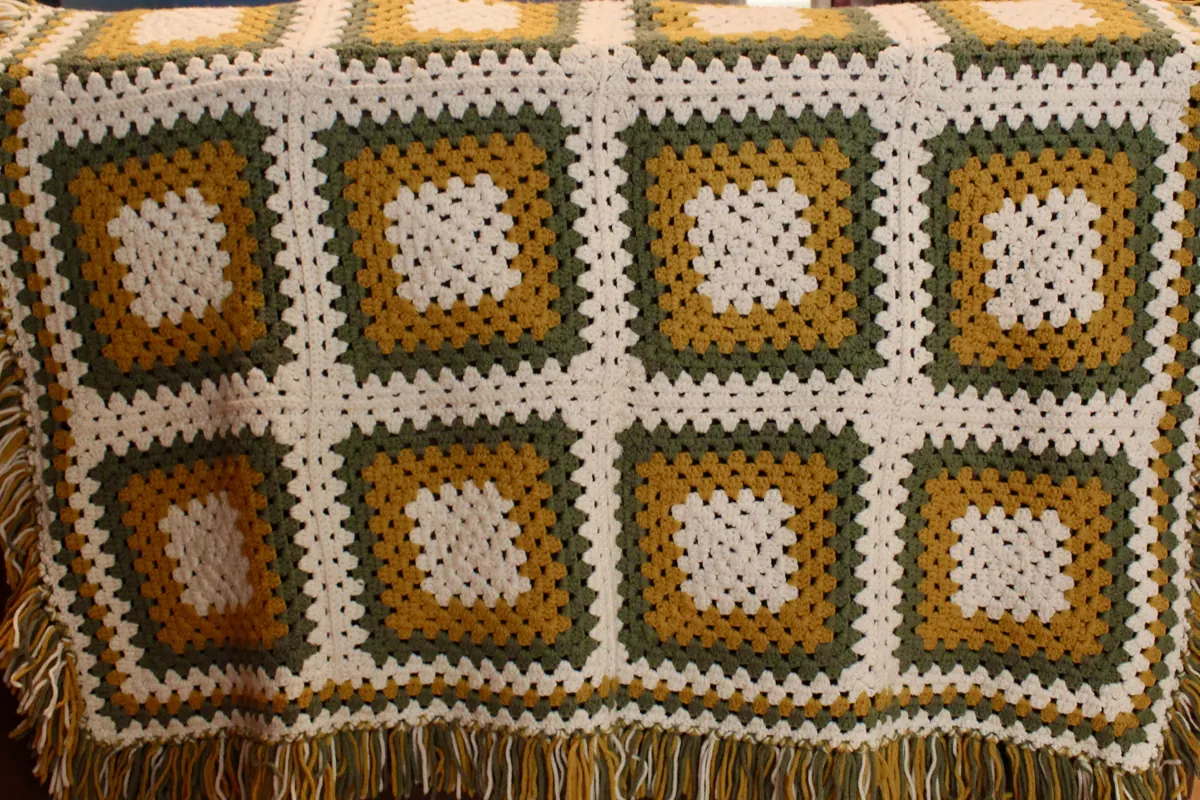
Cream joins frame the olive and mustard squares in this crocheted blanket. Each square is a small project of its own, which makes a granny square a manageable way to learn to crochet in rounds. This seven-step beginner pattern uses U.S. crochet terms and covers three rounds, finishing, blocking, and joining. Work the first one in a single color so you can concentrate on finding the corners. Then make a second square, block both to the same size, and join the pair to practice making a seam.
Table of Contents
- Make a Chain Ring
- Round 1: Make Four Groups Around the Ring
- Round 2: Work Two Groups in Each Corner
- Round 3: Add a Group Along Each Side
- Fasten Off and Weave In the Ends
- Block the Squares to the Same Size
- Try a Flat Seam
- Practical Tips
- Useful Resources
1. Make a Chain Ring
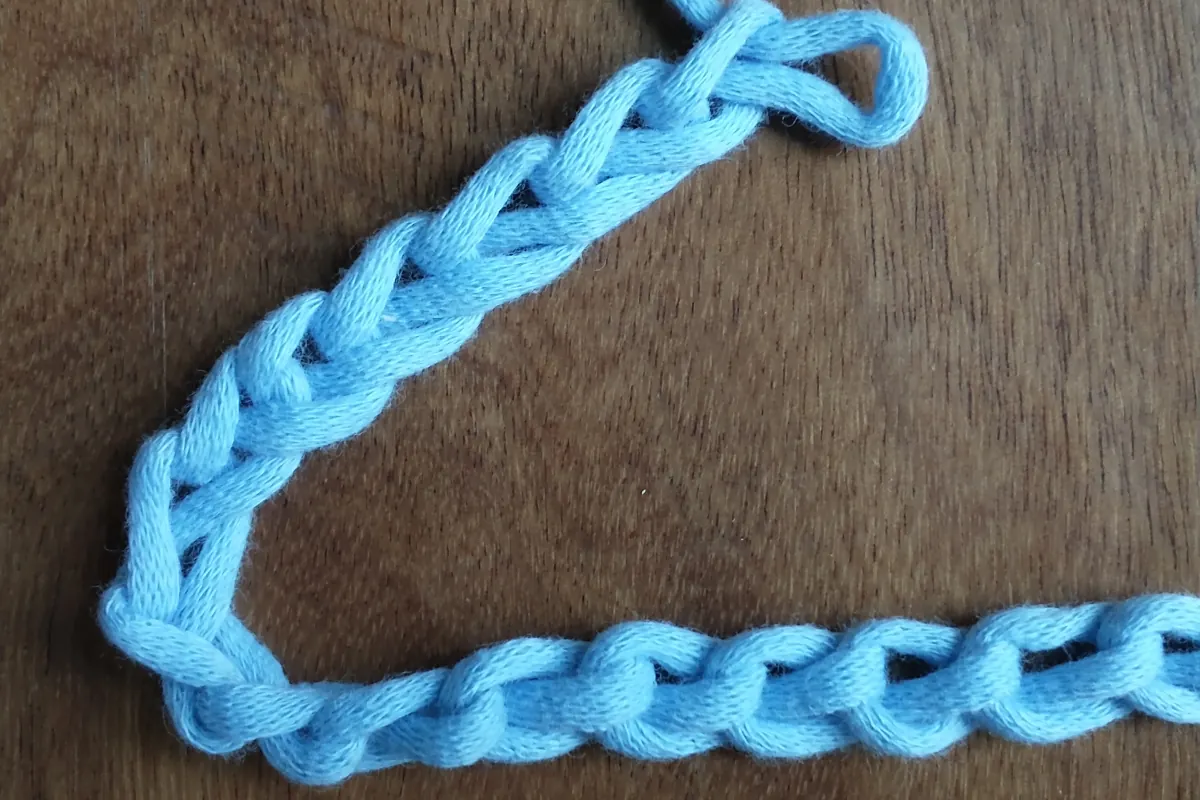
The blue chain in the photo shows the V shapes you’ll see as you pull each new loop through the one on your hook. Start with smooth, light-colored medium-weight yarn, a hook in the size range on its label, scissors, and a blunt yarn needle. Make a slip knot, place it on your hook, and chain four. Insert your hook into the first chain you made and pull the working yarn through the chain and the loop on the hook in one motion. This slip stitch closes the chain into a ring. Keep the hole open and work the first round into its center.
2. Round 1: Make Four Groups Around the Ring
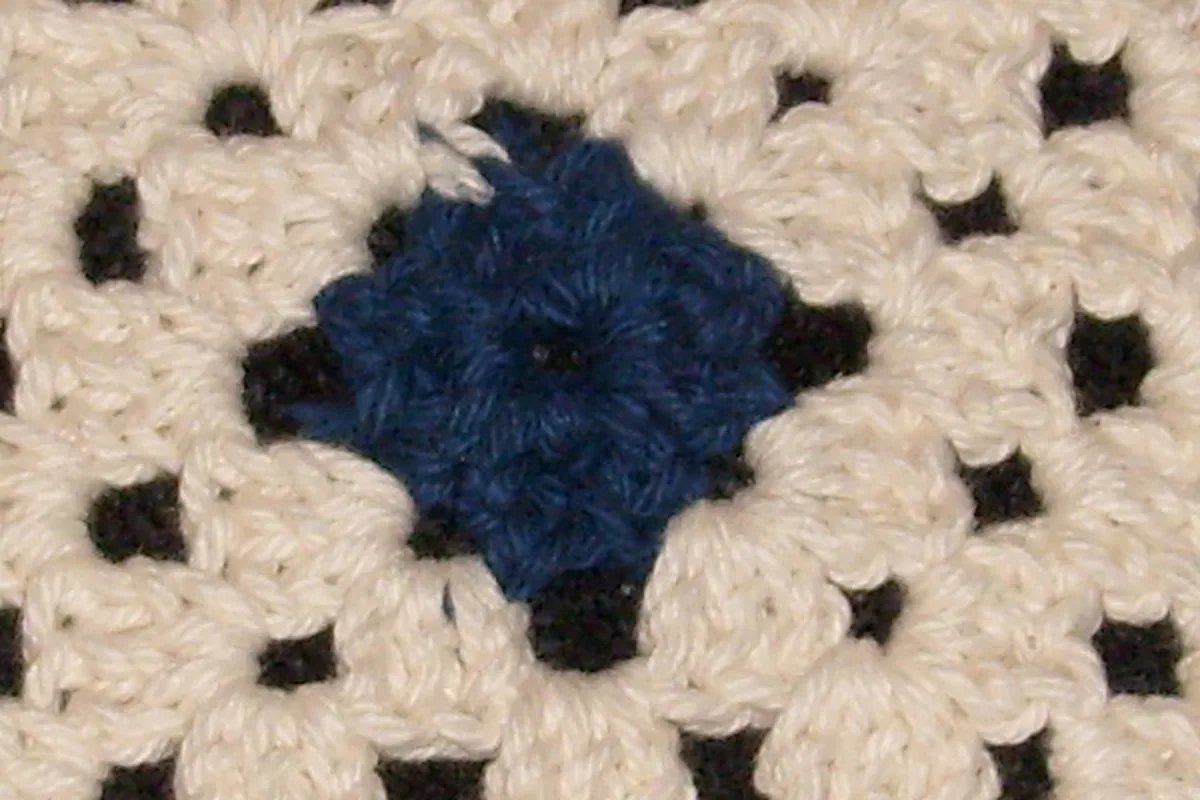
The dark blue center of this finished square gives you a close-up of where the work begins. In this pattern, ch means chain, dc means U.S. double crochet, and sl st means slip stitch. To make a dc, yarn over, insert the hook into the space, yarn over and pull up a loop, then yarn over and pull through two loops twice. Ch 3 (counts as the first dc), work 2 dc into the ring, then ch 2. Work [3 dc into the ring, ch 2] three more times. Join with a sl st into the top of the starting ch 3. Check: four groups of three dc and four ch-2 corner spaces.
3. Round 2: Work Two Groups in Each Corner
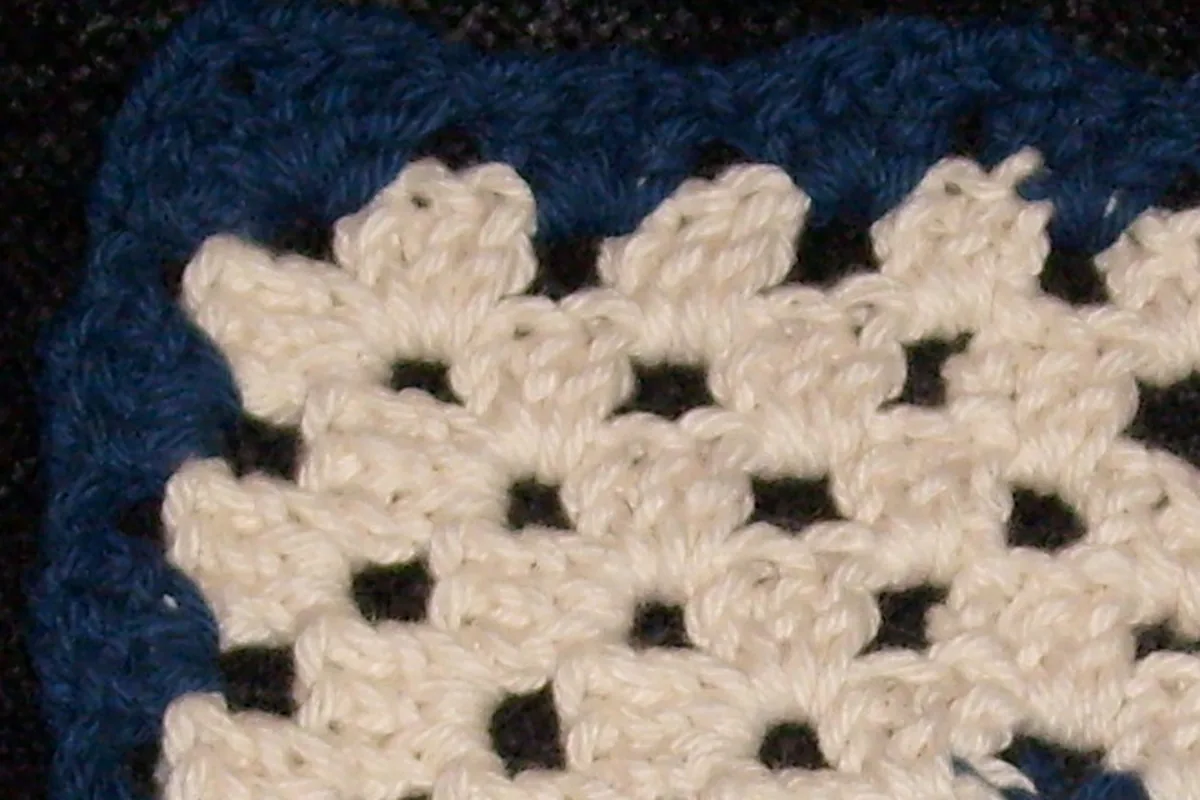
This close-up shows stitch groups with open gaps between them. Look for the open ch-2 spaces in your first round. Slip stitch across the next two dc and into the first corner space. In that space, work ch 3, 2 dc, ch 2, and 3 dc. Then repeat [ch 1, work 3 dc, ch 2, and 3 dc in the next corner] three times. Ch 1 and join with a sl st at the top of the starting ch 3. Check: eight groups, four ch-2 corner spaces, and one ch-1 space per side.
4. Round 3: Add a Group Along Each Side
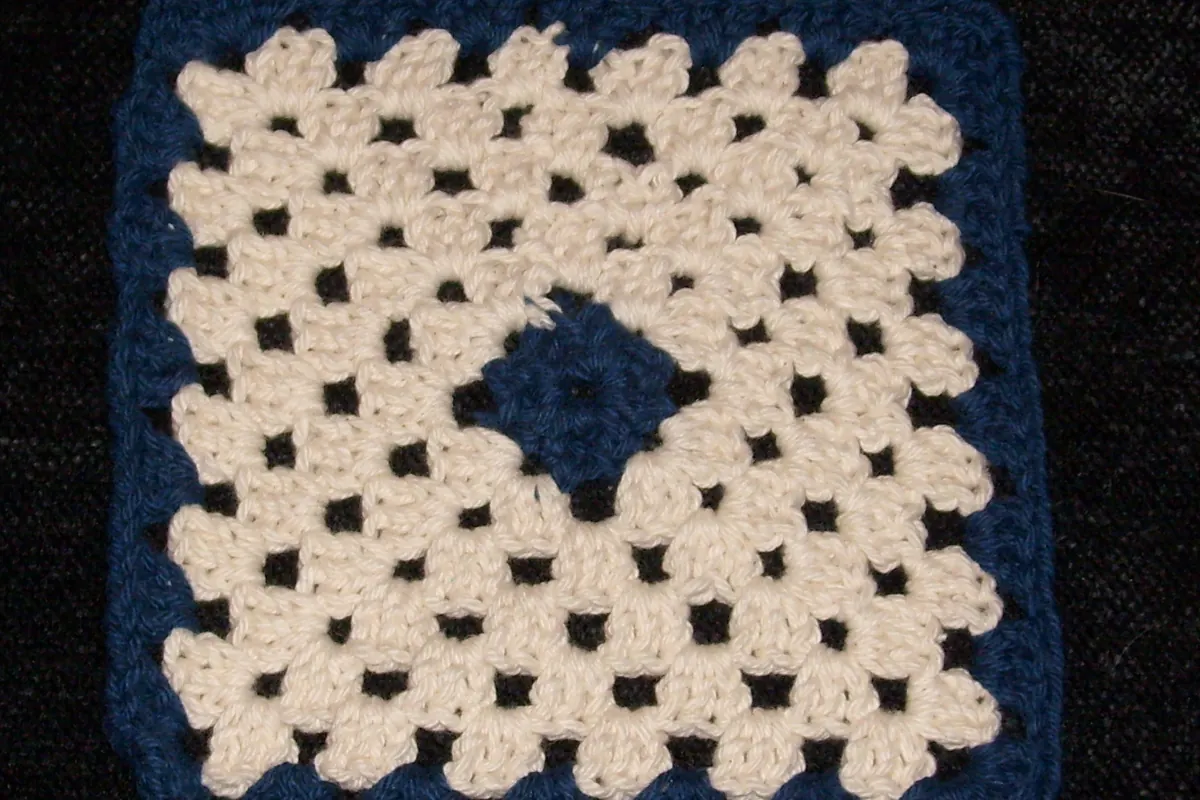
In the larger square pictured, you can see how the groups repeat along each edge. For your third round, slip stitch across the next two dc and into the first corner. Work ch 3, 2 dc, ch 2, and 3 dc in that space. Repeat [ch 1, 3 dc in the next side space, ch 1, then 3 dc, ch 2, and 3 dc in the next corner] three times. On the last side, ch 1, work 3 dc in the last side space, ch 1, then join at the top of the starting ch 3. Check: 12 groups and four ch-2 corners. Each side has one group between its two corner groups.
5. Fasten Off and Weave In the Ends
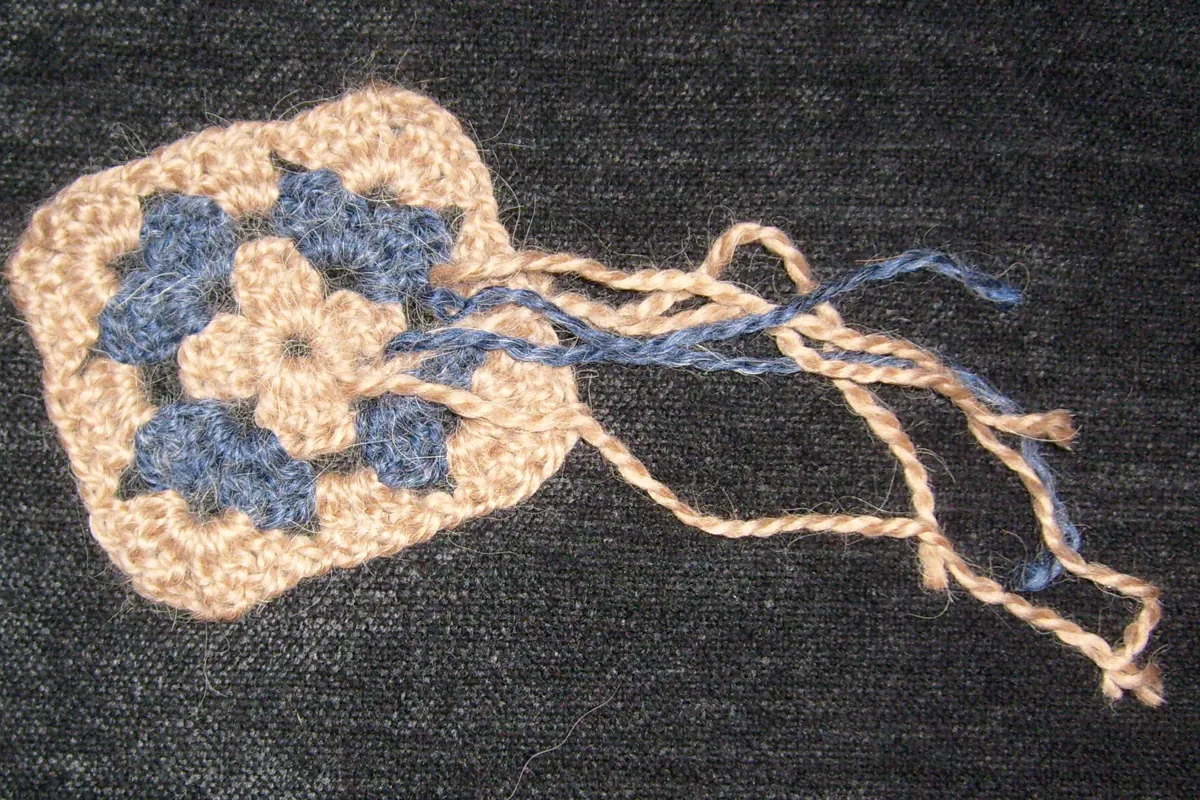
The small blue-and-cream square has several loose tails, the kind you’ll see if you change yarn colors between rounds. For a single-color square you’ll have a starting tail and a finishing tail. After your final slip stitch, cut the yarn, leaving about six inches, and pull the tail through the last loop. Thread a tail onto a blunt yarn needle and pass it under the backs of several stitches. Change direction and pass back through nearby stitches to help secure it. Keep the fabric relaxed as you weave, then trim the tail. If you used multiple colors, weave each tail into stitches of the same color where possible.
6. Block the Squares to the Same Size
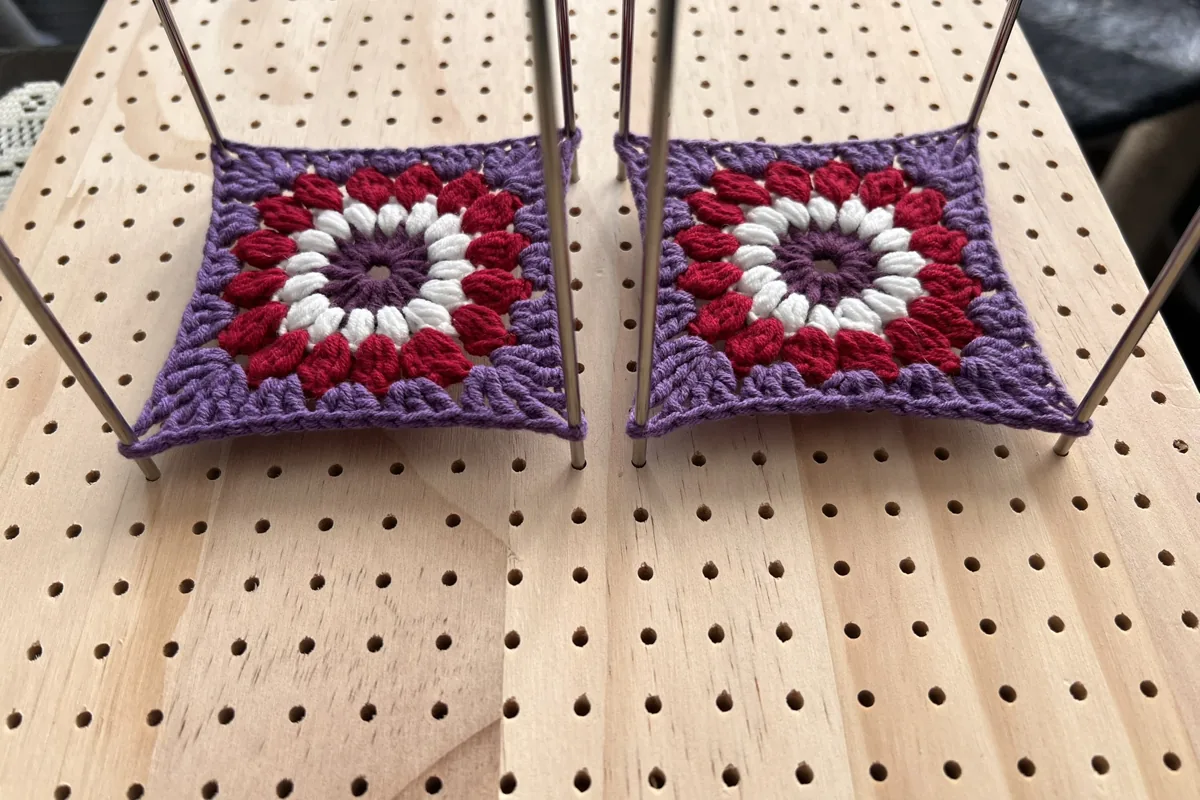
The two squares in the photo are held flat by pegs on a blocking board. Make a second square with the same yarn, hook, and round count. If your squares curl or their edges are slightly uneven, check the yarn label before wetting them. If the label allows it, dampen the squares, press out excess water in a towel, and lay them flat. Use rust-resistant pins or pegs to hold the corners at right angles. Measure both pieces so the sides match, then leave them to air-dry completely before removing the pins. If one square is substantially smaller, check its stitch count and tension before trying to stretch it to fit.
7. Try a Flat Seam
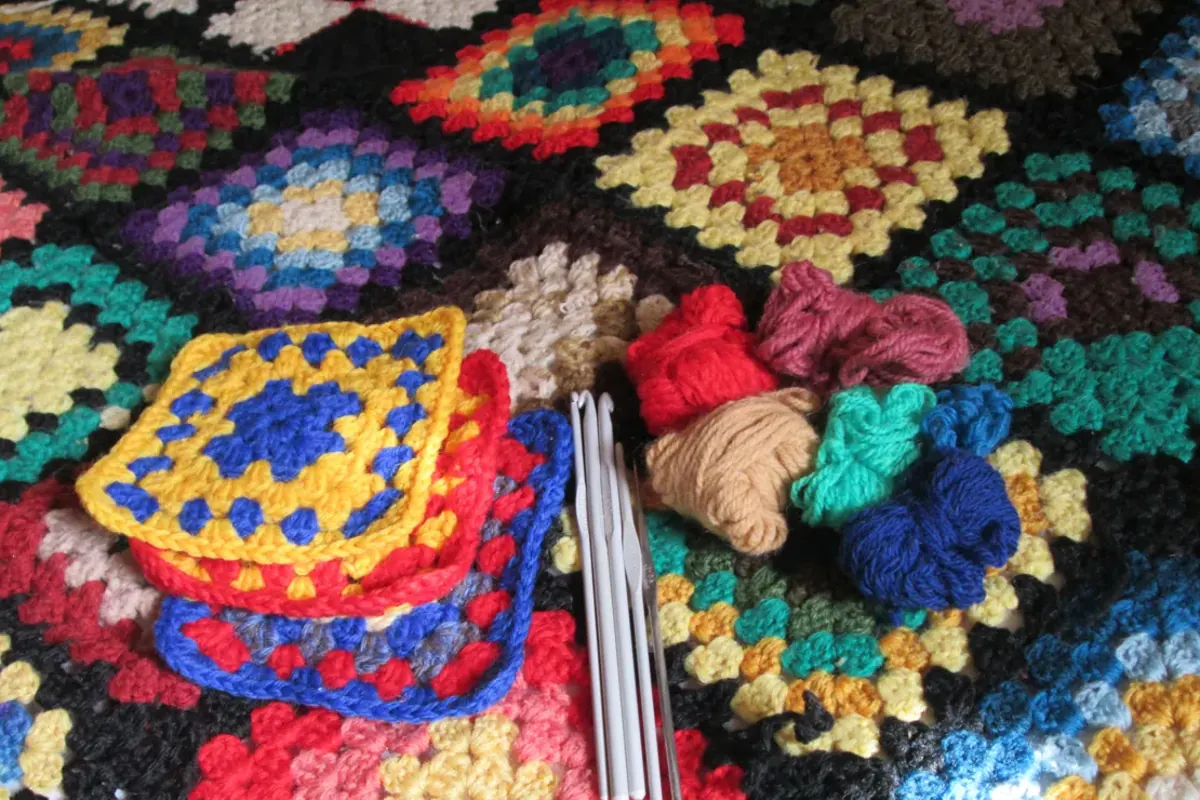
The stack of colorful squares shows how you can repeat one motif while changing the palette. For your first seam, use two squares made with the same yarn, hook, and round count. Lay them side by side with their right sides up, line up the corners, and use a yarn needle to sew through matching edge loops in pairs. Pull the seam snug every few stitches while keeping both pieces flat. If the edges pucker, loosen the seam before you weave in the tail. Try joining two squares before committing to a whole blanket so you can check how the seam looks and feels.
Practical Tips for Your First Granny Square
Put a removable stitch marker in the top of the starting chain 3 to make the join easier to find. Count four ch-2 corners at the end of each round. If a fifth corner appears, check whether you accidentally worked a corner into a ch-1 side space. If one side starts pulling inward, compare its stitch groups and chains with the opposite side before changing hook sizes. Save your first square to compare size and tension when you make the second.
Final Thoughts
Finish one square and lay it flat before starting a larger project. If the corners look even and the edges line up with a second square, you have a repeatable block for a scarf, cushion cover, or blanket. Keep the same yarn weight and hook while you practice so you can see how your tension changes from one square to the next.
Useful Resources
The Craft Yarn Council explains how to read a crochet pattern, yarn weight categories, and U.S. crochet abbreviations. For help shaping finished pieces, see Lion Brand Yarn’s blocking guide. Photo credits include Granny square blanket by Ryannguthrie2000, Crochet chain by Stilfehler, classic square (also used for the center and corner close-ups) and unfinished square by Durova, and Yarn, hooks, and squares by Sudzie. The blocking photo is by Valki77. The photographs were cropped, resized, and converted to WebP under CC BY-SA 4.0.
You May Also Like
CRAFTS
Hand Embroidery for Beginners in 7 Practical Steps
Learn to set up a hoop, transfer a simple design, and practice basic embroidery stitches on a small project.