Hand Embroidery for Beginners in 7 Practical Steps
Hand Embroidery for Beginners in 7 Practical Steps
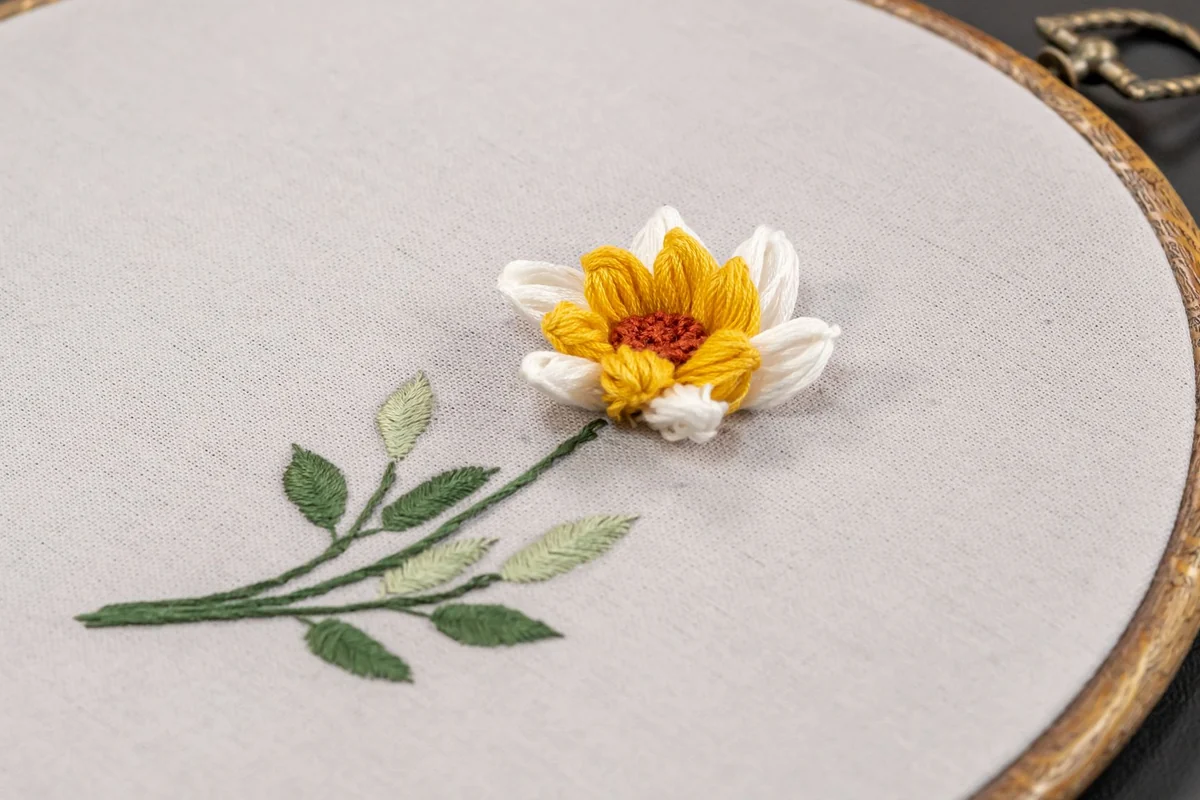
The white and yellow embroidered flower on this cover pairs a single bloom with a curved green stem and leaves, giving a small hoop a clear focal point. This guide to hand embroidery for beginners uses that floral idea to explain supplies, a simple drawing, hoop setup, thread preparation, two basic stitches, and finishing for display. Begin with a flat, five-petal practice flower, then build toward the raised petal details shown on the cover as you learn more techniques.
1. Build a Small, Useful Embroidery Kit
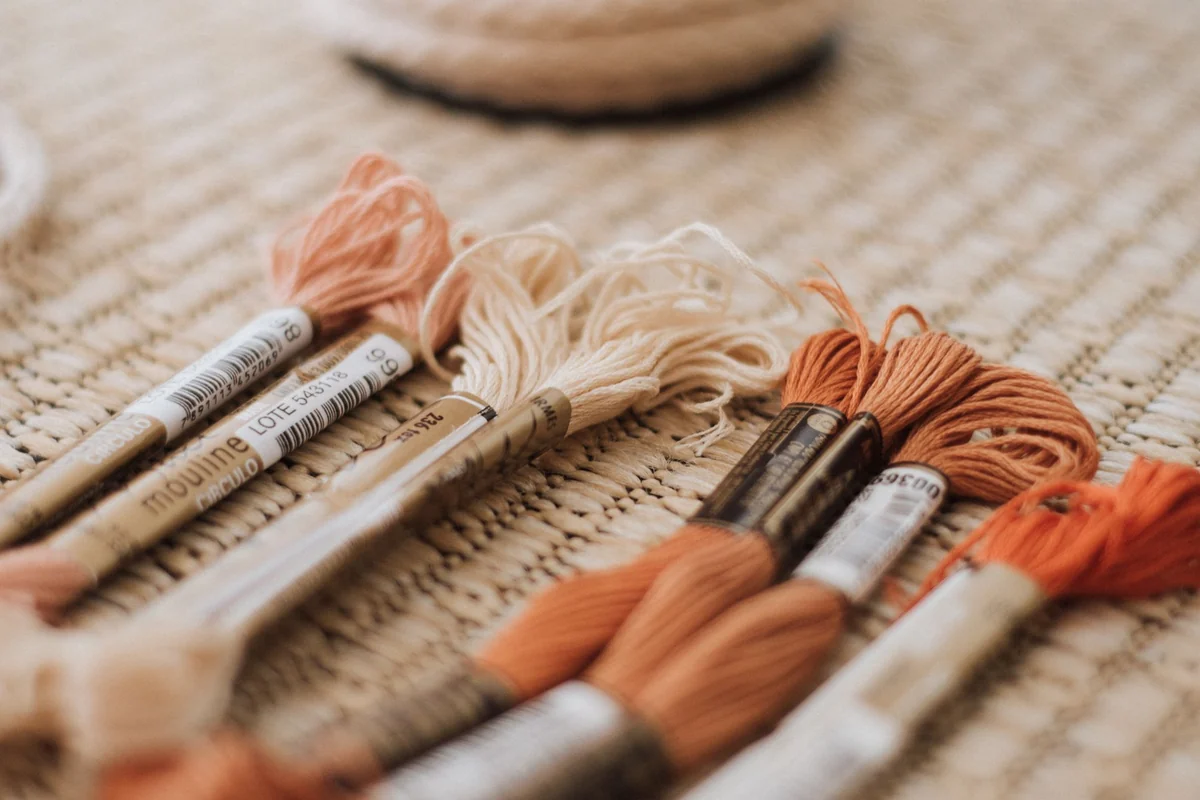
The earth-tone floss in this photograph shows how a small color palette can keep a first project manageable. Start with a 5- or 6-inch hoop, a square of light-colored woven cotton, six-strand embroidery floss, a sharp embroidery needle, small scissors, and a removable fabric marker. For a first shopping list, choose one green and two flower colors. Keep a scrap of the same fabric for testing your marker and stitches. A plain, nonstretch fabric makes it easier to see where the needle enters and how firmly you are pulling. Choose the needle after choosing your thread. The eye should take your selected strands without force, and the needle should pass through the cloth comfortably. If threading becomes a struggle, try a larger-eyed embroidery needle. A kit can simplify the first purchase, especially when it includes a printed design, a stitch key, and a strand count. Check those details before buying so the instructions match the materials supplied.
2. Sketch One Small Motif and Transfer It
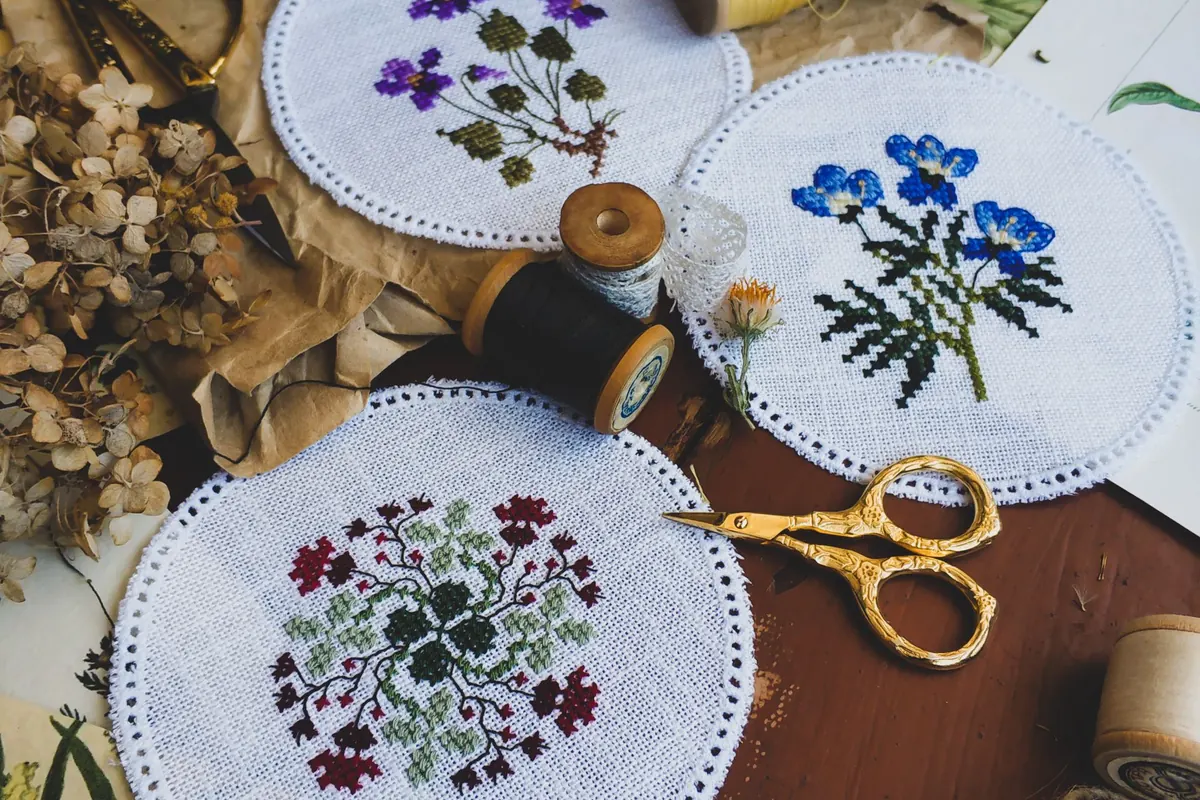
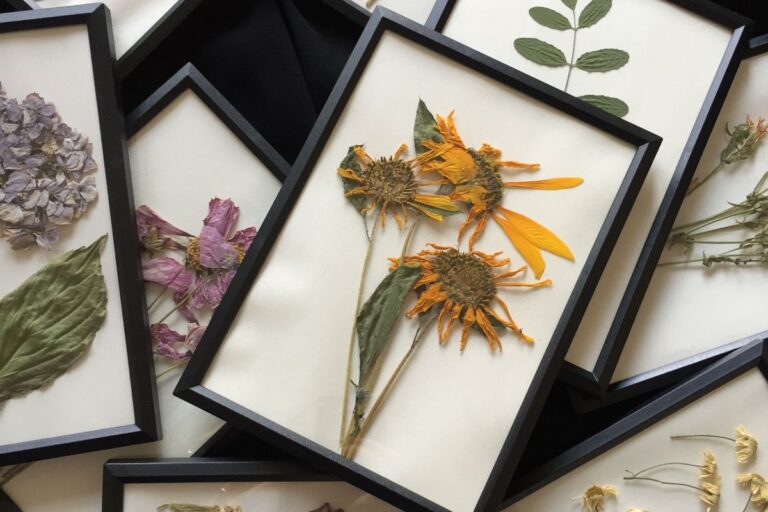
The botanical pieces arranged with thread, scissors, and flower references offer inspiration for planning a small floral motif. Give yourself a manageable first drawing. For example, sketch a gently curved stem, two leaves, and one five-petal flower inside a circle about 2 inches across. This is an original practice suggestion you can draw yourself. Keep the petals separated enough to see each stitch clearly. The larger floral arrangements in the reference photos can help you choose colors and spacing as you gain confidence. On thin, pale fabric, place your paper drawing behind the cloth against a bright window or light box and trace lightly with a fabric marker intended to wash out. Test its removal on your scrap first, using the maker’s instructions. Let the sample dry and check for remaining marks. If you cannot see the drawing through the fabric, use a transfer method suited to its thickness. Cheryl Fall’s guide to embroidery-pattern transfers explains the options. Trace only the lines you need.
3. Set the Fabric in the Hoop Without Distorting It
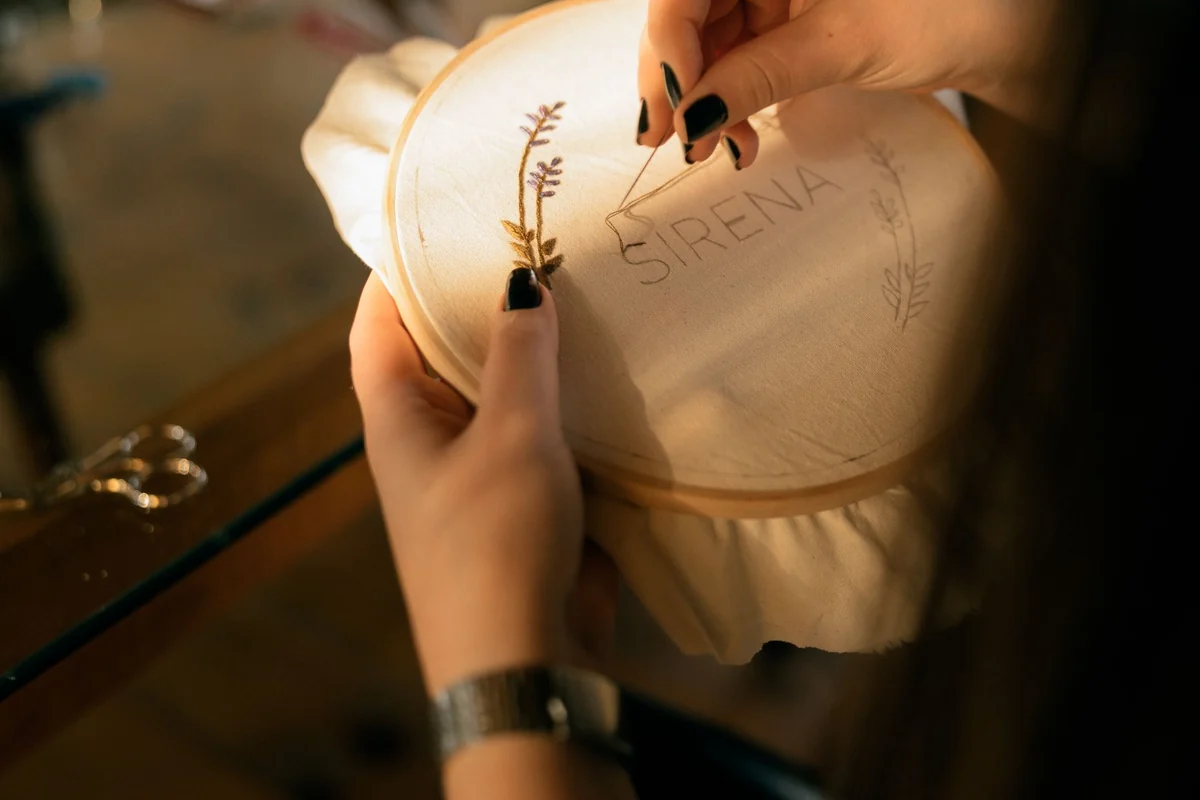
The hands working around this wooden hoop illustrate how supported cloth gives you a stable surface for stitching. Leave a generous fabric margin around the hoop while you stitch. For a 6-inch hoop, a 10-inch fabric square is a practical starting size. Loosen the outer ring, lay the fabric over the inner ring, and press the outer ring over both. Smooth gently around the edges, then tighten the screw until the cloth feels supported. Look at the weave and your drawing. Both should retain their shape. Pulling hard in one direction can skew a stem or turn a round flower into an oval. If that happens, loosen the hoop and reset the cloth. As you work, check for slack before compensating by pulling the thread tighter. Mollie Johanson’s hoop-setting tutorial shows the process. Place the screw where it stays clear of your stitching hand. The photograph shows a hoop in use, while the setup instructions apply to your own smaller design.
4. Prepare Short Thread Lengths and Secure the Ends
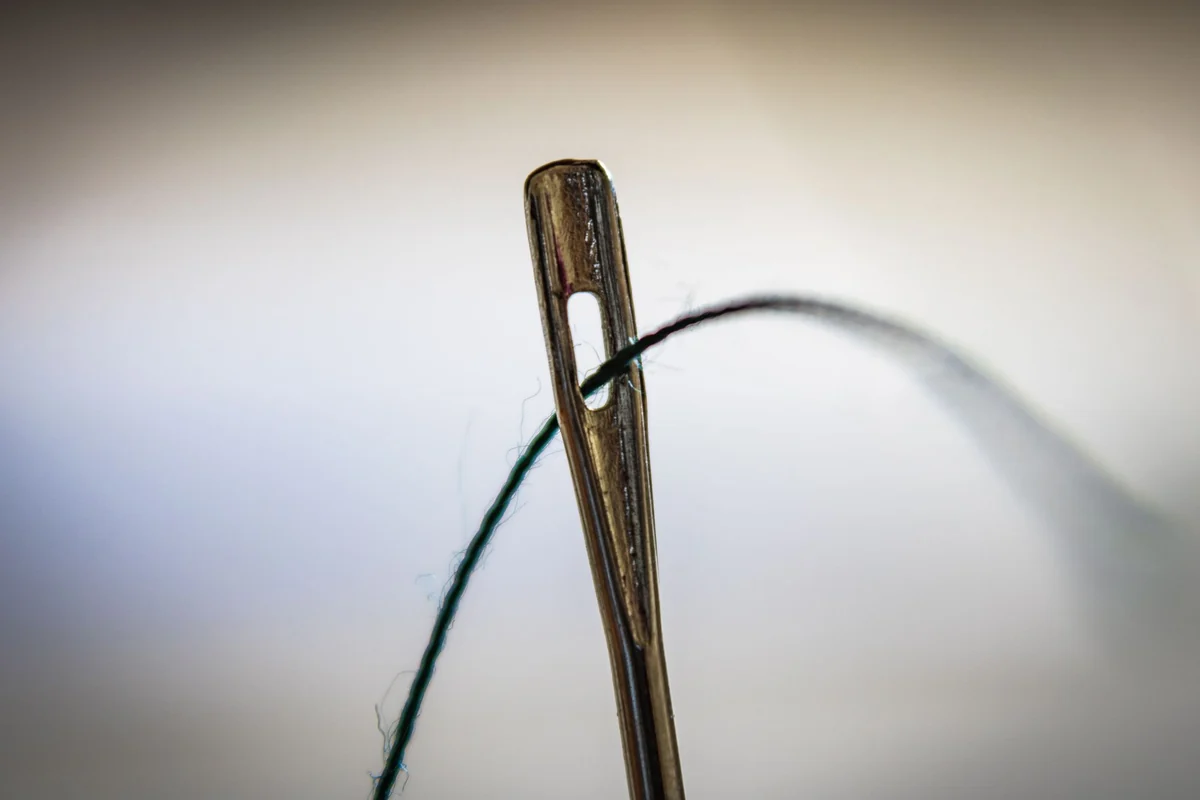
This needle-eye detail shows the opening that must comfortably accommodate your chosen strands. For your practice sample, cut about 18 inches of six-strand cotton floss and start with two strands. Separate each strand individually, then bring the two together again before threading the needle. Keep the short end through the eye several inches long so it stays threaded. Follow a purchased pattern’s strand count when working from one. A thicker line may suit a larger motif, while small petals can become crowded with too many strands. You can begin a first display sample with a small knot at the end of the working thread. Check that it stays behind the stitched area. To finish a length, take the needle to the back, pass it under several existing stitches, and trim the loose end. Cheryl Fall’s thread-starting and finishing guide also shows temporary-knot methods. If the floss twists into a loop, pause and let the needle hang freely to release the twist before continuing.
5. Use Backstitch to Make a Clear Stem or Outline
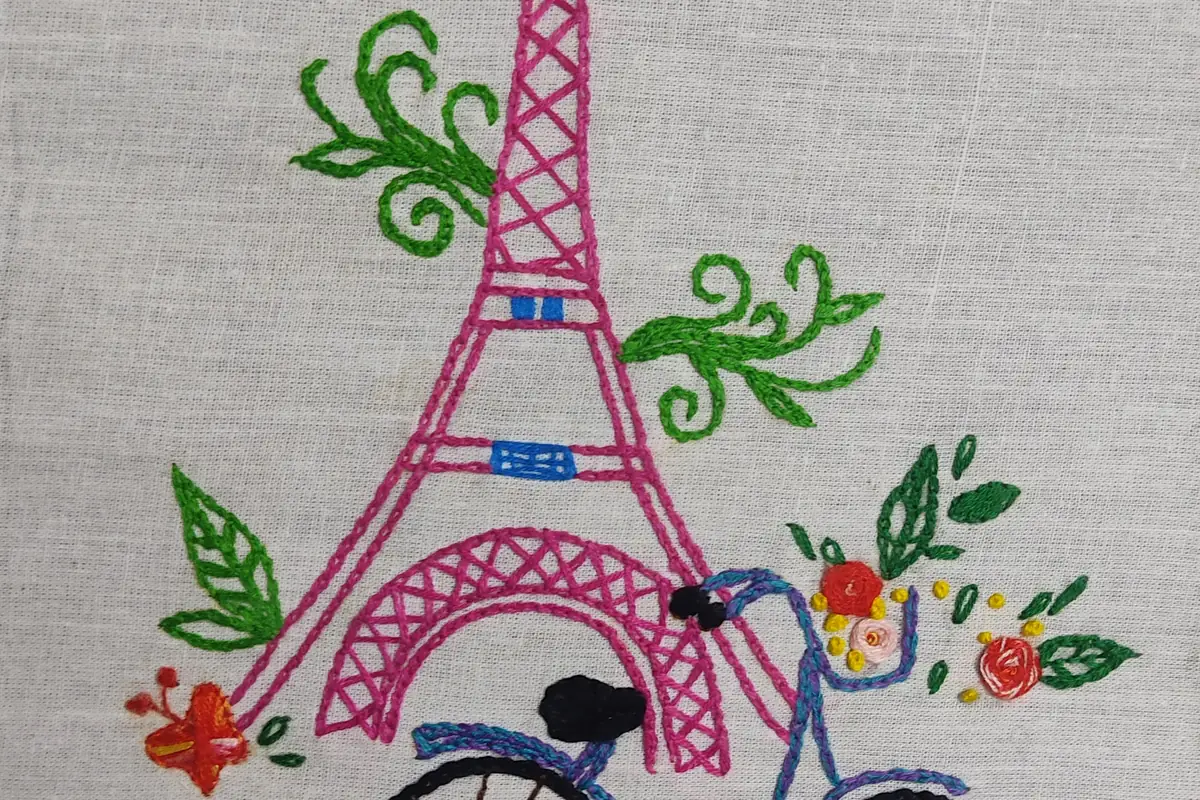
The stitched tower, bicycle detail, and green flourishes show how outlines define shapes in a larger design. Practice on the scrap before stitching the drawing. Mark a short line and choose a small, consistent stitch length. Bring the needle up one stitch ahead of the starting point, then take it down at the start. Come up another stitch-length farther along the line and go back down at the end of the previous stitch. Repeat to form a continuous outline. The Royal School of Needlework’s backstitch tutorial includes close-up demonstrations. Use this motion for the curved stem in your practice motif. Make shorter stitches around bends so the line follows the curve smoothly. Pull only until the thread rests against the cloth. If a wrinkle appears beside the line, ease the last stitch before continuing. The licensed embroidery photograph shows how outlines can define a larger composition. Your first exercise can stay as simple as one stem and two leaf outlines.
6. Add a Flower With Detached Chain Stitches
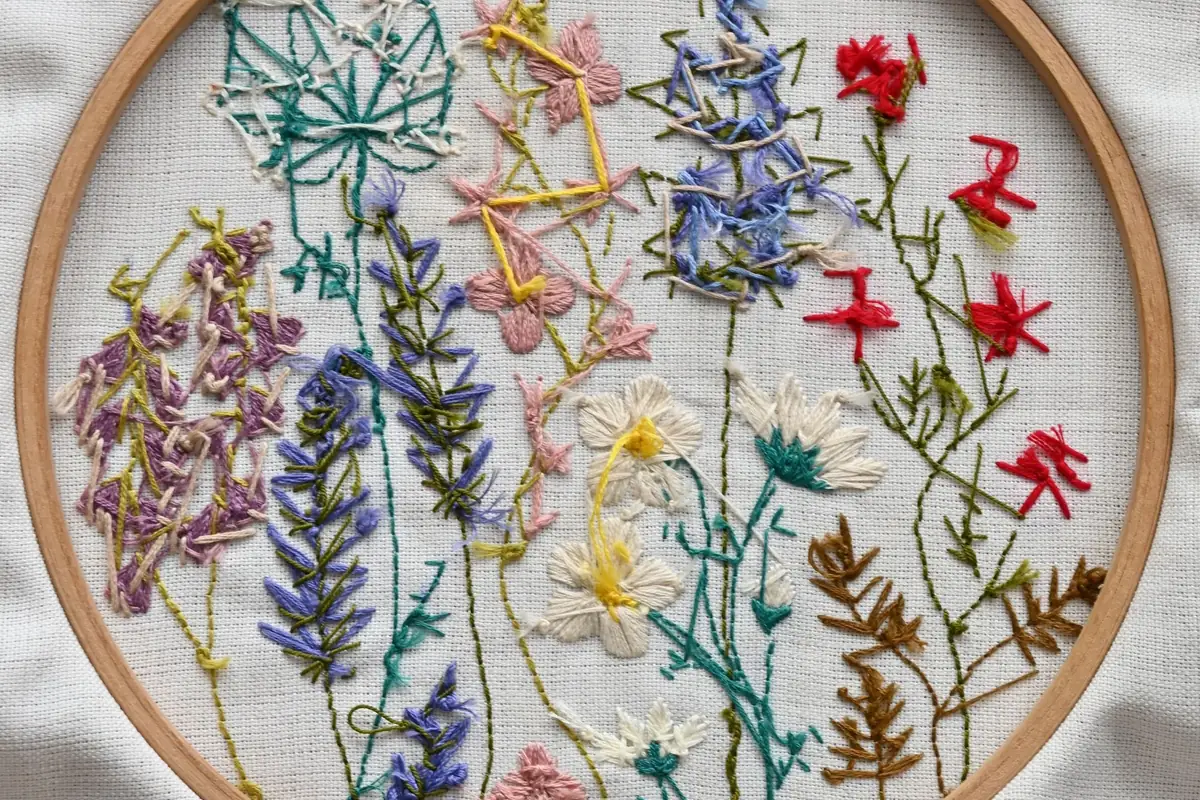
The varied flowers in this hoop offer ideas for arranging petals and stems as your stitching skills develop. Once the stem feels comfortable, try a detached chain stitch for each petal. Bring the needle up near the flower’s center, then take it down through the same opening while keeping a loop on the surface. Bring the needle up inside that loop at the petal’s outer tip. Draw the thread gently until the loop lies around the tip, then take a tiny stitch over the loop to hold it in place. Repeat around the center. Leave a little space between the holding stitches so the petals have room to sit flat. A single detached chain can also form a small leaf. The Royal School of Needlework calls this stitch detached chain, or lazy daisy. Use its detailed photos if the loop is difficult to picture. The floral image here combines several techniques and serves as design inspiration. For your first sample, keep the same petal stitch throughout and stop after one flower if that gives you a satisfying finish.
7. Finish the Hoop and Choose a Place to Display It
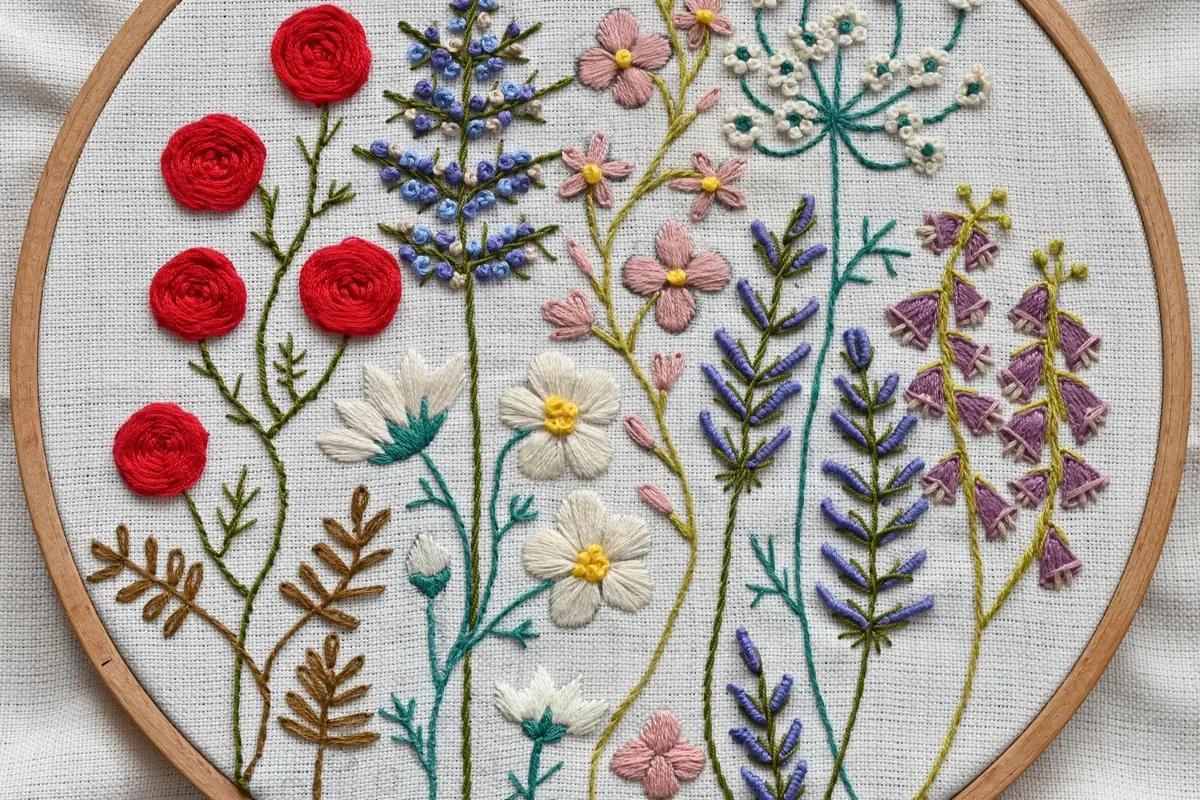
The wooden rim around this colorful floral embroidery shows how a working hoop can become a frame for display. Secure the thread ends and remove any transfer marks according to the marker and fabric-care instructions. Allow the cloth to dry fully, then center the design in the hoop. To tidy the back, leave about an inch of fabric beyond the rim, sew running stitches around that margin, and draw the thread to gather the fabric inward. Tie the gathering thread securely. Mollie Johanson’s hoop-finishing tutorial explains a felt-backed option. Choose a display spot that lets the stitching be seen up close, such as a small shelf or a wall beside a reading chair. The photograph offers an example of a fuller floral hoop for a future project. For a handmade corner with other materials and textures, browse our beginner-friendly home decor crafts. Keep your practice scrap with the finished piece so you have a record of which strand counts and stitch sizes you liked.
Practical Tips Before You Start Hand Embroidery
Set out a tray for the hoop, thread, and scissors so you can put the project away together. At the end of a session, place the needle in a pincushion and note the color and strand count you used. Keep a scrap of the same fabric for testing stitches and checking transfer-mark removal before working on your main piece. A photograph of your sample can help you decide what to adjust next time. If you want to make room for a new hobby, our screen-free weekend ideas offer other ways to plan an unhurried afternoon.
Final Thoughts on Hand Embroidery for Beginners
A small floral hoop gives you a manageable way to practice choosing thread, supporting fabric, and forming clear stitches. Begin with one stem and flower, secure the loose ends, and examine the piece out of the hoop before adding more. Keep your practice scrap as a record of the strand counts and stitch sizes you enjoyed using. Your next project can build on the stitch that felt most comfortable.
Useful Hand Embroidery Resources
Use the Royal School of Needlework’s backstitch demonstration and detached chain demonstration when learning the hand movements. The linked guides explain transferring patterns, securing thread, and finishing a hoop. Seven photographs were sourced from Pexels under the Pexels License. The outline-stitch photograph is by தீப்தி செந்தில் under CC BY-SA 4.0, cropped, resized, and converted to WebP. This article was prepared with AI assistance.
You May Also Like
CRAFTS
7 Beautiful Handmade Home Decor Crafts for Beginners
Discover more hands-on ideas, from macramé and embroidery to pretty painted planters.