Easy Air Dry Clay Crafts for Beginners: 7 Beautiful DIY Ideas
Easy Air Dry Clay Crafts for Beginners: 7 Beautiful DIY Ideas
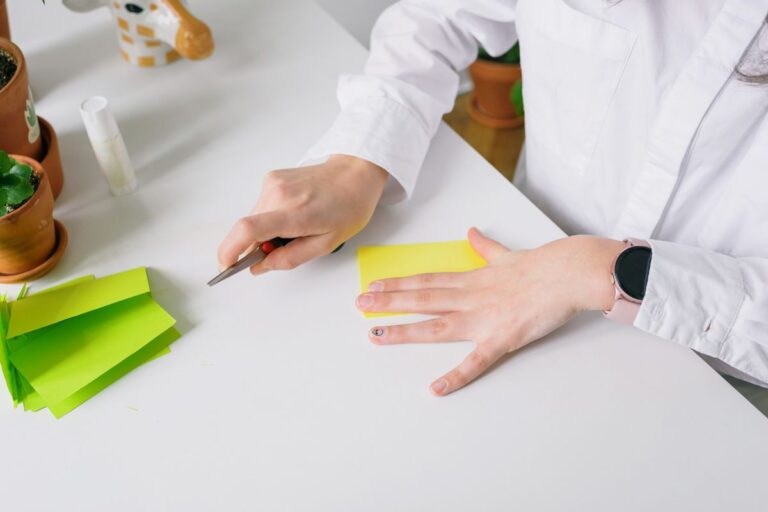
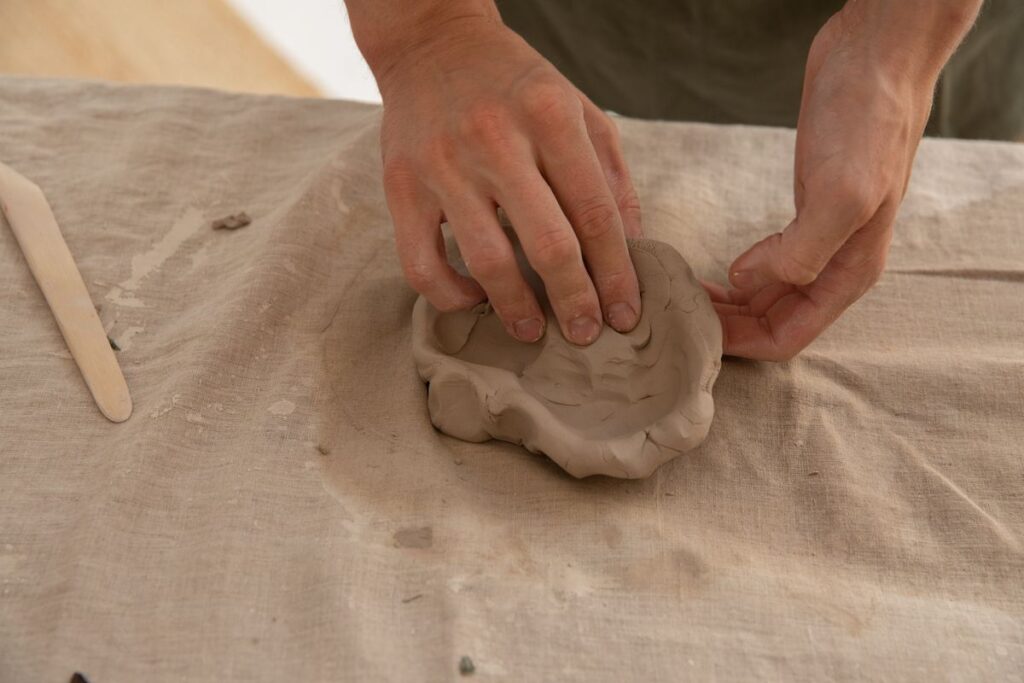
There is something deeply satisfying about shaping a simple piece of clay into something beautiful for your home. In the worktable photograph above, hands are shaping the material before it becomes a finished piece—the same creative starting point for these easy air dry clay crafts. With a few basic supplies and no pottery wheel or kiln, beginners can make decorative dishes, ornaments, and personalized keepsakes.
Start with a stamped tag if you want a flat, simple project. Choose the ring holder if you want to practice shaping a piece that stands upright.
These seven ideas combine approachable techniques with practical tips about shaping, joining, drying, painting, and caring for your finished pieces. Choose one project to begin with, then adapt its shapes and colors to suit your own style.
Essential Supplies for Air Dry Clay Crafts
Start with white or natural air-dry modeling clay, a smooth protective mat, a small rolling pin, a shallow bowl, cookie cutters, a brush, and a little water. Letter stamps, clean textured leaves, and acrylic paints are useful for more decorative projects. Work with a small amount of clay at a time, keeping unused clay wrapped and sealed according to the packaging. Keep your hands and tools clean so that fibers and crumbs do not become embedded in the surface.
1. DIY Clay Trinket Dish
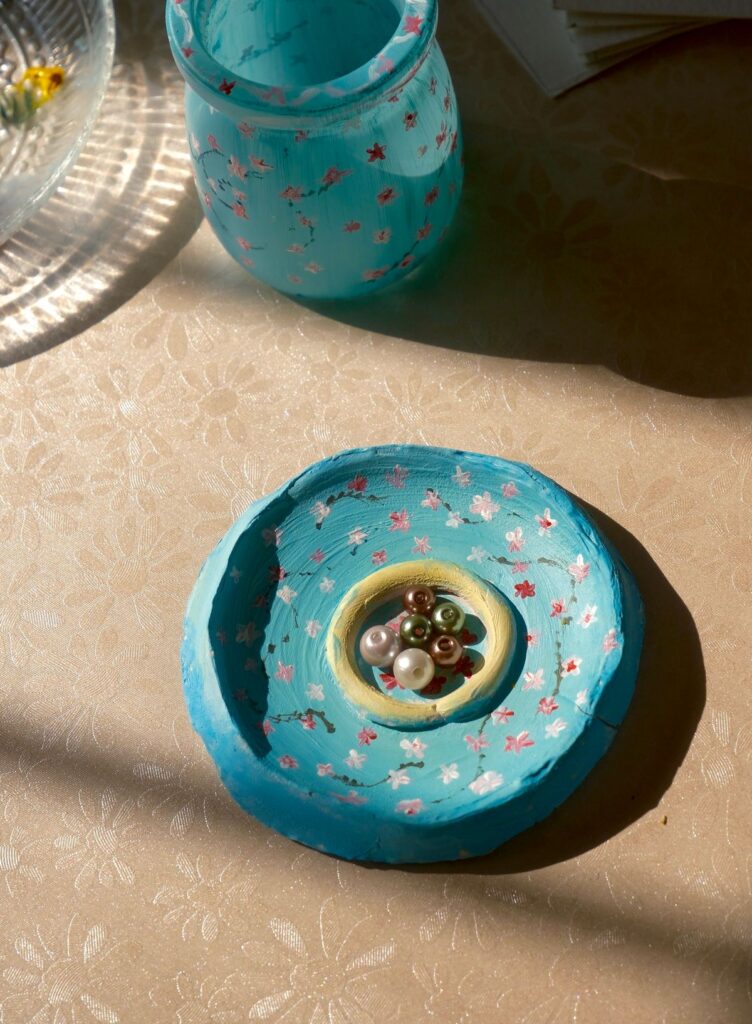
The photographed floral clay dish shows how a small catchall can become a decorative accent. To create a similar DIY clay trinket dish, knead your clay, roll it into an even slab, and cut a circle using a lid or template. Lift the edge gently or shape it inside a shallow bowl, smoothing minor cracks with a barely damp fingertip. Once fully dry, decorate the surface with painted floral details or a simple contrasting border. Use it to organize rings or other dry accessories; ordinary craft air-dry clay should not be treated as food-safe or waterproof.
2. Botanical Clay Decorations
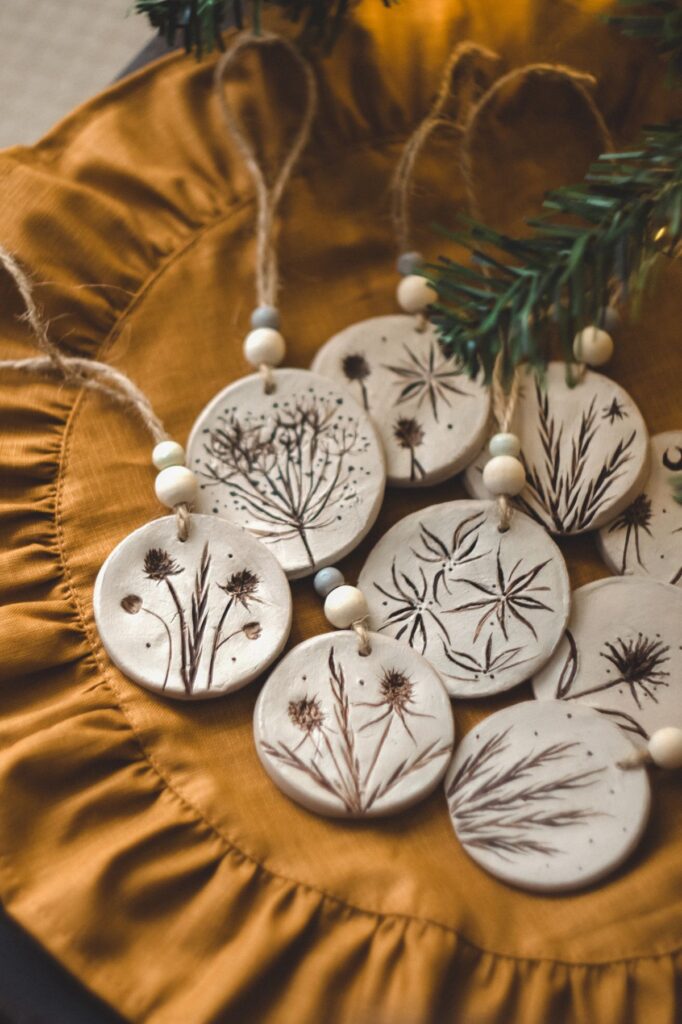
Roll a flat slab of clay, press a clean leaf with pronounced veins lightly into the surface, and lift it away carefully. Cut the textured slab into a round, oval, or hanging ornament shape. If you want to hang it, make the cord hole before drying. Keep the final finish understated with natural ivory, warm beige, or a subtle painted highlight that brings out the impressions.
3. Handmade Jewelry Holder
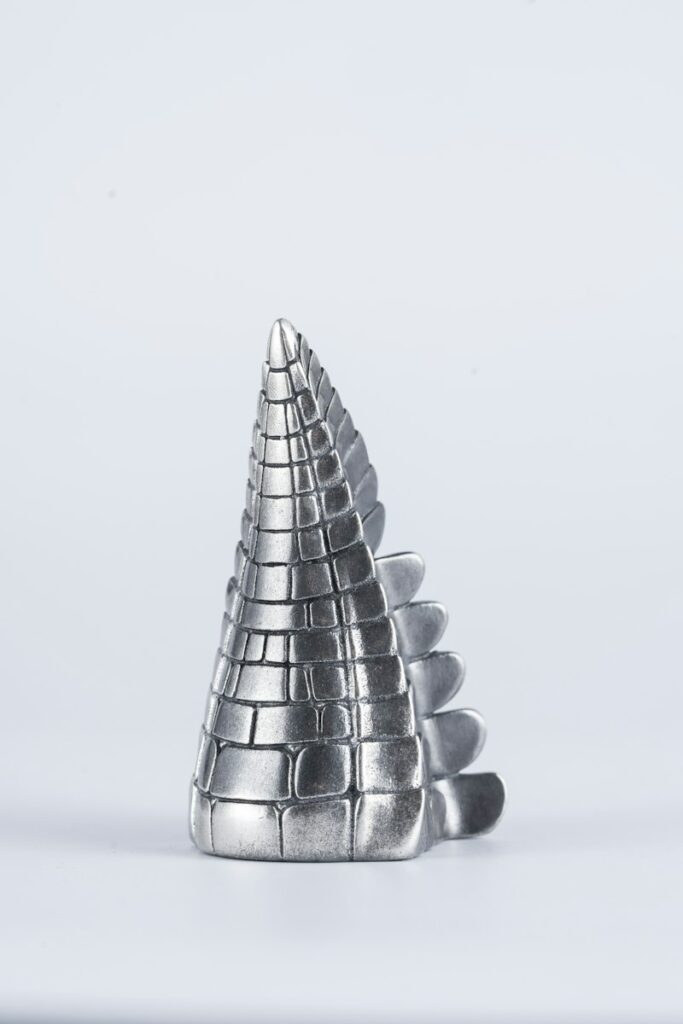
The metal cone in the photo is a reference for the shape and flat base. For a clay version, roll a portion of clay into a short cone with a broad, flat base. Before the clay dries, hold a ring next to the cone to check that the tip is narrow enough to fit and the base is wide enough to support it. Smooth the clay and keep the tip rounded so it is less fragile. Check that it stands upright on a level surface before leaving it to dry. Once hardened, paint the ring cone in ivory, blush, or muted terracotta and place it on a dresser away from moisture. This is a practical way to practice three-dimensional shaping without specialized equipment.
4. Mini Clay Mushrooms
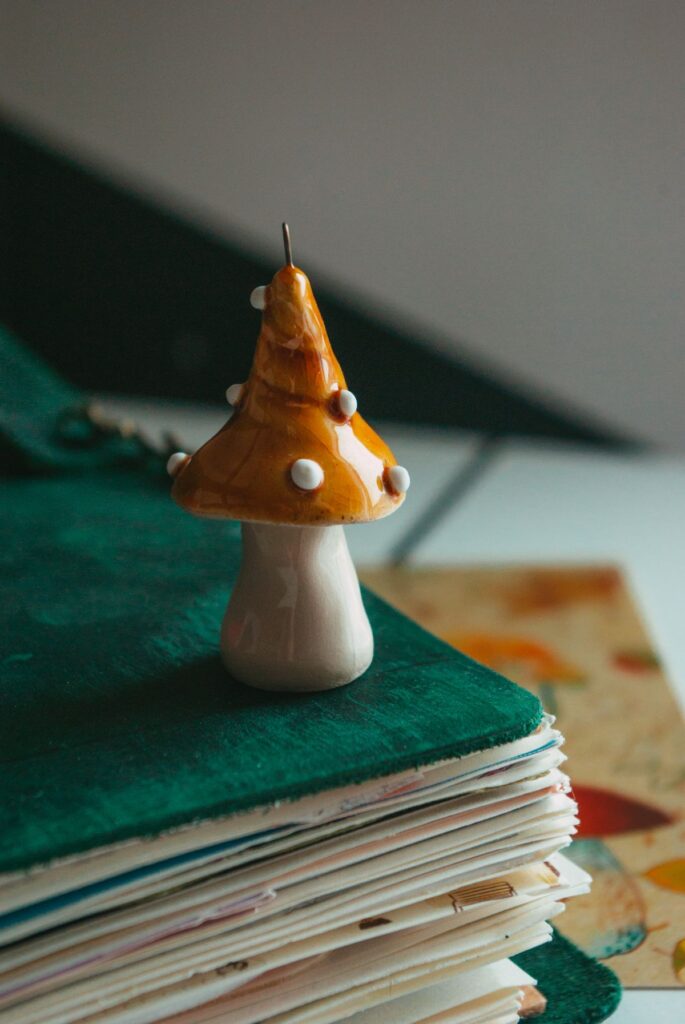
The mushroom figurine pictured above illustrates how a tiny sculpted shape can bring playful woodland detail to shelves and decorative trays. The photo is visual inspiration; the exact clay formulation is not identified. Shape a short, sturdy stem and a separate rounded cap. To join them, lightly roughen the contacting surfaces and apply a little clay-and-water slip if recommended by your clay manufacturer; then press and blend the seam. Support the shape while it dries. Finish it with cream stems and warm brown or terracotta caps, keeping the piece indoors and away from heat and water.
5. Personalized Clay Gift Tags
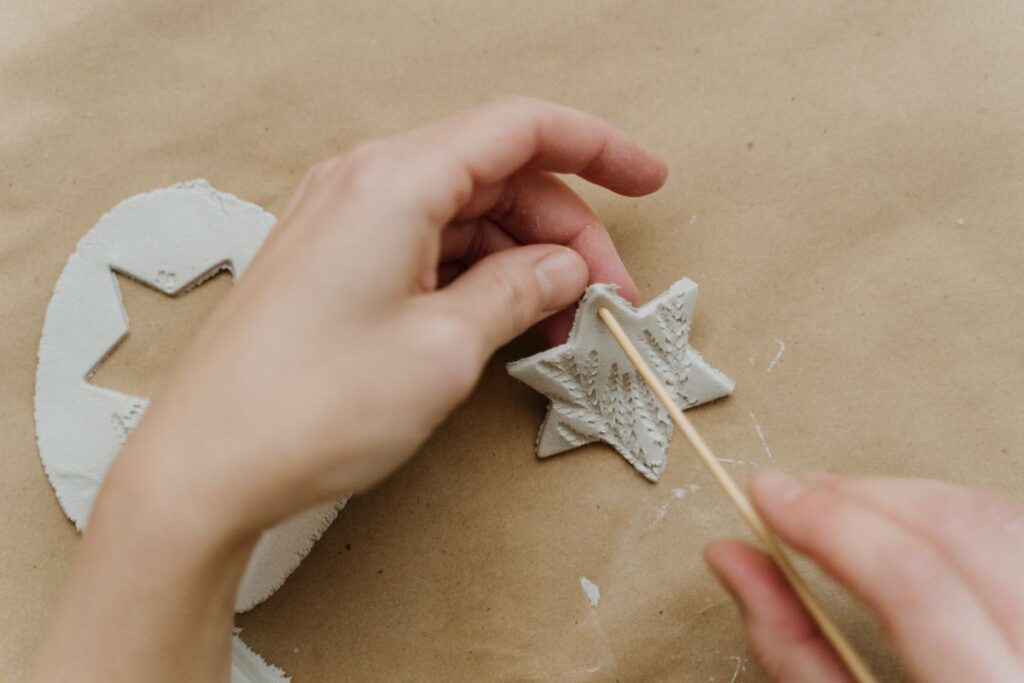
To make a personalized clay gift tag, roll an even slab and cut out stars, hearts, or circles. Add a name or short greeting with letter stamps while the surface is still soft, and make a small hole near the top for ribbon. Leave enough clay between the hole and the edge to reduce breakage. Once fully dry, smooth rough edges and tie the tag to gift wrapping with a narrow piece of cotton ribbon or twine.
6. Minimalist Clay Wall Charms
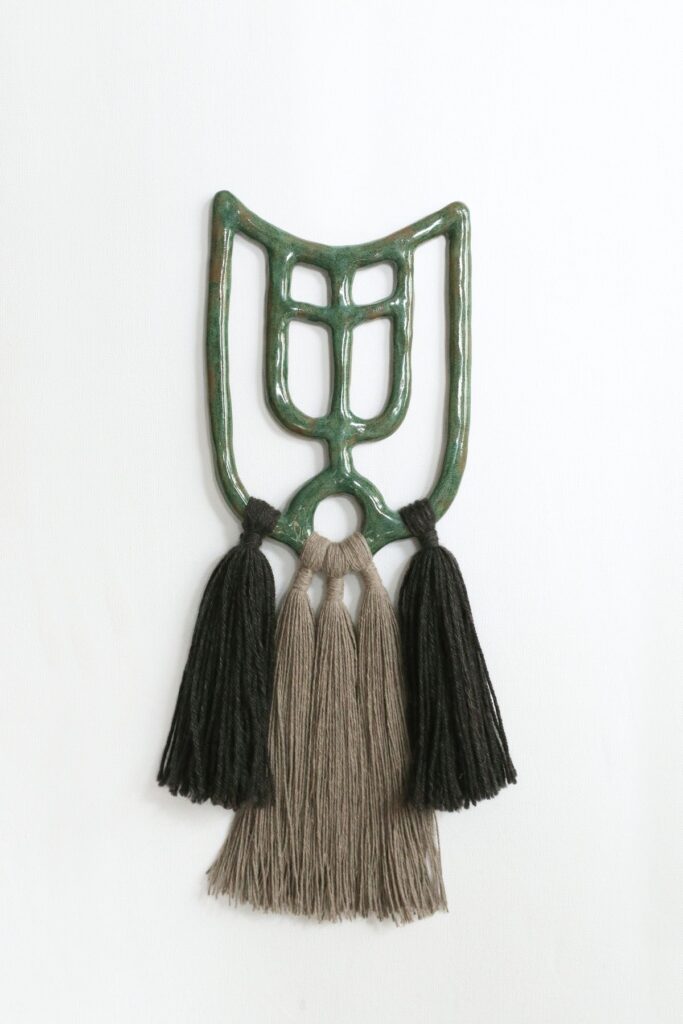
The hanging ceramic decoration pictured above shows the visual effect of a simple sculpted shape and dangling tassels. For a similar lightweight air-dry clay wall charm, cut a few small arches, circles, and abstract shapes from evenly rolled clay. Create hanging holes before the pieces harden, then allow them to dry thoroughly. Thread the pieces onto light cotton cord in a balanced vertical arrangement. Try mixing smooth shapes with one or two stamped or leaf-textured details. Hang them in a dry indoor spot where they are unlikely to swing against hard surfaces.
7. Stamped Clay Keepsakes
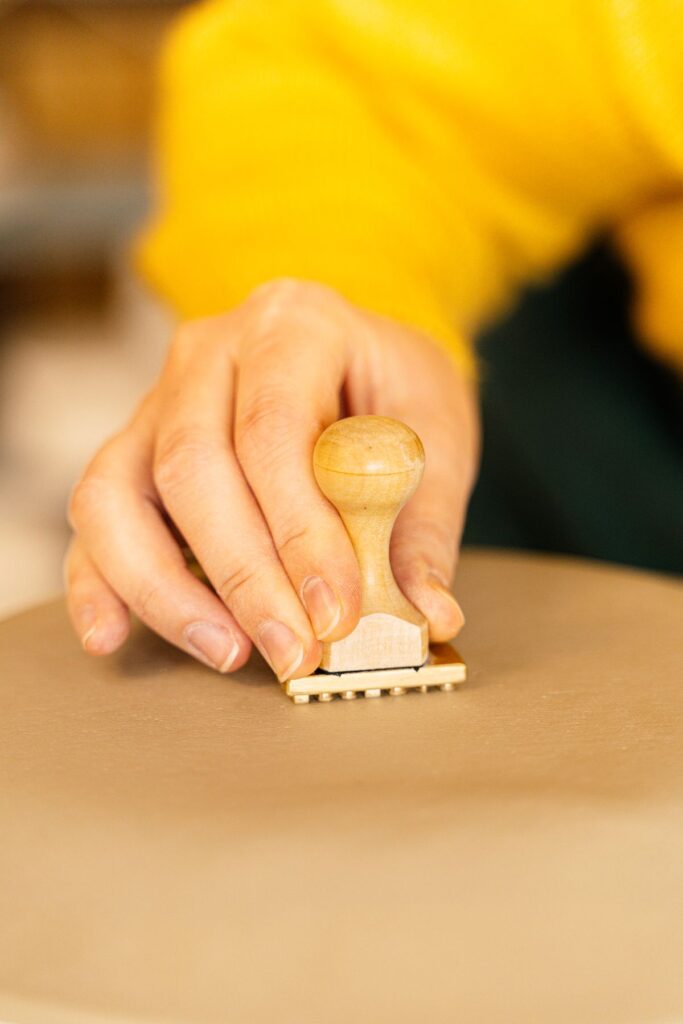
Roll the clay into a flat slab, cut a neat shape, and gently press letter stamps or a textured object into the soft surface. Avoid pressing so deeply that the clay becomes fragile. These pieces make thoughtful decorations for a desk or memory box, and simple marks often look more refined than crowded designs.
Drying, Painting, and Sealing Tips
Drying times depend on the clay brand, thickness, temperature, and humidity. For example, Crayola’s air-dry clay guidance describes approximately 24 hours to become dry to the touch and about 72 hours to dry completely; thicker pieces can take longer. Follow the directions on your specific product, let pieces dry with adequate airflow, and avoid heating them in an oven unless the manufacturer expressly permits it.
Paint only once your project is dry all the way through. Thin layers of acrylic paint work well for many air-dry clay products. If you want a protective finish, test a suitable acrylic varnish on a spare piece first. As Crayola explains about sealing, varnish does not make its air-dry clay waterproof. Decorative clay pieces are best kept indoors and away from standing water; do not use them as food vessels or heat-resistant candleholders unless the specific materials are certified for those uses.
Frequently Asked Questions
Does air-dry clay need an oven?
No. Air-dry clay is designed to harden through exposure to air, so ordinary beginner projects do not require a kiln or pottery wheel.
Can you paint air-dry clay?
Yes, many air-dry clay products can be painted after drying completely. Check the instructions for your particular clay, and test paint or varnish on a small sample if possible.
What is the easiest project to start with?
A simple stamped keepsake or small trinket dish is a good first choice because each teaches rolling, cutting, and smoothing without complicated joins.
Final Thoughts
A small handmade detail can add warmth to a home or make a gift more thoughtful. Whether you begin with a floral trinket dish, a botanical ornament, or a simple stamped keepsake, take your time and enjoy the process. These easy air dry clay crafts are about learning a few useful techniques and turning them into something personal.
Helpful Resources
For reliable materials and care instructions, see Crayola’s drying guidance and its advice on sealing air-dry clay. The other photographs in this article were sourced from Pexels and depict real clay crafting or handmade decorative objects.
You May Also Like

CRAFTS
7 Beautiful Handmade Home Decor Crafts for Beginners
Explore approachable projects in macramé, embroidery, crochet, and more.