How to Tie Fabric Gift Wrap in 7 Steps
Here’s how to tie fabric gift wrap around a rectangular box using a square scarf or cloth napkin. The trick is keeping the first folds in place while you tie the ends. These seven steps show where to put your hands, how to adjust uneven tails, and how to finish the knot without crushing the lid.
1. Overlap the first two corners
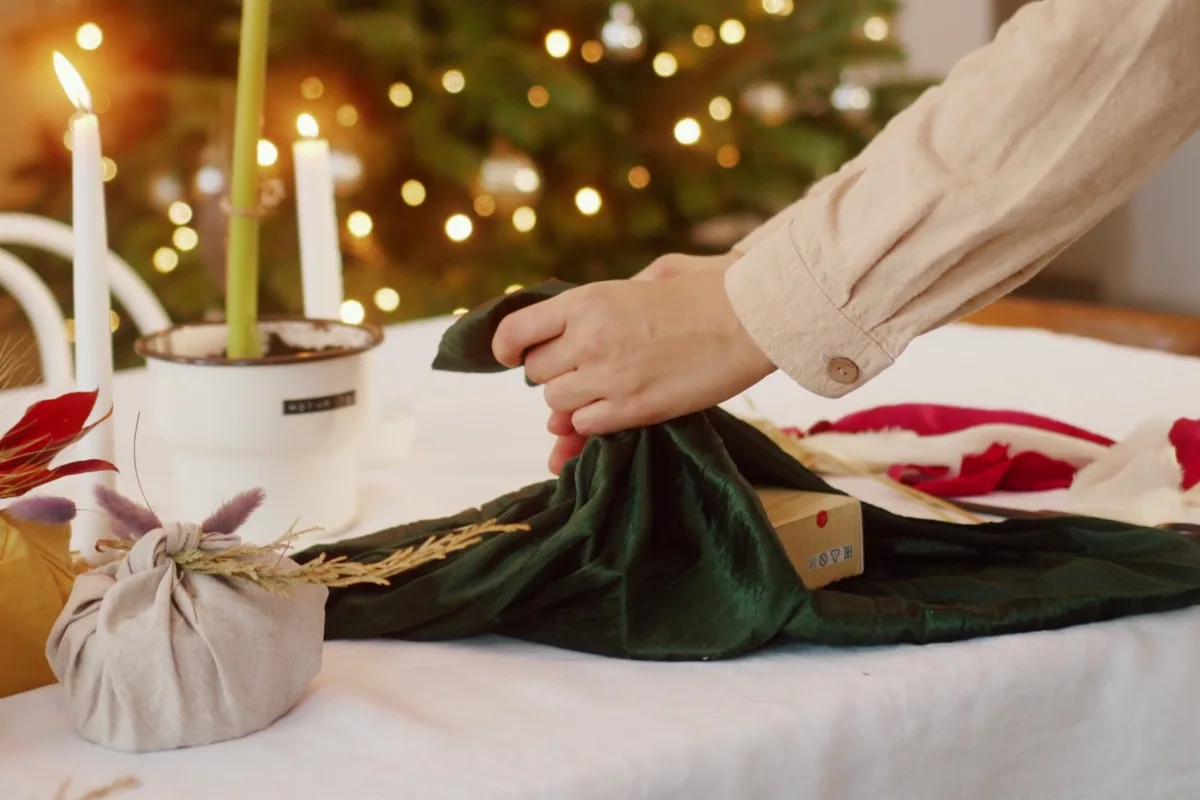
The green cloth stays in place under one hand while the loose corners rest on the table. Start with a square scarf or napkin, pattern facing down, and set the box in the center with a cloth corner pointing toward you. Fold that corner across the lid, then fold the opposite corner over it. If a tip extends beyond the lid, fold it back under itself. Hold the overlap with your palm and check that the two remaining corners are free.
2. Check that both side ends reach
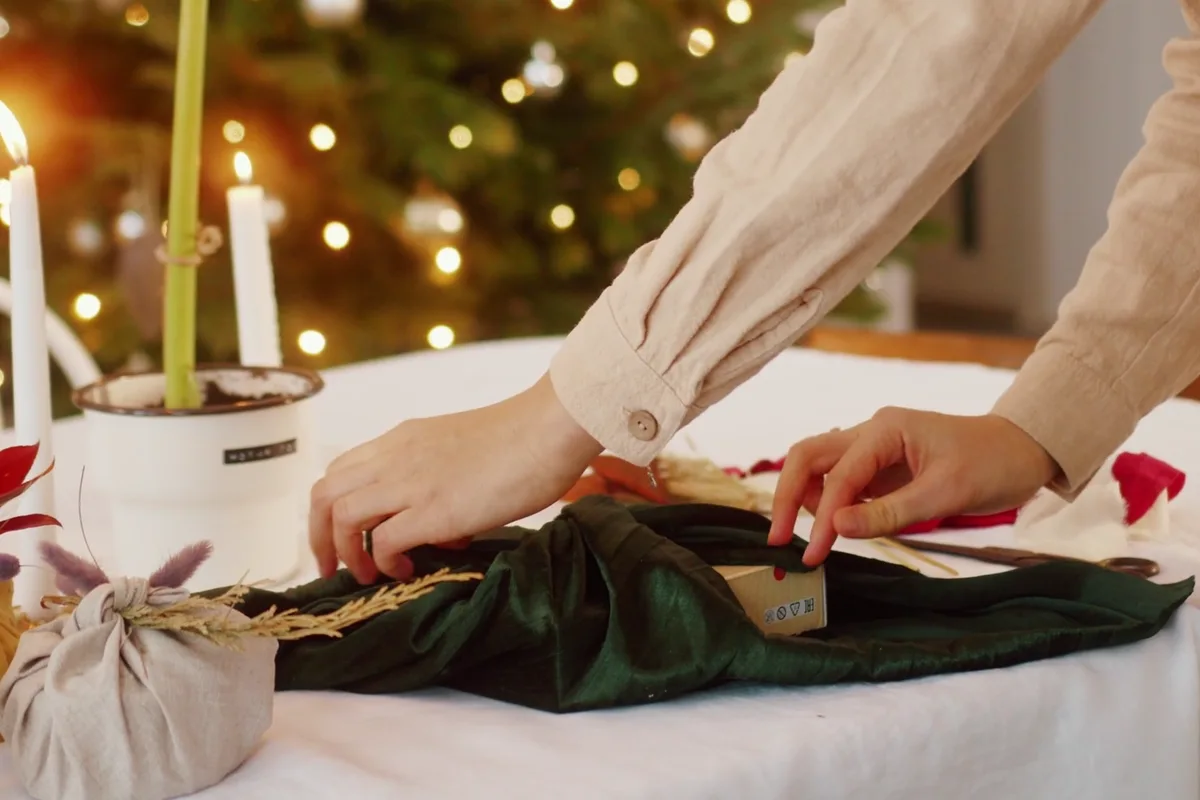
In the photo, the hands reach toward opposite ends of the parcel. Pick up one corner in each hand and bring them together above the center of the lid for a trial fit. You need enough fabric to cross the ends twice. If one end falls short, open the first folds and move the box a little away from the short corner to leave more cloth on that side. Test again before tying. If both ends are short, switch to a larger square.
3. Gather the fabric at each short side
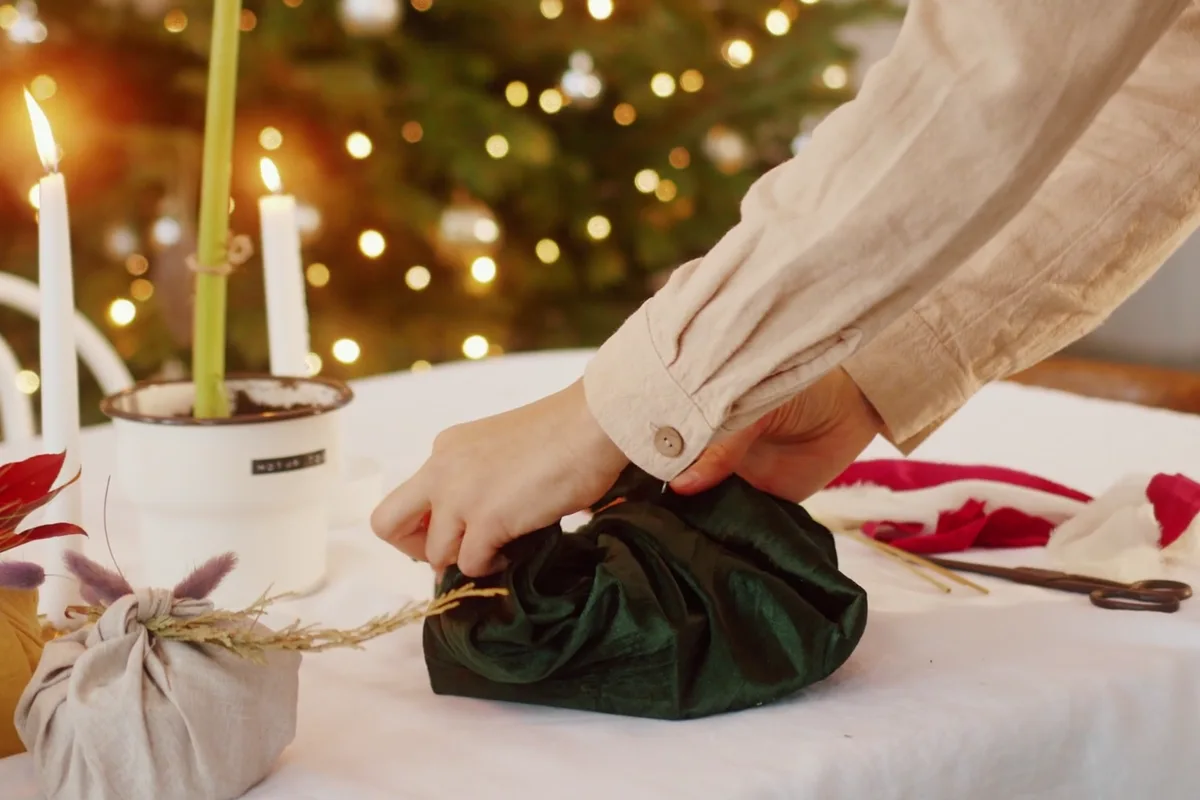
Look at the soft green pleats where the cloth turns around the short side of the box. To form them, pinch the fabric just above each bottom corner and guide the extra width inward. Gather the loose end between your fingers to make a tail. Repeat at the other side. Check the bottom edge with your thumb. Fabric trapped underneath can make the parcel rock on the table, and it is easier to free it while the wrap is still loose.
4. Cross the tails over the lid
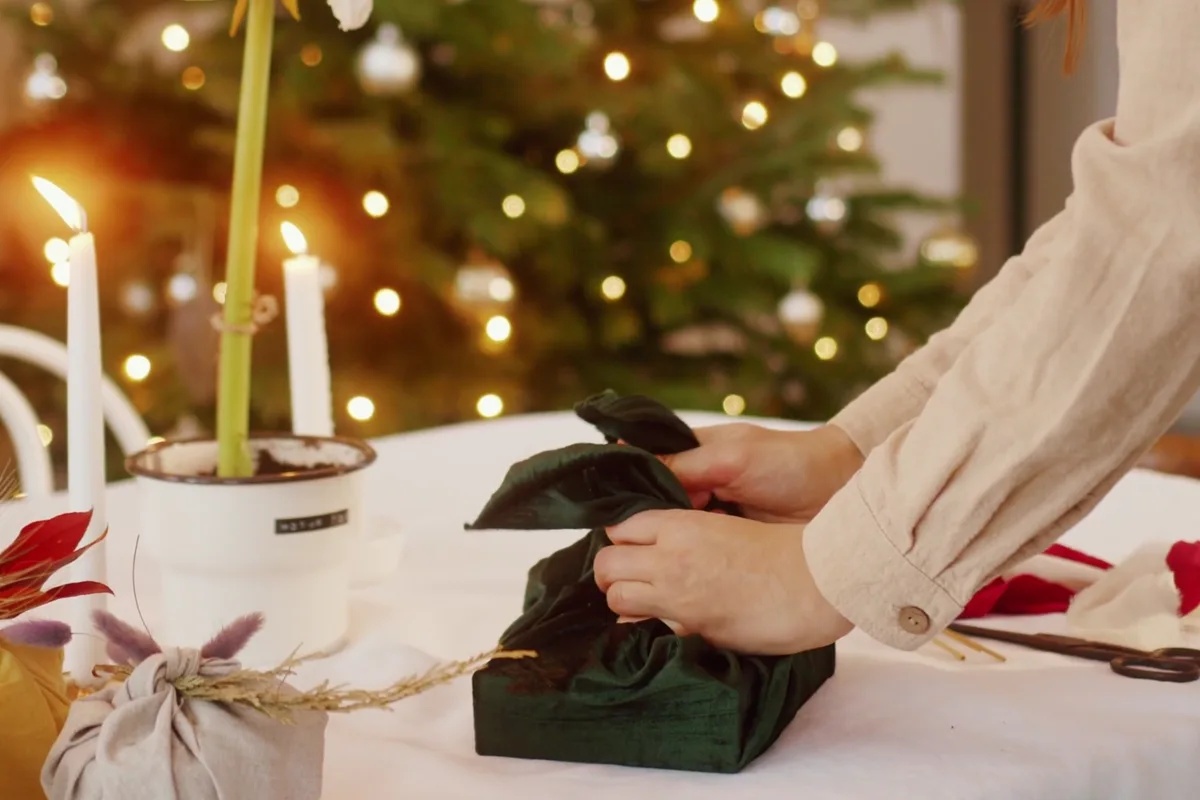
With both green tails raised above the package, bring the right-hand tail over the left. Make the crossing over the broad, flat part of the lid, leaving room for your fingers underneath. If the cloth has a printed border or a contrasting underside, turn the tails now to choose which side will show. Keep the tails broad near the box so that the fabric continues to cover the corners.
5. Pass one tail through the crossing
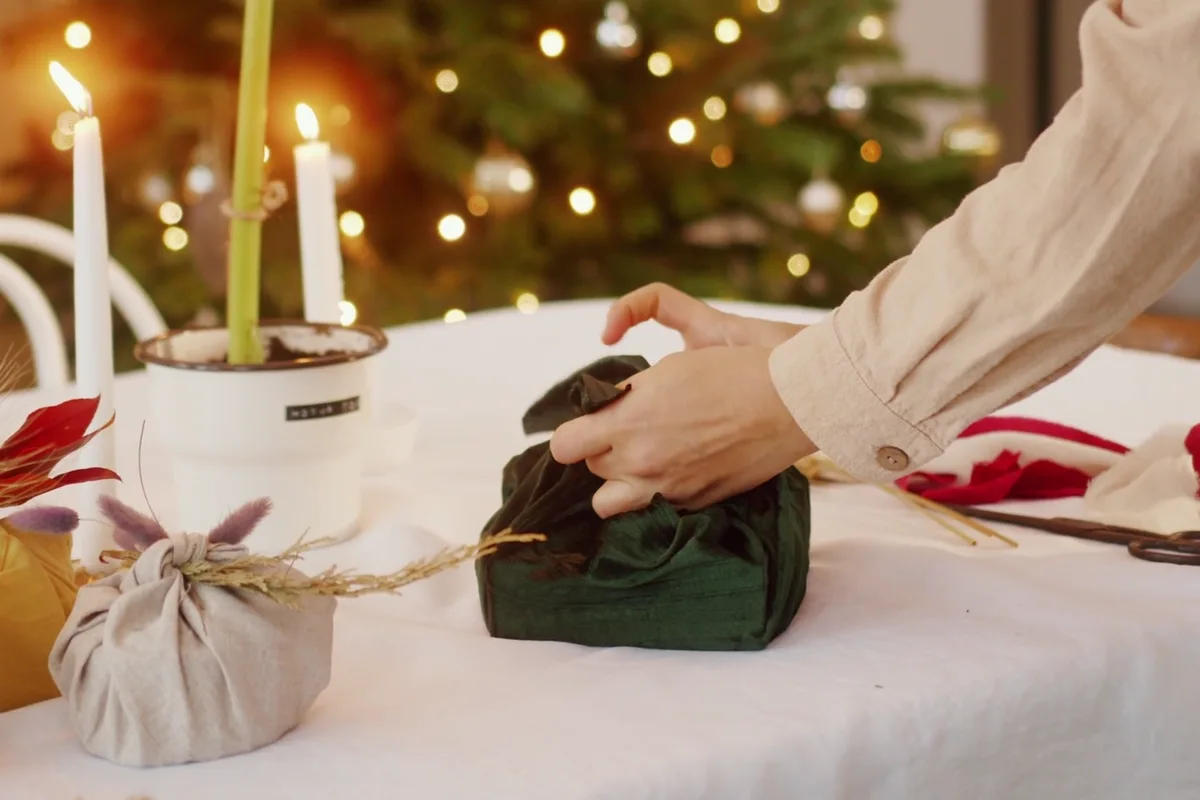
One hand holds the gathered cloth upright while the other works close to the lid. Keep a small opening under the crossing with your thumb. Feed the upper tail through the opening and take an end in each hand again. Draw the ends apart sideways until the first tie holds the folds. Watch the lid as you pull. If it starts to bow, ease the tension before making the second tie.
6. Reverse the crossing to finish the knot
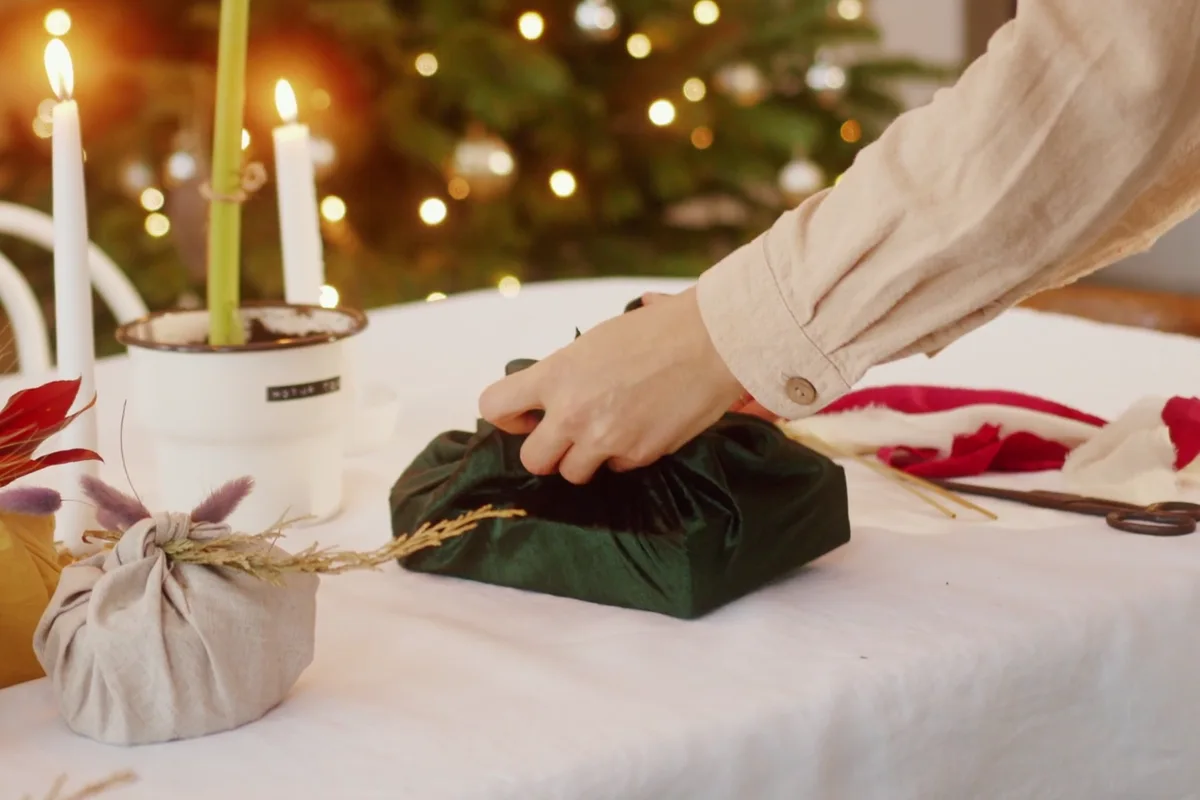
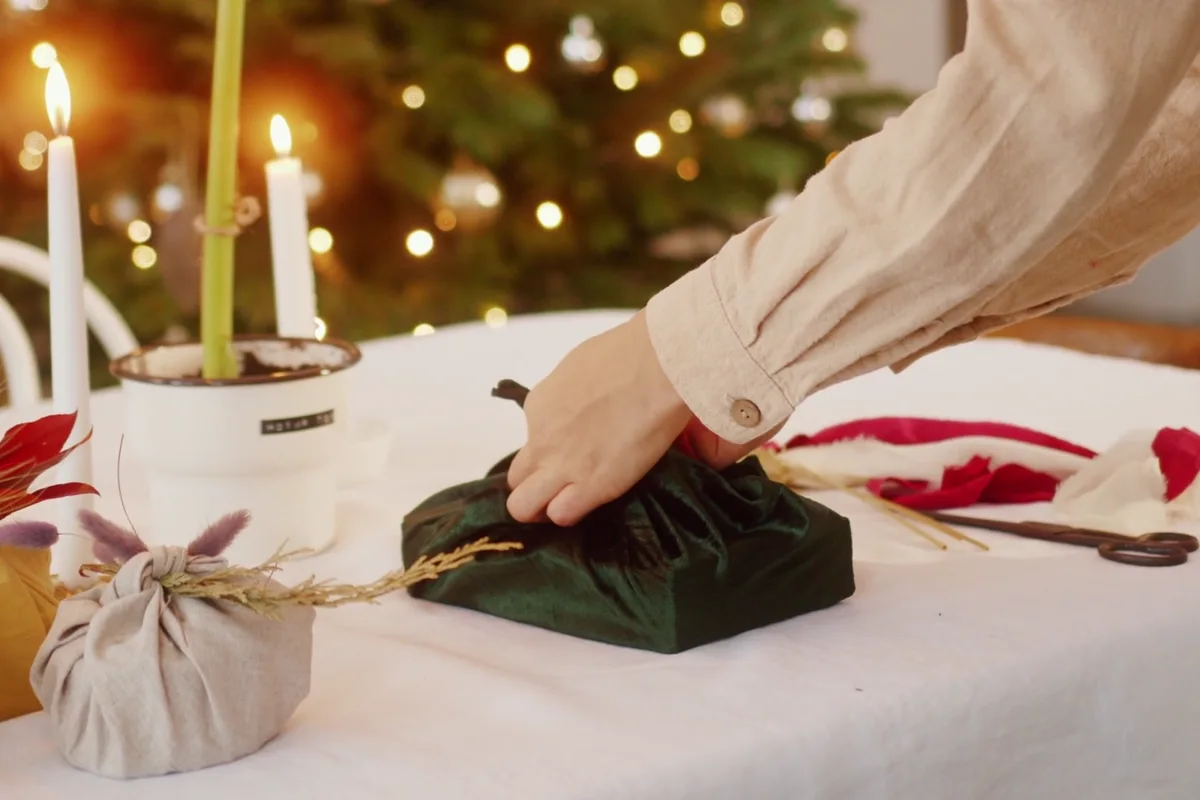
In this photo the hands are close to the top of the parcel, where you can control the tension. After crossing right over left for the first tie, cross the left-hand tail over the right for the second. Pass it underneath and pull both ends gently out to the sides. A thick knot with very short tips can be hard to undo. If that happens, reopen the wrap and try a thinner scarf or a slightly larger square.
7. Smooth the sides and test the wrap
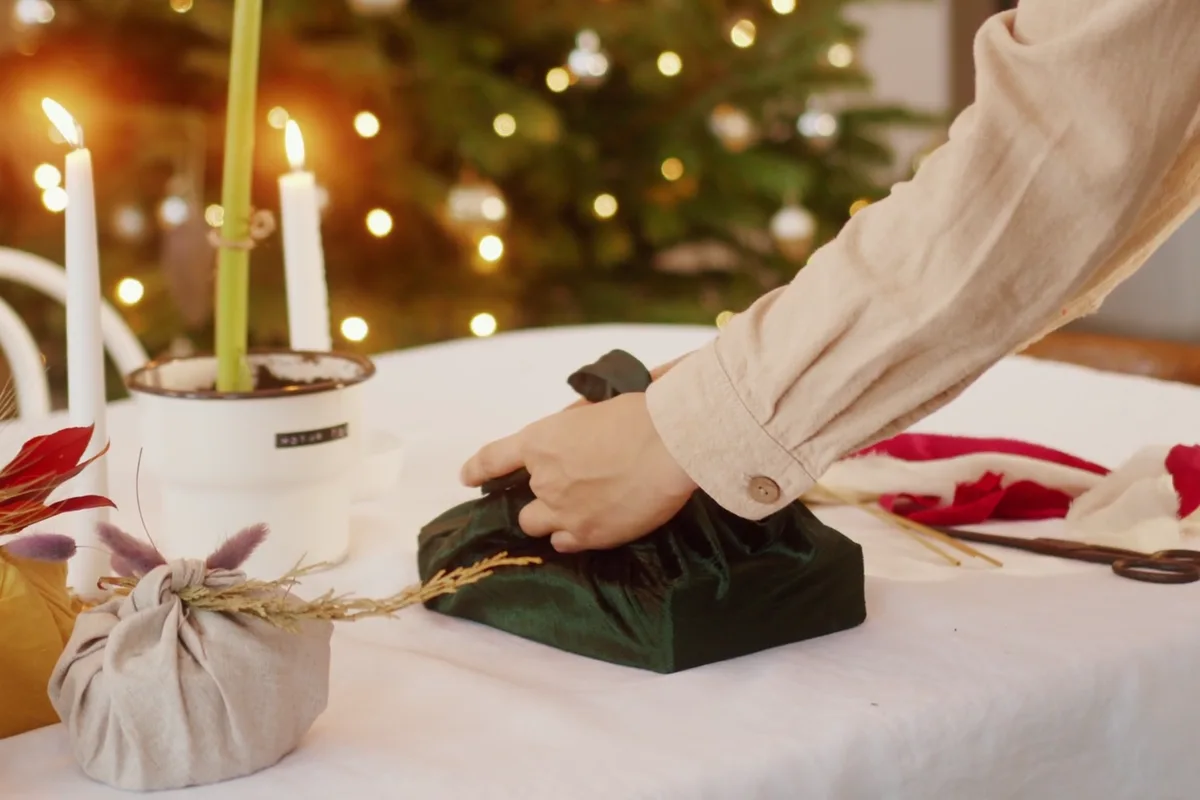
The parcel sits on its rectangular base as fingers settle the cloth along the edge. Set yours down, let go, and check the four corners. Tuck a small flap beneath the nearest fold. If a whole side opens, undo the knot and gather that side again. Slide a handwritten tag beneath one tail if you like. When you hand over the gift, support the base so the recipient can loosen the knot and keep the cloth for another occasion.
Practical Tips
Test the fit before folding. Two opposite corners should meet over the lid with enough cloth left to cross twice. Try a napkin from your drawer before buying fabric. If your only napkin falls short, save it for a smaller box and try one of our kraft paper gift wrapping ideas for this present.
Final Thoughts
A good test is to set the parcel on the table and release your hands. If the sides open up, undo the knot and smooth the first folds closer to the lid. If it stays wrapped, slip a small gift tag under a tail.
Sources and Photo Credits
All eight photographs are cropped stills from Anastasia Shuraeva’s gift-wrapping footage, used under the Pexels License. For another illustrated basic knot, see Keep Omaha Beautiful’s low-waste wrapping guide.