How to Organize a Small Home Office Desk in 7 Practical Steps

How to Organize a Small Home Office Desk in 7 Practical Steps
A home office does not need a separate room, expensive furniture, or a perfectly styled desk to work well. If your computer shares a bedroom corner or a narrow table, a few intentional changes can make that space easier to use. This guide shows how to organize a small home office desk in seven practical steps: create a clear work zone, contain supplies, file papers, improve lighting, manage cords, plan the day, and finish with a quick reset. Each step is paired with a real photograph and a realistic action you can adapt to the furniture you already own.
In This Article
- 1. Create One Clear Work Zone Around Your Screen
- 2. Keep Pens and Small Supplies in One Organizer
- 3. Give Paperwork a Simple Folder System
- 4. Use a Task Lamp Without Screen Glare
- 5. Keep Charging Cables Neat and Out of the Way
- 6. Use a Notebook for Your Next Three Tasks
- 7. Finish With a Five-Minute Desk Reset
1. Create One Clear Work Zone Around Your Screen
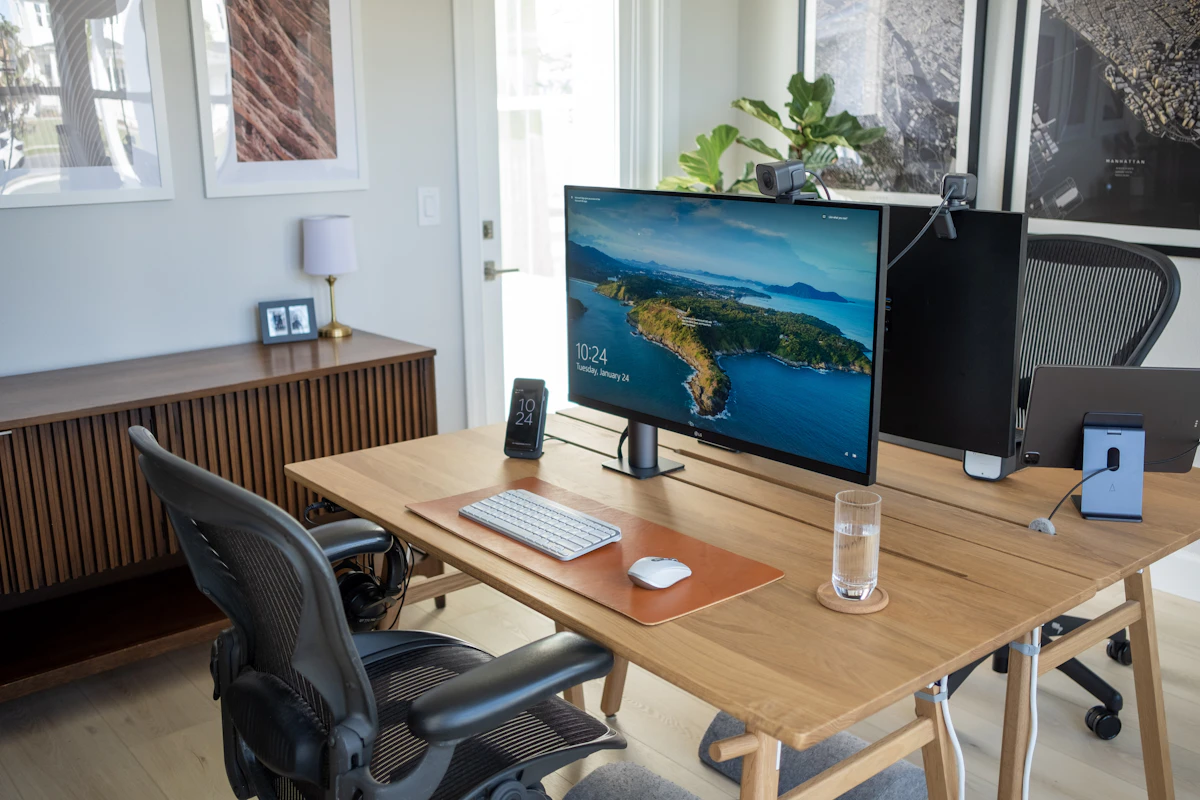
The photo shows a neatly arranged office desk with a computer monitor and keyboard, a useful example of keeping the main work surface focused on the things you use. Begin by clearing everything from your own desktop, then return your computer, keyboard, and mouse before adding decorative items. Sit in your normal chair and check whether your elbows can rest close to your sides, your wrists stay comfortably aligned, and your knees have room underneath. The OSHA computer-workstation guide recommends arranging the equipment to suit your body rather than forcing yourself into a fixed setup. A separate monitor can sit directly in front of you, roughly an arm’s length away, but your screen size and visual needs may change the exact distance. If you use a laptop for long periods, consider a stable stand plus an external keyboard and mouse, if practical. Do not use books as an unstable stand for expensive equipment. Mark the area you need to type, move the mouse, and write notes, and keep that area free. A smaller desk can function well when the working zone is clear and your feet, chair, and cables fit safely.
2. Keep Pens and Small Supplies in One Organizer
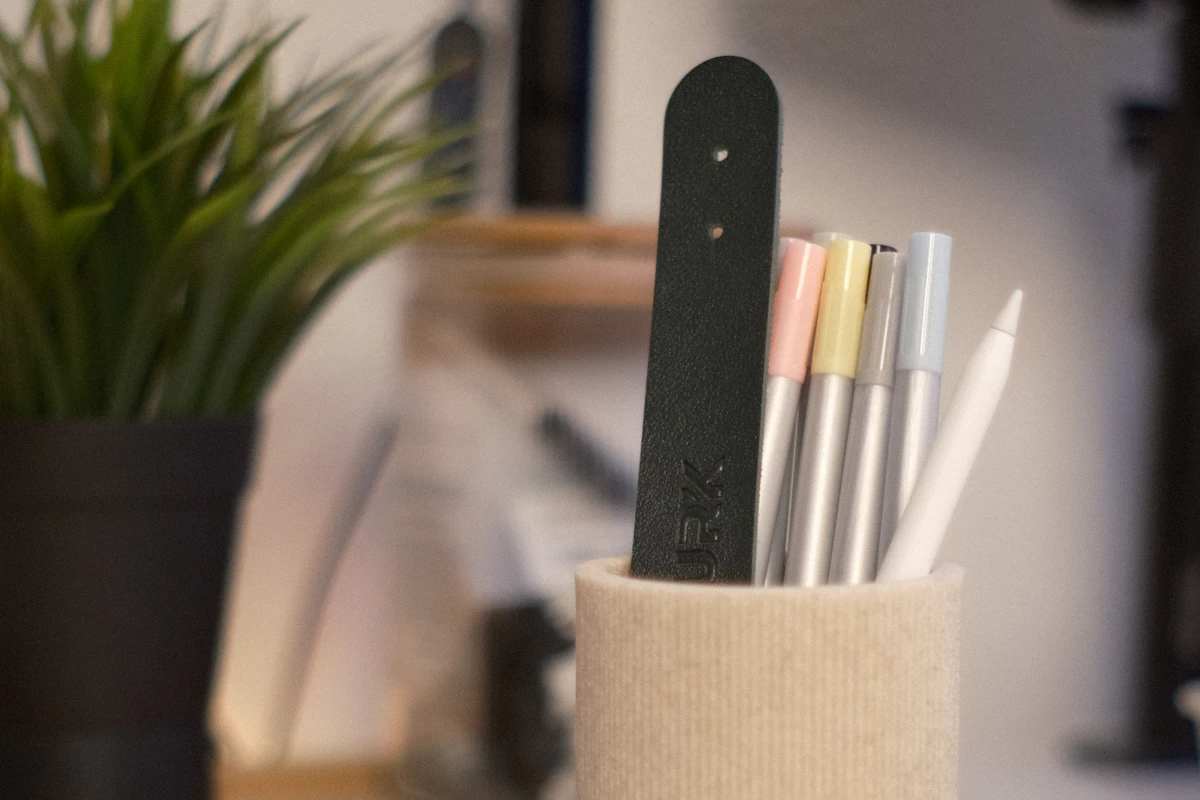
In the photograph, colorful pens and a stylus stand upright inside a beige desk organizer. You can adapt that simple idea without buying a large storage system. Take every pen, marker, sticky-note pad, paper clip, and spare charger off your desk and group like items together. Test the pens and recycle empty ones where local rules allow; keep only the writing tools you really use in your primary holder. Put rarely used markers, extra staples, and duplicate cables into a drawer or a labeled box nearby. A small cup or a clean container you already own can work as well as a purpose-made organizer. Keep the holder toward the back or side of the desk so it does not block the mouse or writing area. If your home office doubles as a bedroom or living space, one portable caddy lets you put supplies away after work. Avoid stacking tall items where they could fall onto a keyboard or lamp. Start with fewer supplies within reach; only add extra compartments after you notice a genuine storage problem. This is the same principle of keeping a limited number of everyday essentials visible in our small kitchen countertop organization ideas, adapted for a work surface.
3. Give Paperwork a Simple Folder System
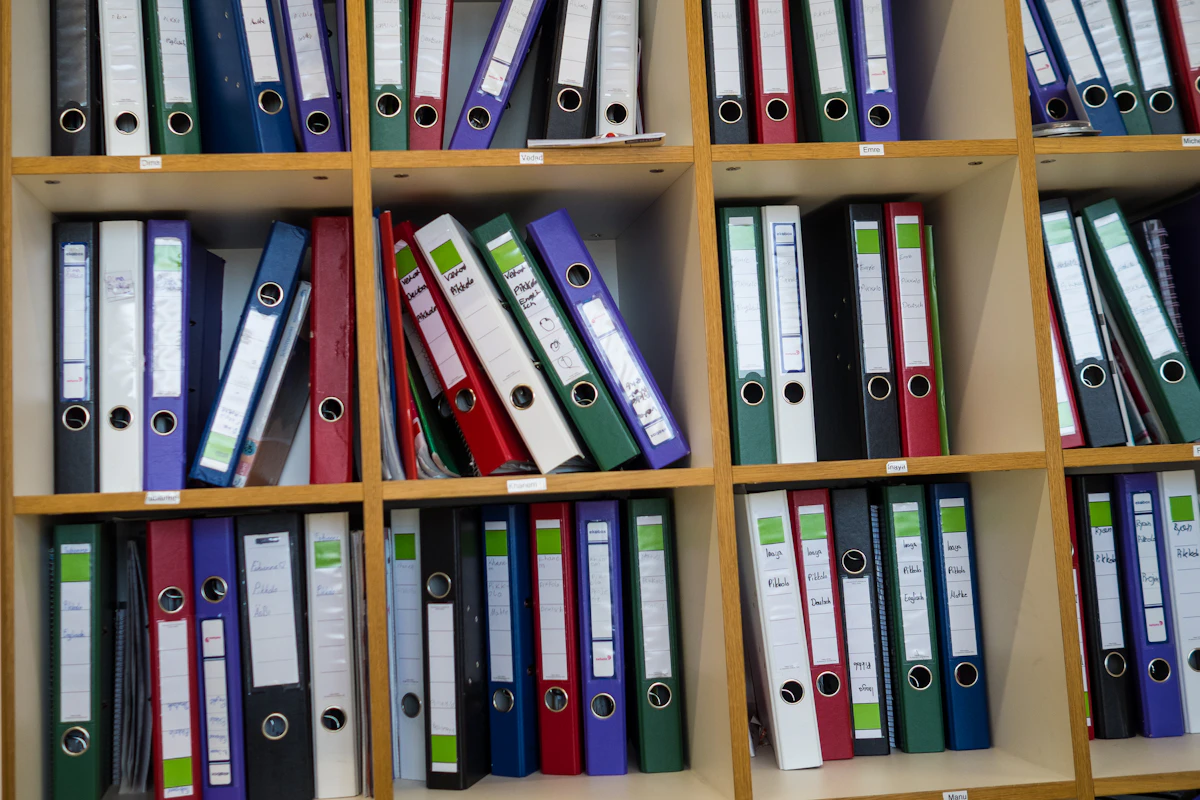
The image shows rows of binders and folders arranged on shelving. It illustrates categorizing paper records, even though a small home desk will probably need far fewer binders than the large collection shown. Instead of copying the entire shelving setup, begin with three slim folders labeled To Action, Reference, and Archive. Place bills, forms, or notes that still need a decision in the action folder; keep reusable instructions in reference; and file documents you genuinely need to retain in archive. Review the action folder at least once a week so it does not become a permanent pile. Separate sensitive financial and personal records from general stationery, and store them securely rather than leaving them openly visible. If you do not need printed copies and your organization permits it, scan or save digital versions using a sensible naming system and reliable backup. Do not discard records based on a generic timeline: tax, employment, and legal-document retention requirements depend on the document and your location. A narrow vertical file holder, drawer, or shelf can handle the same basic job as the pictured shelving without occupying an entire wall. The aim is to find the right paper when you need it.
4. Use a Task Lamp Without Screen Glare
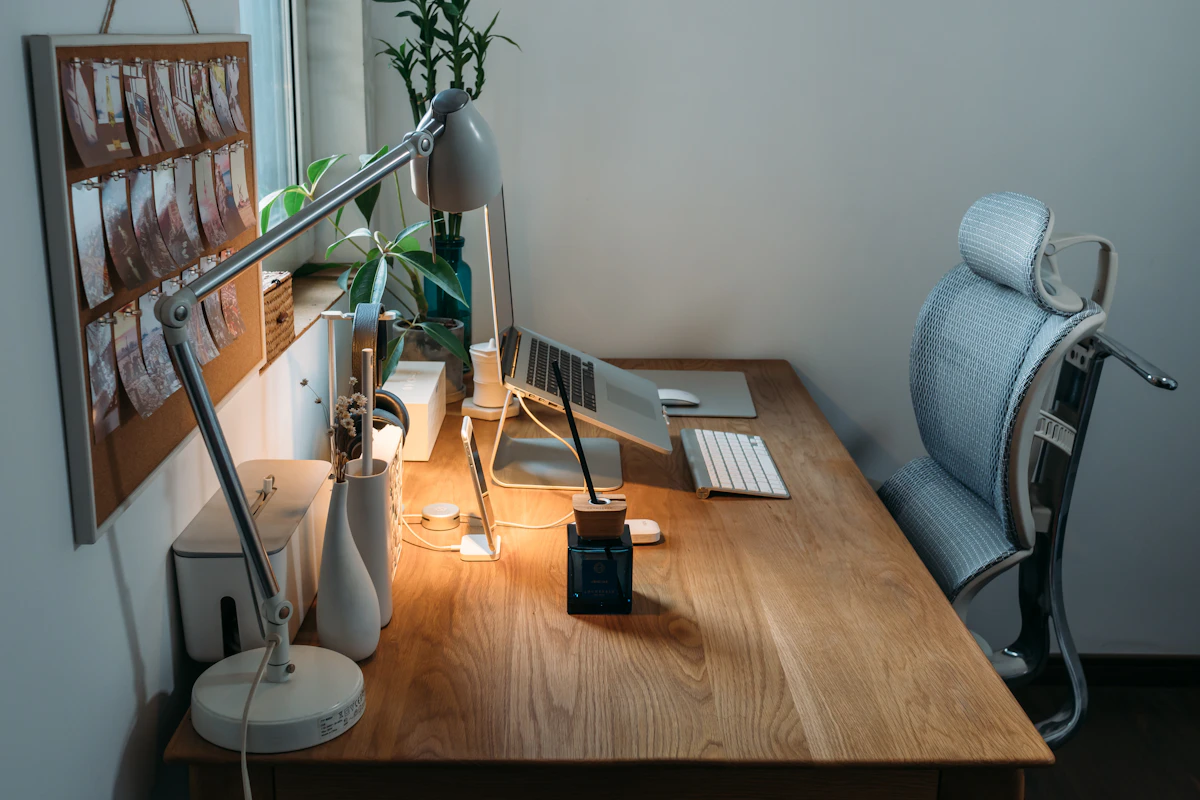
A gray desk lamp is visible on the worktable in this photo. That makes the image a useful illustration of targeted lighting, although the photograph cannot demonstrate how a lamp will feel to your eyes in your own room. Place an adjustable lamp to illuminate paper notes or your keyboard without reflecting a bright spot into the screen. Try switching it on at your normal working time and look for glare on the monitor, shadows across your notebook, or light shining directly into your face. OSHA’s workstation-lighting guidance recommends task lighting for reading and writing while keeping reflections away from the display. If your desk sits beside a window, try positioning the screen at a right angle to the strongest daylight and use blinds when necessary. Choose a lamp with a stable base and keep its cord out of the walking space; do not drape papers or fabric over a hot shade. Use the light you already own before shopping for another fixture. A comfortable setup combines enough illumination for the task, a readable screen, and a clear surface for working.
5. Keep Charging Cables Neat and Out of the Way
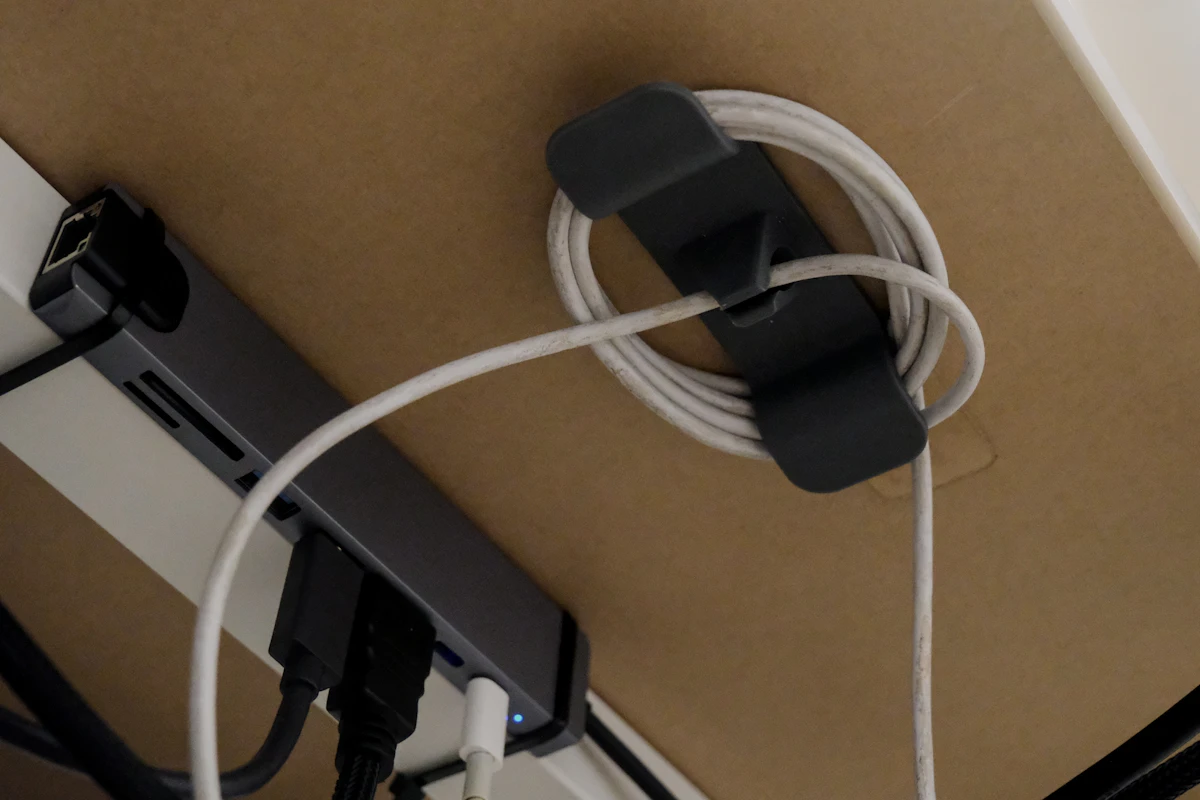
The photograph shows a white charging cord looped neatly inside a cable holder beneath a desk. This is a specific example of removing loose cable length from the floor, not evidence that every power cable should be wound tightly. Start by identifying which cords belong to your monitor, laptop, phone charger, and lamp. Unplug equipment safely before moving it, then route each cord along a reachable path that avoids chair wheels, walkways, sharp edges, and moving desk parts. Reusable hook-and-loop ties or suitable cable clips can hold excess low-voltage signal cables in place; do not pinch, tightly coil, or conceal any cable in a way that creates heat or violates its manufacturer’s directions. Keep power strips and plugs accessible and ventilated, and never daisy-chain extension cords or use temporary cords as permanent household wiring. The Electrical Safety Foundation International explains common extension-cord hazards, including overloaded outlets and damaged insulation. If a cable is hot, frayed, or difficult to reach, stop and correct the problem instead of hiding it for a cleaner photograph. Tidy cable management should make your desk safer and easier to clean, not simply make the cords invisible.
6. Use a Notebook for Your Next Three Tasks

In the photograph, a laptop, smartphone, pen, and notebook share a wooden desk. The notebook is the useful detail here: it gives you a place for a short plan instead of leaving sticky notes scattered across the workspace. Before starting work, write down the next three tasks you can realistically complete, making each one specific enough to act on. For example, replace “sort paperwork” with “file this week’s receipts,” or replace “clean desk” with “put spare pens in the drawer.” Keep the page beside your laptop while you work, but leave enough clear space to type and move the mouse. You do not need a new planner or an elaborate productivity system. One inexpensive notebook or a simple digital note works, as long as you can find it again. If your phone is distracting, place it slightly away from your main work zone while keeping important alerts accessible. At the end of the day, check off completed items and move only the genuinely unfinished priorities to tomorrow. For another approach to making a workday comfortable, our simple desk break ideas
7. Finish With a Five-Minute Desk Reset
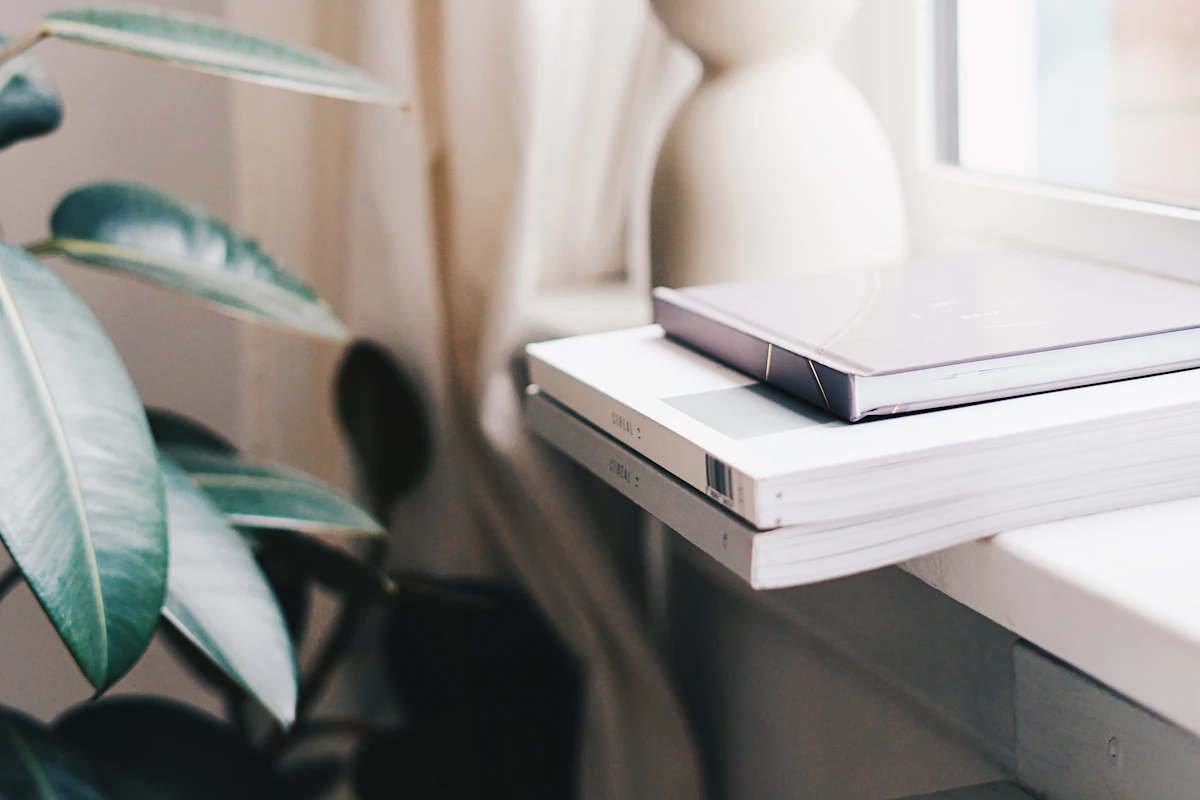
The last image shows an orderly arrangement of books and planner-style paper on a desk. It is a picture of a tidy surface, not of someone cleaning it; your five-minute reset is the routine that can help you reach a similarly usable starting point. First, close open files and save work according to your normal backup process. Put loose pages in the action or reference folder you assigned earlier, return writing tools to their holder, and move cups or dishes away from electronics. If the surface needs wiping, use a suitable cloth and follow the desk and device manufacturer’s directions; never spray cleaner directly onto an electronic device. Put chargers where they belong without creating tight bends or blocking ventilation. Finally, look at your notebook, write the first practical task for the next work session, and leave the central desk area clear. This routine may take two minutes on a light day or a little longer when paperwork has built up. Try it for one week and notice which type of clutter keeps returning. If your workspace is also part of an entryway or living room, the same small daily reset can complement our small entryway organization ideas. The best system is one that remains easy to maintain when life gets busy.
Practical Tips Before Buying Another Organizer
Try the setup for a few working days before spending money. The best organizers solve recurring problems; they should not become more objects to manage.
- Measure first: Include chair clearance, doors, vents, and access to power outlets, not just the desktop width.
- Use what you own: A mug can hold pens; an existing folder can handle receipts; a drawer can keep spare cables.
- Protect your work: Keep confidential documents secure and back up important digital files.
- Keep the essentials reachable: Give rarely used stationery or décor a location away from the main work area.
- Review what returns: If paper piles or loose chargers keep appearing, adjust the system where it fails rather than buying the same organizer again.
Final Thoughts
A useful small home office starts with the work you need to do, not with matching accessories. A clear computer zone, a small supply holder, a few folders, workable lighting, safely routed cords, and a simple written plan can make a limited desk feel easier to use. Set up the essentials first, test them during a real workweek, and change only the details that cause friction. A five-minute reset is a realistic way to keep your desk ready for tomorrow.
Useful Resources and Photo Credits
- OSHA: Computer Workstations — workstation layout and posture.
- OSHA: Workstation Environment — task lighting and screen glare.
- Cornell University: Equipment & Workspace — practical remote-work arrangements.
- Electrical Safety Foundation International: Cord Safety — cord routing and overload precautions.
- Unsplash License — license permitting editorial and commercial use of genuine photographs.
- Photograph credits: Olivier Amyot; Robert Bye; Alex de Koning; Richard Heinen; Samule Sun; Bedirhan Gül; Jakub Żerdzicki; Marissa Grootes. Cropped to 3:2 and compressed to WebP; final crop/clarity review remains pending.
You May Also Like

Home
7 Beautiful Small Kitchen Countertop Organization Ideas
Apply the same approach to another small surface: keep everyday items handy, give supplies a home, and clear the workspace.