7 Beautiful Pressed Flower Crafts for Beginners (Easy DIY Ideas)
7 Beautiful Pressed Flower Crafts for Beginners (Easy DIY Ideas)
These pressed flower crafts for beginners turn dried petals and leaves into framed art, greeting cards, scrapbook pages, and meaningful gifts. You do not need specialist equipment or perfect artistic skills. Start by pressing flowers gently, let them dry fully, and choose one small project that fits your style.
If you have only one or two dried stems, try a card or gift wrap. Save fuller arrangements for a frame or scrapbook page.
1. Make a Delicate Pressed Flower Frame
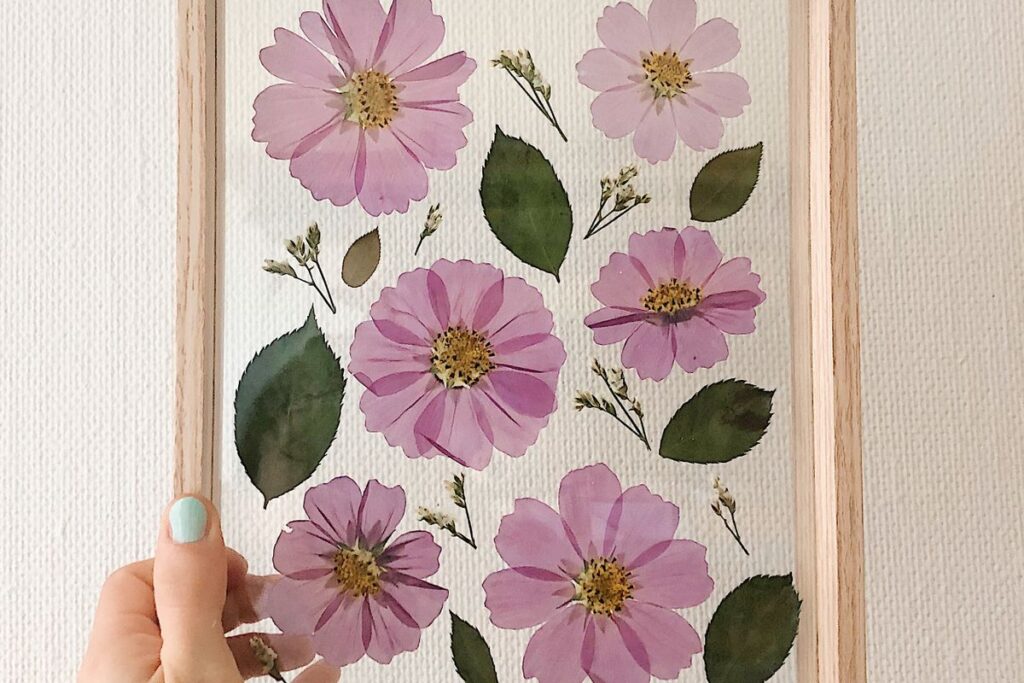
The wooden frame filled with pink flowers in this photograph shows how delicate blooms can become botanical wall art. To make something similar, choose a small picture frame, a piece of acid-free backing paper and completely dried, flat flowers. Arrange the petals on the backing before adding tiny dots of paper-safe craft glue. Let everything dry before closing the frame, and leave a little empty space around the arrangement so every flower stands out. Keep the finished artwork away from direct sunlight and humidity to help protect the fragile petals.
2. Decorate Simple Handmade Greeting Cards
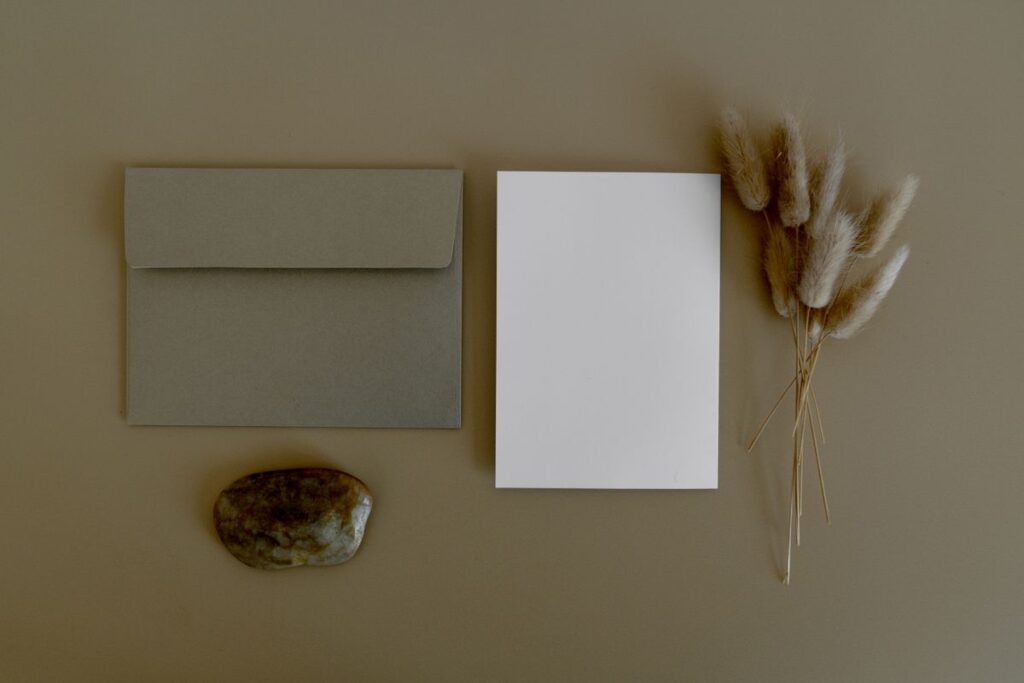
Start with folded heavyweight cardstock or a ready-made blank card, then position a small dried bloom or a few pressed petals on the front. Use a little clear-drying craft glue, press the design gently with a protective sheet of paper and let it dry thoroughly. Keep the embellishment flat if the card will be mailed, since thick stems can get crushed. Write a personal message inside for a beautiful, simple gift.
3. Create a Botanical Scrapbook Page
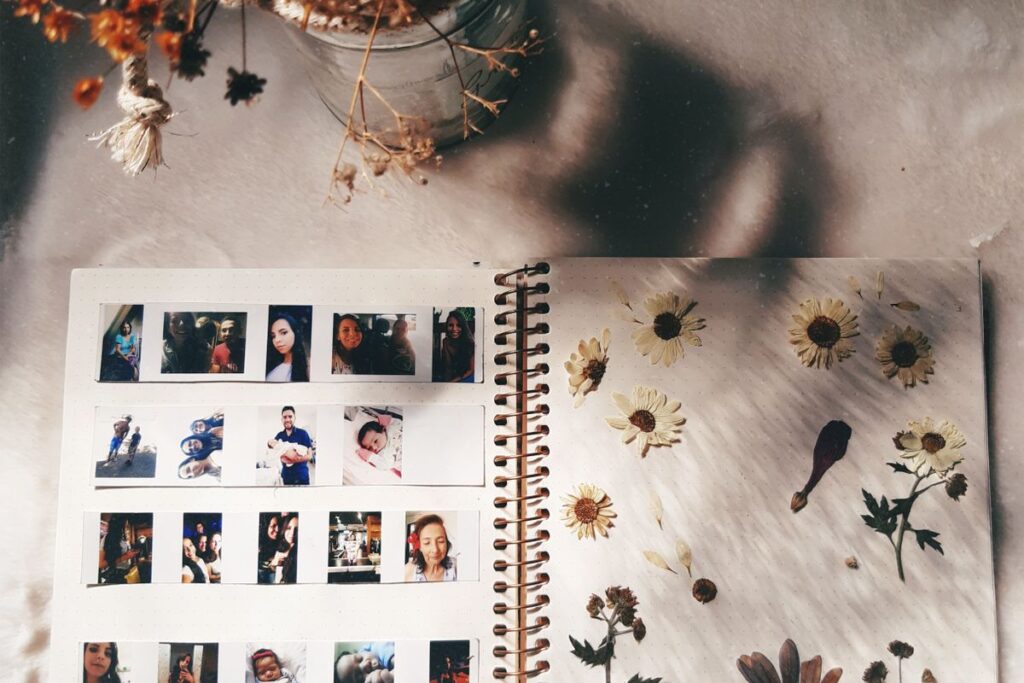
Choose an acid-free scrapbook page, arrange a favorite photograph beside a dried flower, and add a short handwritten date or place name. A transparent archival sleeve can protect particularly delicate petals without gluing them to the page. Avoid bulky stems that might bend the album when closed. Keep the composition spacious, so the individual flower and the memory behind it remain the focus.
4. Add Dried Flowers to Gift Wrapping
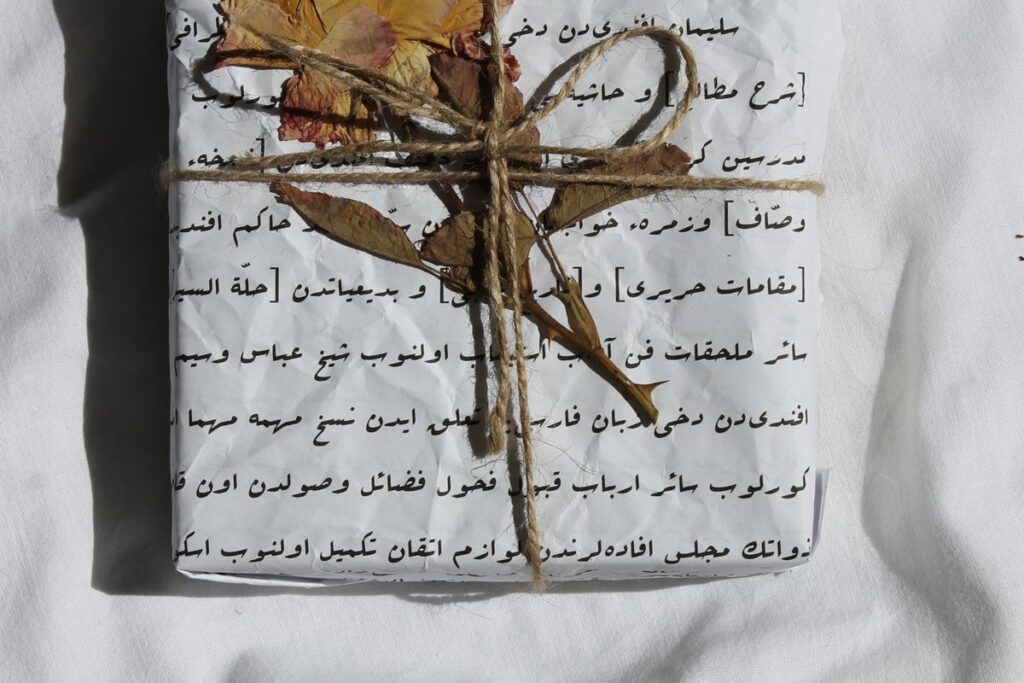
Wrap your gift in plain paper, tie a length of cotton string or ribbon around it, and slide in a fully dried flower sprig. Choose lightweight stems and avoid pulling the string too tight, which can snap brittle flowers. If the present needs to travel, place the floral decoration separately until you are ready to give it. This beginner project uses the natural shape and color of the flowers instead of adding lots of extra embellishments.
5. Design a Pressed Flower Journal Cover
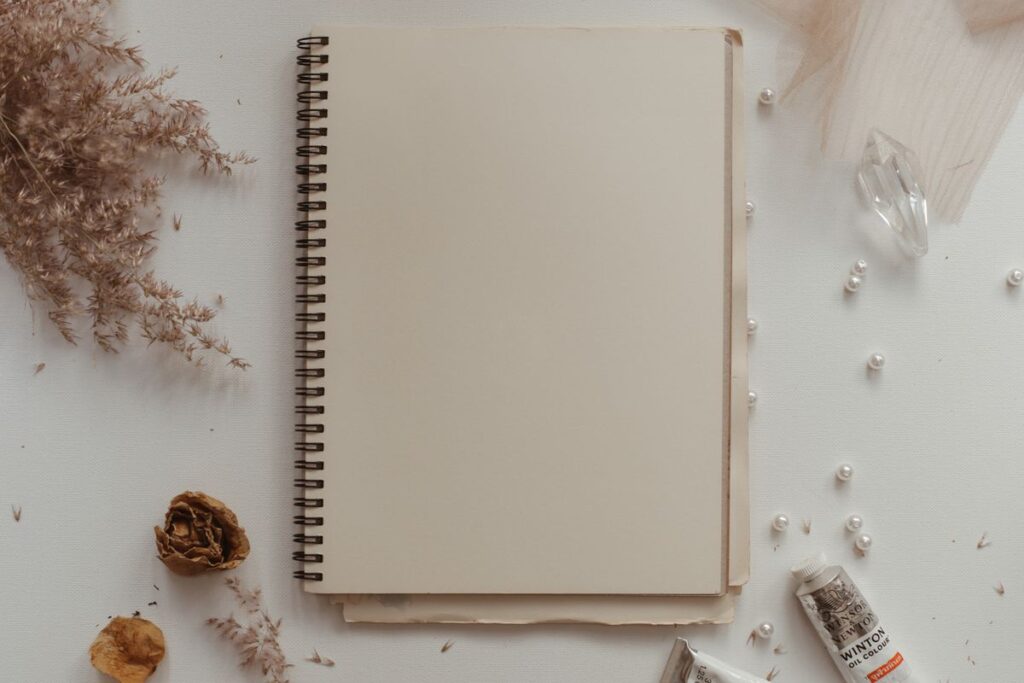
Select a notebook with a smooth cover, plan a small arrangement of completely dry petals and leaves, and attach them with careful dots of paper-safe glue. Allow the cover to dry flat before handling it. If you use your journal daily, slip on a clear protective cover to reduce damage to the delicate design. Keep the flowers away from the corners and spine, where regular opening and carrying could cause the petals to lift.
6. Make a Mini Pressed Flower Collection
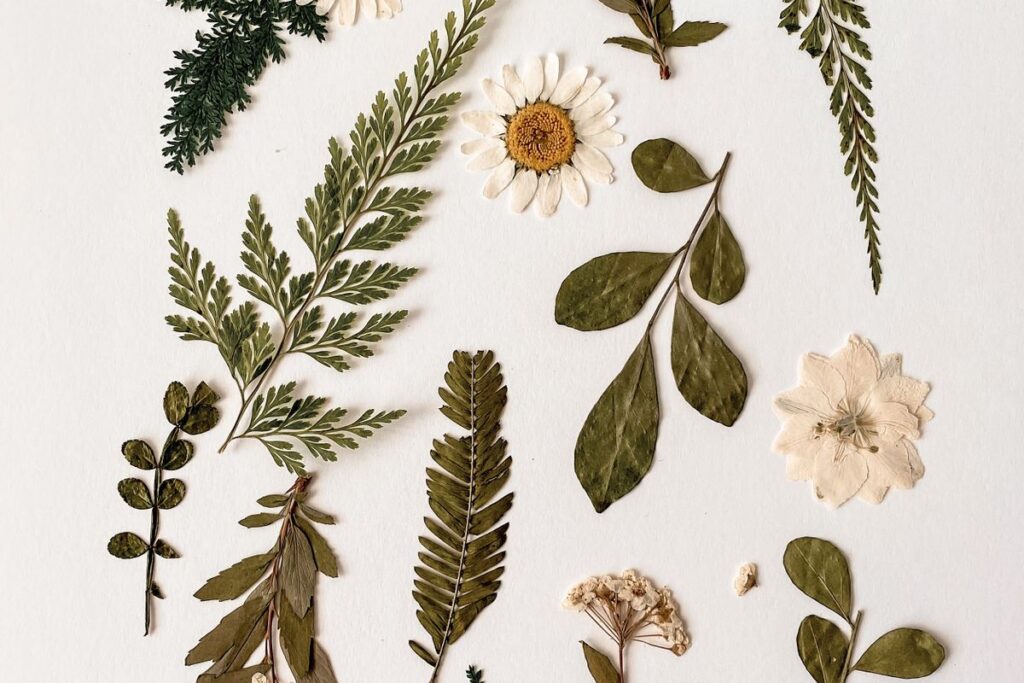
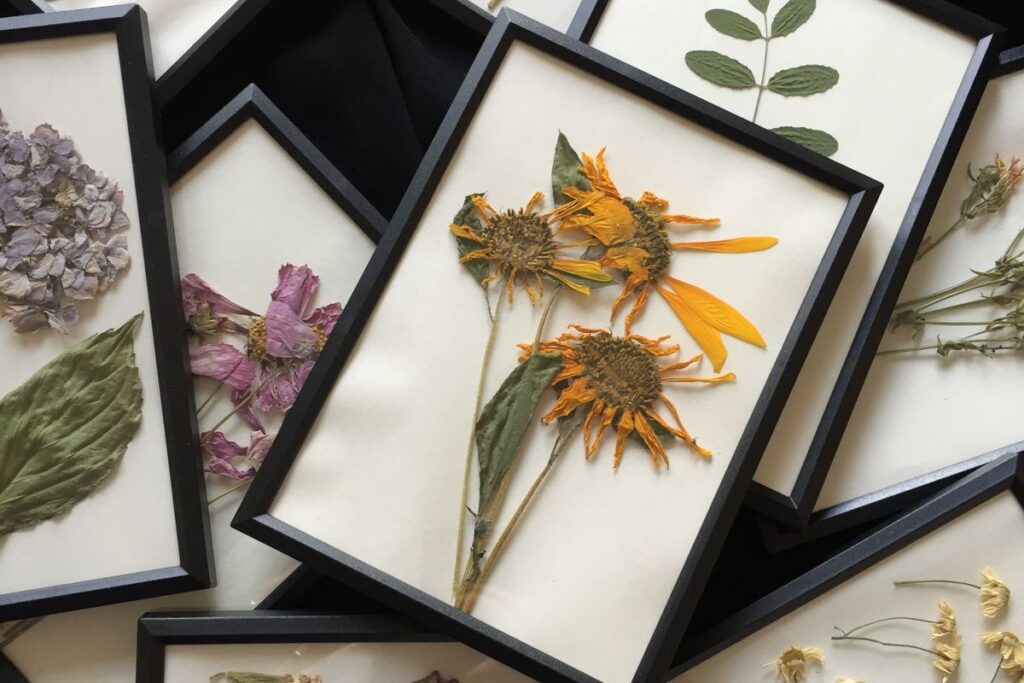
The individual dried leaves and blooms arranged across the pale background in this photograph resemble a small botanical specimen collection. Make your own by placing each pressed plant on a sheet of acid-free paper and adding a simple label with the date and place you collected it. Store finished sheets in a binder or display them together as seasonal artwork. The Natural History Museum recommends collecting only where you have permission and pressing the material flat between paper and heavy books. Avoid picking protected wild plants, and handle brittle stems gently.
7. Pair Botanical Sketches with Dried Flowers
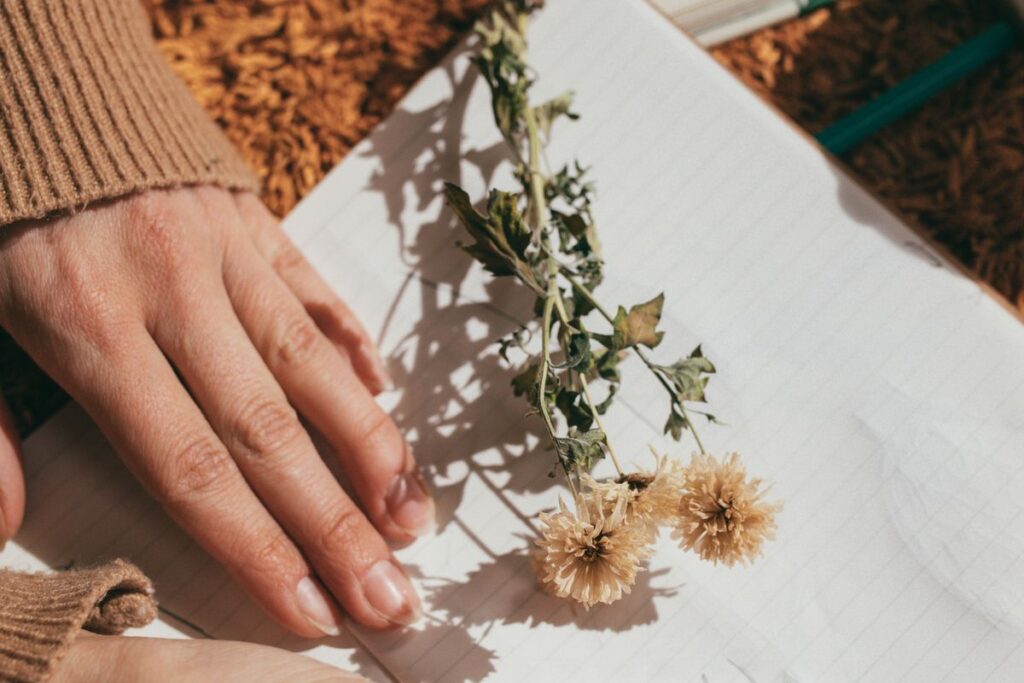
Place a dried flower on your workspace, observe the petal shapes and leaf lines, and draw what you see with a pencil. You can add a small pressed specimen to a facing page once it is completely dry, creating a personal illustrated record. There is no need for a perfect botanical drawing. If you enjoy tactile craft projects as well, explore our beginner air-dry clay ideas for another creative afternoon.
Practical Tips Before You Start
Choose healthy, dry flowers and collect plants only with permission. Thin flowers and small leaves often press more easily than thick blooms. Place them between absorbent sheets inside a heavy book or flower press, then allow them to dry thoroughly before crafting; the process can take two to four weeks with a book, depending on the material and conditions. Follow the Royal Horticultural Society’s pressing instructions for a careful beginner method. Never seal damp flowers, use only small amounts of glue, and store the finished craft away from moisture and strong sunlight.
Final Thoughts on Pressed Flower Crafts
Pressed flower crafts are a beautiful reminder that simple materials can create something meaningful. Begin with a few fully dried blooms, choose one small project, and give yourself time to arrange the details. Whether you make a framed piece, a card or a personal journal, the charm comes from the natural shapes and little imperfections. Keep your finished creations dry, and enjoy the process as much as the result.
Useful Official Craft Resources
For expert-reviewed instructions, read the Royal Horticultural Society’s flower-pressing activity, the Natural History Museum’s how-to guide, and RHS advice on drying flowers. You can also explore our easy air-dry clay projects for more DIY inspiration. The photographs here come from Pexels and are licensed for editorial website use.
You May Also Like
CRAFTS
Easy Air Dry Clay Crafts for Beginners: 7 Beautiful DIY Ideas
Try seven more creative projects that you can make with simple supplies at home.