How to Clean Makeup Brushes Properly: 7 Easy Steps for Beginners
How to Clean Makeup Brushes Properly: 7 Easy Steps for Beginners
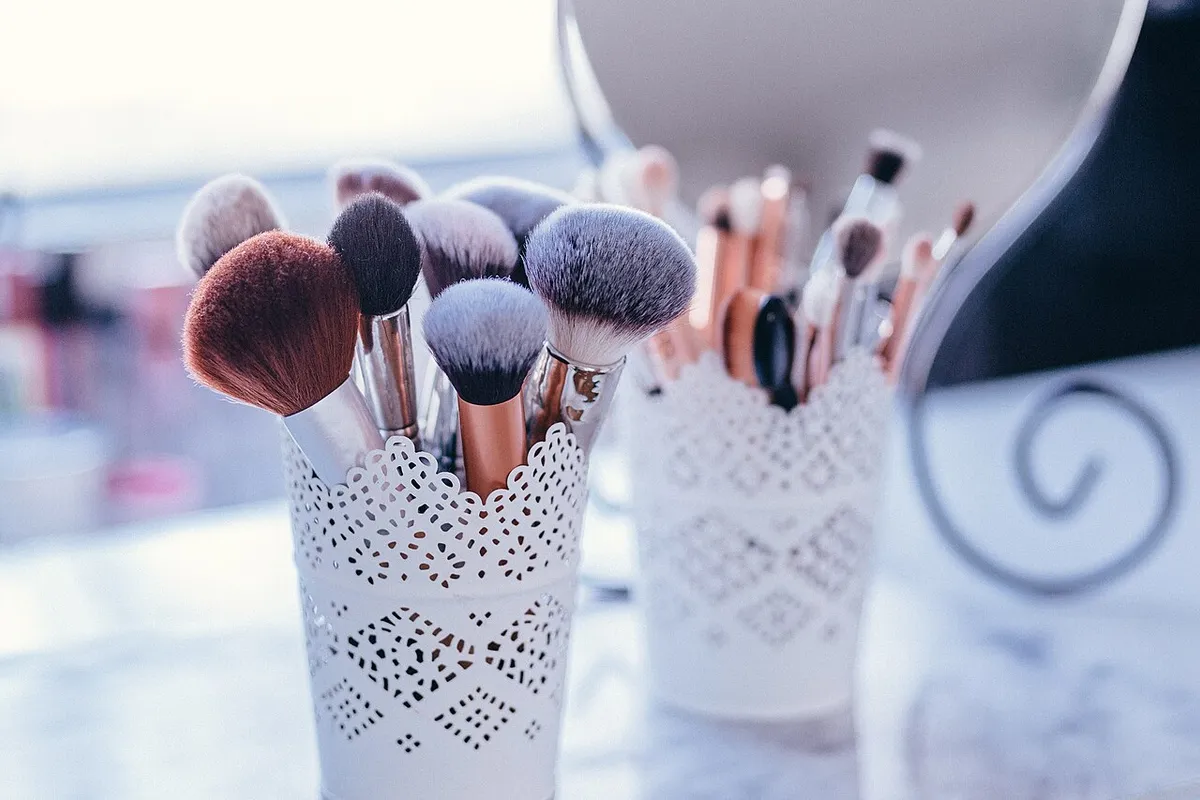
The makeup brushes standing in decorative white holders on this vanity make an inviting beauty scene, but storing your tools neatly is only part of taking care of them. Bristles can collect makeup, skin oils, and residue between uses, so knowing how to clean makeup brushes properly can help keep your routine comfortable and your tools in better condition. This beginner-friendly guide walks through seven gentle cleaning steps, from wetting the bristle tips to drying the brushes flat. The American Academy of Dermatology recommends washing makeup brushes every seven to ten days.
1. Gather a Gentle Cleanser and a Clean Towel
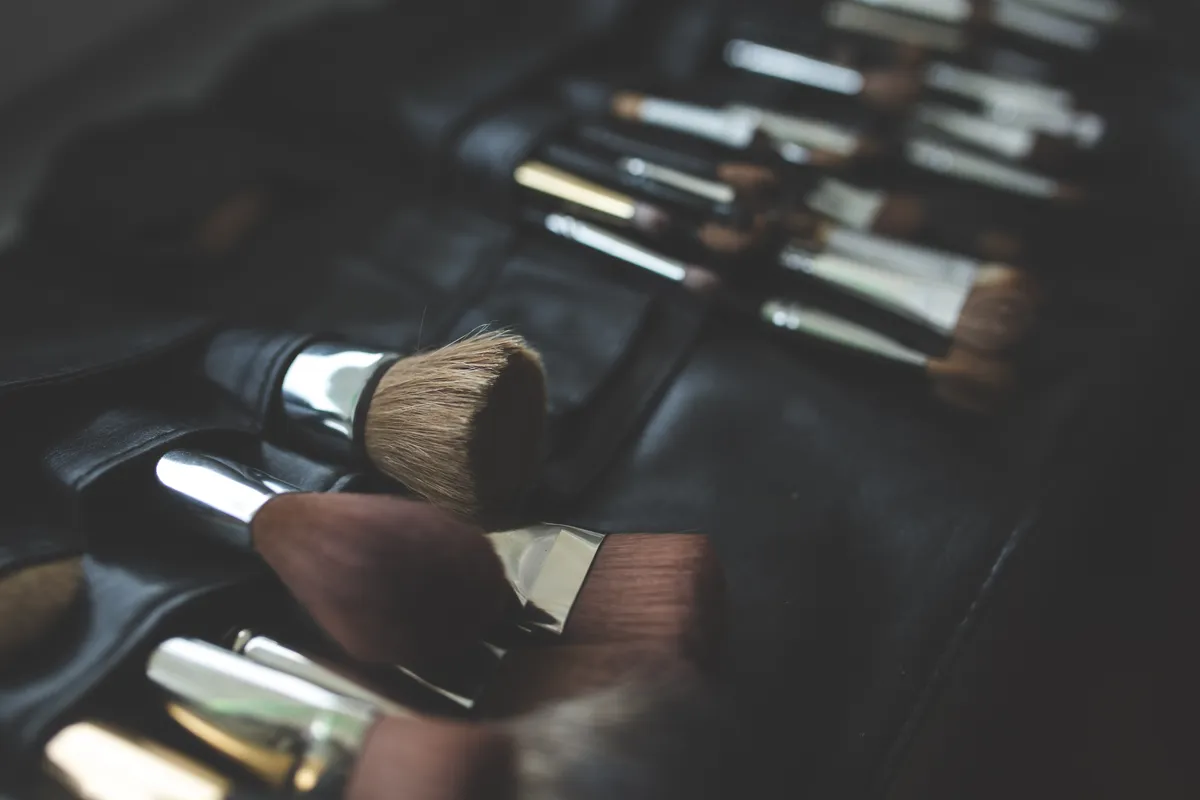
The brushes in the photo vary in size, so start by separating your larger face brushes from the smaller detail brushes. Set out the brushes you actually use, a small bowl, lukewarm water, gentle shampoo, and a clean dry towel. A soft cleanser is enough for routine washing; skip harsh household products that might leave residue or damage delicate bristles. Work near a sink with good light so you can tell when the water runs clear. Keep a separate place for brushes that are already clean, rather than setting them back in a makeup bag that still contains loose powder. If a brush has special cleaning instructions from its manufacturer, follow those first. For everyday beauty organization, see our beauty organization ideas before setting up a permanent brush-cleaning station.
2. Wet Only the Bristle Tips
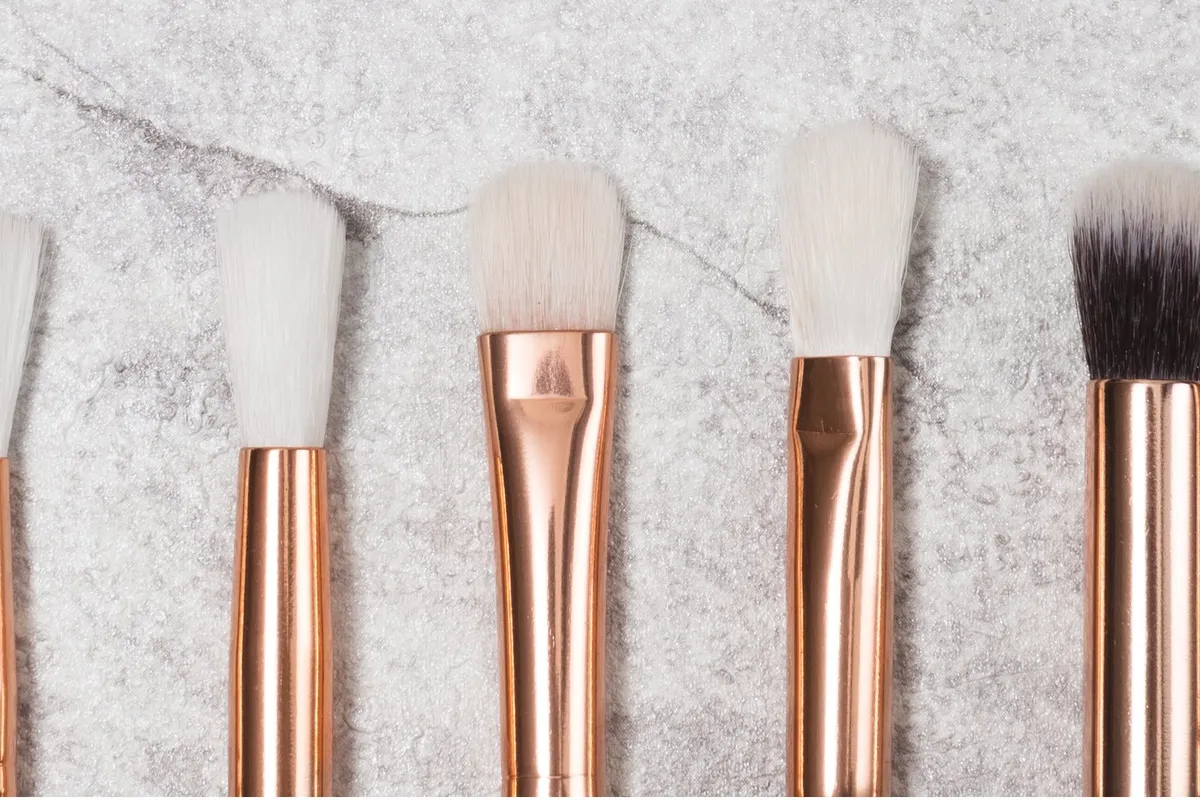
Use the close-up to locate the bristle tips and the metal band where the bristles meet the handle. Hold the brush with its bristles pointing downward and rinse only the tips under lukewarm running water. Do not soak the metal ferrule or the area where the handle meets the bristles: prolonged water exposure can weaken the glue that holds the brush together. Rotate the brush gently so the water reaches the product-filled outer bristles, rather than forcing water through the handle joint. Avoid very hot water. If a brush has dense bristles, spend an extra moment loosening the visible product near the ends while keeping the ferrule as dry as possible. The American Academy of Dermatology specifically recommends rinsing the brush tips rather than submerging the head.
3. Make a Mild Cleansing Solution

Move the brushes away from the makeup palette shown in the photo before mixing the cleanser. Pour lukewarm water into a clean bowl and add a small amount of gentle shampoo. The American Academy of Dermatology describes a bowl of lukewarm water with about a tablespoon of gentle or clarifying shampoo as one workable approach. You do not need a heavily scented solution or a complicated brush-washing gadget. If you have a cleanser recommended by the brush maker, that is another option. The goal is to lift makeup residue without rough handling. For very small eye brushes, use a shallow amount of solution so you can control how far the bristles dip. Do not leave brushes standing in the bowl; move on to cleaning them one at a time.
4. Swirl and Massage Without Scrubbing

The loose powder beside the brushes illustrates the kind of makeup residue to remove. Dip just the bristle tips into the solution and gently swirl them. You can also work the lather through the tips in your clean palm using small circles. Let the movement loosen foundation, powder, and other visible residue; pulling or twisting the bristles is unnecessary. A densely packed face brush may need a little more patient swirling than a fine eyeshadow brush. Take care not to bend the bristles sharply against the bowl. If your brush is visibly shedding or its ferrule feels loose, stop and examine its condition before using it again. Gentle handling helps preserve the shape that makes a makeup brush useful.
5. Rinse Until the Water Runs Clear
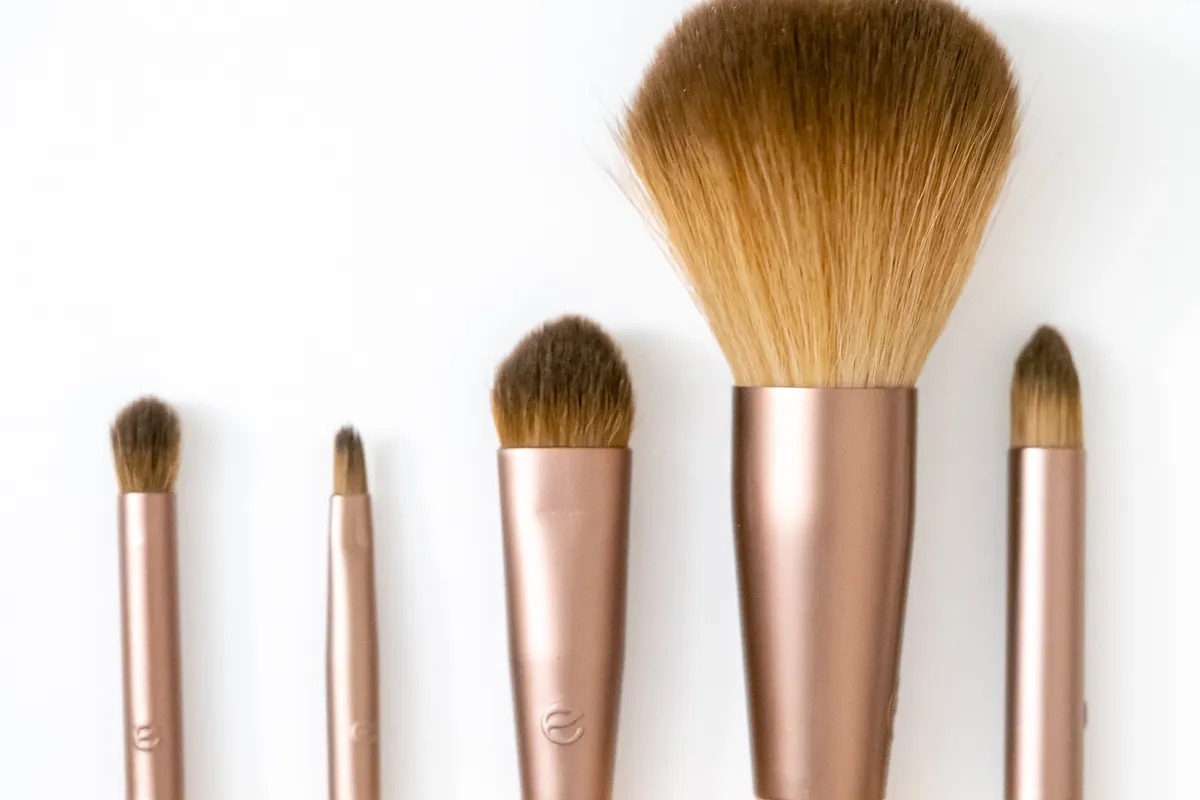
The photo shows several brush shapes. Rinse them one at a time so you can see when each brush runs clear. Point the bristles downward again and rinse the tips under lukewarm running water. Look for remaining suds and tinted runoff, then repeat the gentle shampoo-and-rinse cycle if the water is still cloudy. Makeup trapped deep in a dense brush may take more than one pass. Do not assume a quick surface rinse has removed everything: work patiently until the rinse water runs clear. This is one of the clearest visual checks available at home, although clean-looking water does not make a brush sterile. Avoid sharing your makeup tools with other people, as both the AAD and the FDA advise against sharing makeup.
6. Blot and Reshape the Damp Bristles
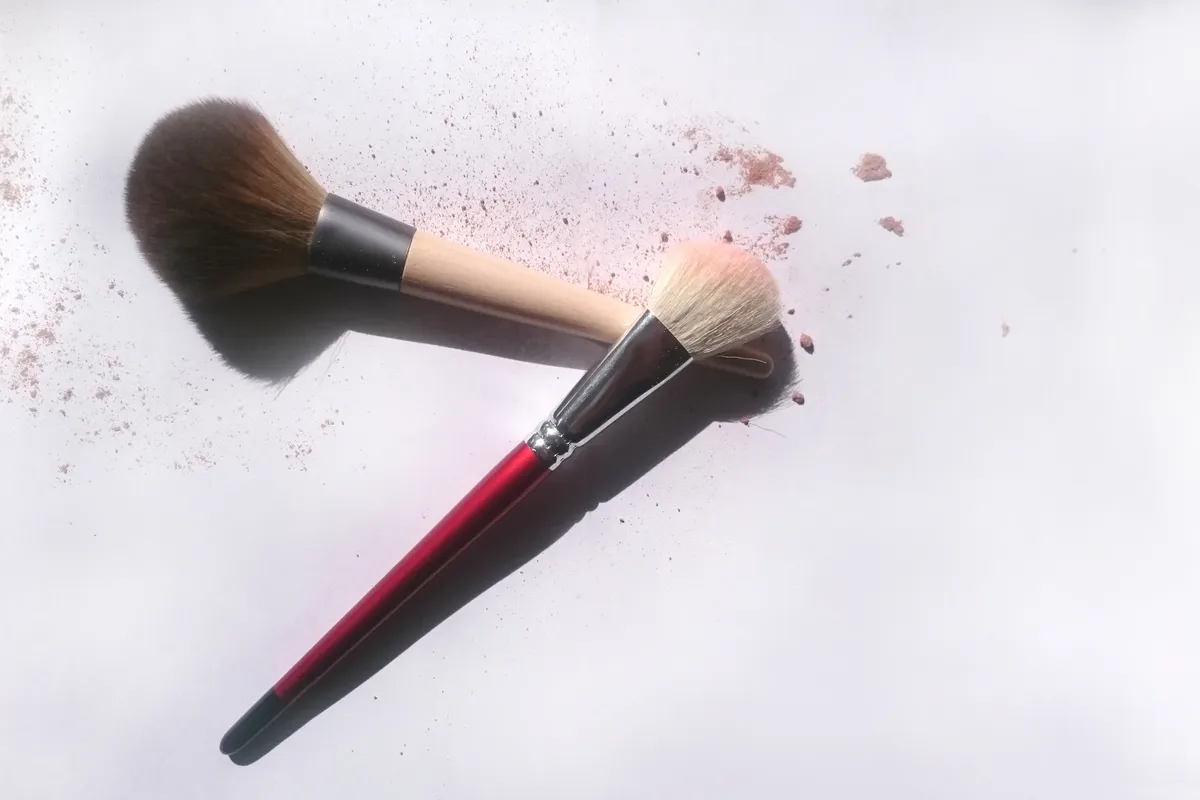
Use the two brush shapes in the photo as a reminder to follow each brush’s original outline when reshaping. Once the final rinse is clear, squeeze the brush gently with a clean, dry paper towel to remove excess moisture. Press rather than wring. Bring the brush tip back into its natural rounded, angled, or tapered shape with your fingers. A little patience at this point is easier on the bristles than vigorous rubbing with a towel. Avoid using a hair dryer or applying strong direct heat to speed up the process, unless the brush manufacturer explicitly permits it. Keep cleaned brushes separate from tools that have not yet been washed, so powder or used makeup does not immediately transfer back onto the damp bristles.
7. Lay Brushes Flat to Dry and Keep a Routine
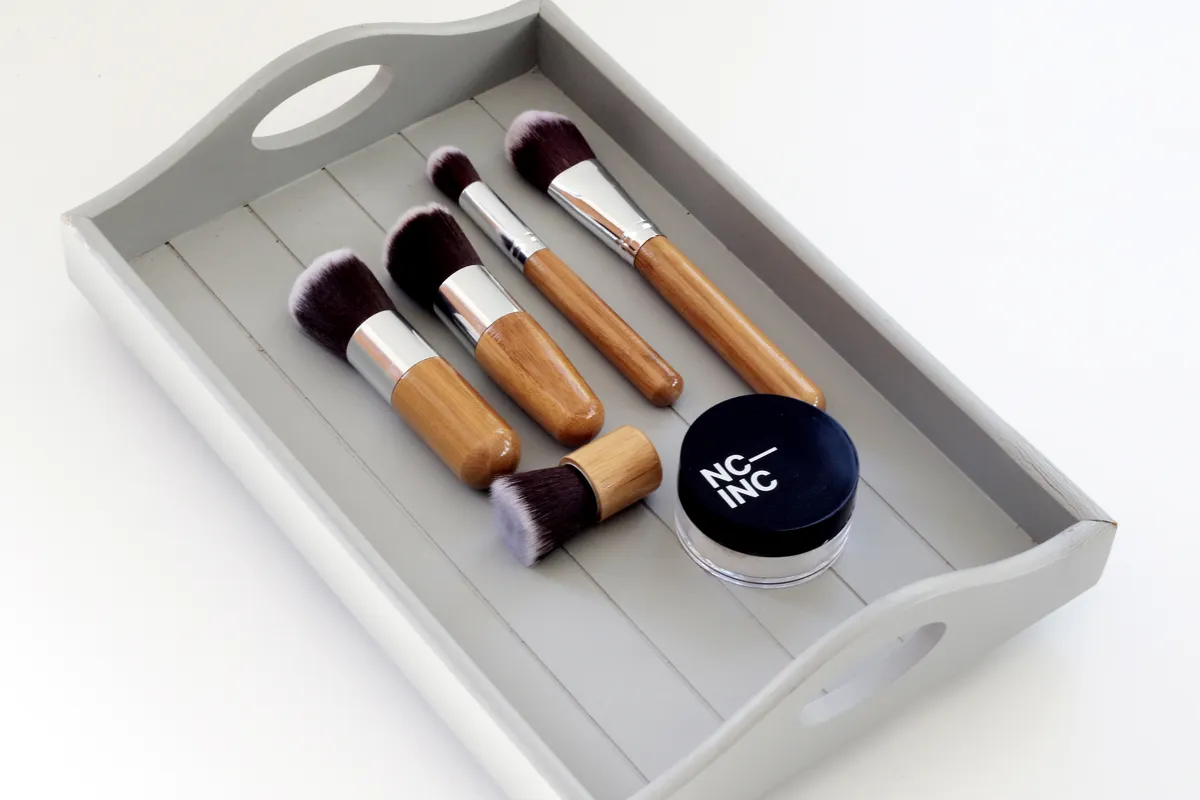
The tray in the photo keeps brushes together after drying. During drying, place brushes horizontally on a clean towel, with their bristle tips hanging just beyond the edge of a counter or shelf where they cannot fall. This arrangement gives the tips room to dry without allowing water to collect inside the handle. Do not stand wet brushes upright in a jar: dripping water can reach the glue at the ferrule. Allow the brushes to become completely dry before putting them in a closed organizer or using them on your face. Set a repeat reminder based on how often you use makeup. The AAD recommends washing brushes every seven to ten days; makeup sponges generally need cleaning after every use. Build this simple habit into your gentle skincare routine so that clean tools are part of the routine, not an afterthought.
Frequently Asked Questions
How often should I clean makeup brushes?
For general makeup brushes, the American Academy of Dermatology recommends washing every seven to ten days. If your tools are heavily soiled or have been used with liquid products, do not wait for a calendar date to deal with obvious buildup. Makeup sponges should be washed after every use.
Can I dry brushes standing upright?
Avoid standing brushes upright while they are wet. Water can travel toward the ferrule and weaken the glue. Lay brushes flat and let the tips extend over the edge of a clean towel-covered counter.
Do makeup brushes need replacing?
Replace a brush if bristles are persistently shedding, its shape is badly damaged, or the handle or ferrule is loose. Washable makeup brushes still need reasonable care; washing does not repair structural damage.
Practical Tips for Keeping Makeup Brushes Clean
Keep a clean towel and gentle shampoo in one spot so washing brushes never becomes a complicated project. Set used brushes apart from freshly cleaned ones, and allow every brush to dry completely before putting it back in a holder or makeup bag. If you use several brushes in one routine, clean them together and lay them out in a single layer to air-dry. These simple habits can help you maintain your makeup tools without buying extra accessories.
Final Thoughts on Cleaning Makeup Brushes
Clean brushes support a tidier, more pleasant makeup routine. Start with mild cleanser and lukewarm water, keep the handle joint dry, rinse until the water runs clear, and dry the bristles flat. Small, repeatable habits are more useful than elaborate products. For more easy self-care ideas, explore our at-home spa night guide.
Useful Makeup Brush Cleaning Resources
For gentle brush-washing steps and guidance about how often to clean brushes, see the American Academy of Dermatology’s brush-cleaning guide. The FDA’s cosmetics safety guidance covers safe makeup habits, while Cleveland Clinic’s cleaning guide provides additional practical advice. Photographs were sourced from Wikimedia Commons with their individual creators and Creative Commons or CC0 licenses credited below the images; licensed photographs were cropped and converted to WebP. This article was prepared with AI assistance.
You May Also Like

BEAUTY
7 Simple Skincare Routine Tips for Beginners
Explore a gentle daily routine with simple cleansing, moisturizing, and sunscreen tips.