How to Set Up a Small Home Coffee Station in 6 Practical Steps
How to Set Up a Small Home Coffee Station in 6 Practical Steps
A small home coffee station can make your favorite drink easier to prepare without taking over the kitchen. These six practical steps cover choosing a compact brewer, organizing mugs, storing coffee properly, keeping tools together, planning cleanup, and making the daily routine enjoyable. The ideas work on narrow counters and shelves, and many can be tried with supplies you already own.
1. Choose a Brewer That Fits Your Counter
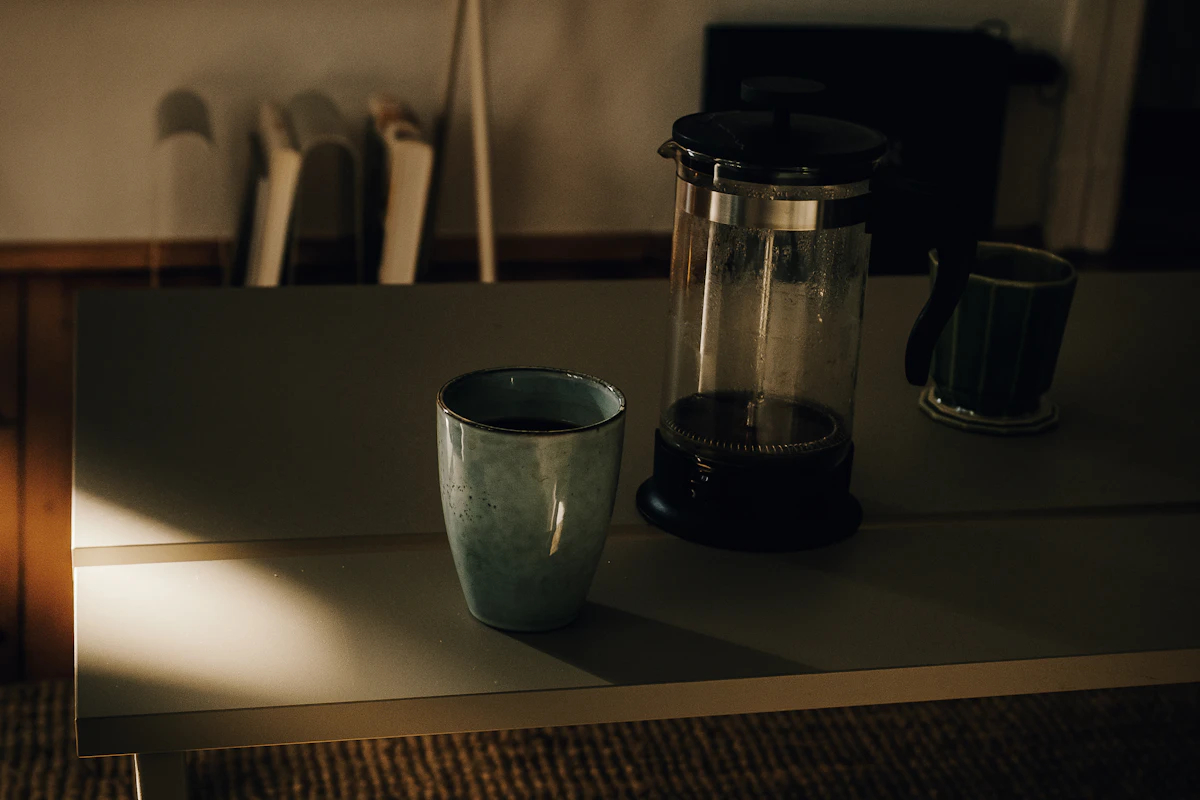
The photograph shows a French press and a mug together on a table. Unlike a large electric coffee machine, this manual brewer can fit into a small kitchen without claiming much permanent counter space. Use the image as inspiration for selecting equipment, not as evidence of a measuring process: checking dimensions is something you do in your own kitchen. Measure the width and depth of the area available, then compare the footprint of a French press, pour-over dripper, or compact drip machine. A French press requires a kettle or another safe source of hot water and a stable, heat-resistant surface while brewing. An electric machine needs an appropriate outlet, space to open its lid, and the clearances specified by its manufacturer; keep cords away from water and walkways. Choose a capacity that suits how many cups you regularly make. The National Coffee Association’s French press guide explains the basic tools and brewing method. Start with one brewer that you enjoy using before adding more gadgets.
2. Keep Everyday Mugs Within Easy Reach

The row of mugs on the wooden shelf shows how a small collection can be stored neatly without covering the worktop. Place the two or three cups used most often close to the brewer and move seasonal mugs into another cabinet. You do not have to install new shelves: a sturdy existing cabinet is fine. If you add hooks, check the mounting surface and rated weight first; avoid hanging heavy mugs over hot appliances. Keep the shelf low enough for comfortable access and leave room to lift out each cup. This is an inexpensive change with an immediate practical payoff. Our small kitchen countertop organization ideas have more ways to keep a shared surface clear. An everyday coffee station should prioritize easy use over displaying every mug you own.
3. Store Beans and Grounds Thoughtfully

The photograph features a glass jar full of roasted beans. It is an attractive display, but clear glass does not protect coffee from strong light. According to the National Coffee Association’s storage guidance, coffee keeps its quality better when protected from air, moisture, heat, and light. Use a clean, airtight, preferably opaque container, or put a transparent jar inside a closed cabinet. Avoid spots beside the oven or in direct afternoon sun. Label the container with the coffee type and date opened, and use a dry spoon or scoop. A small amount that you will use while fresh is generally more practical than a large decorative collection. Whole beans can be ground shortly before brewing if that suits your equipment and schedule. One well-chosen container also saves valuable shelf space.
4. Keep the Coffee Tools Together
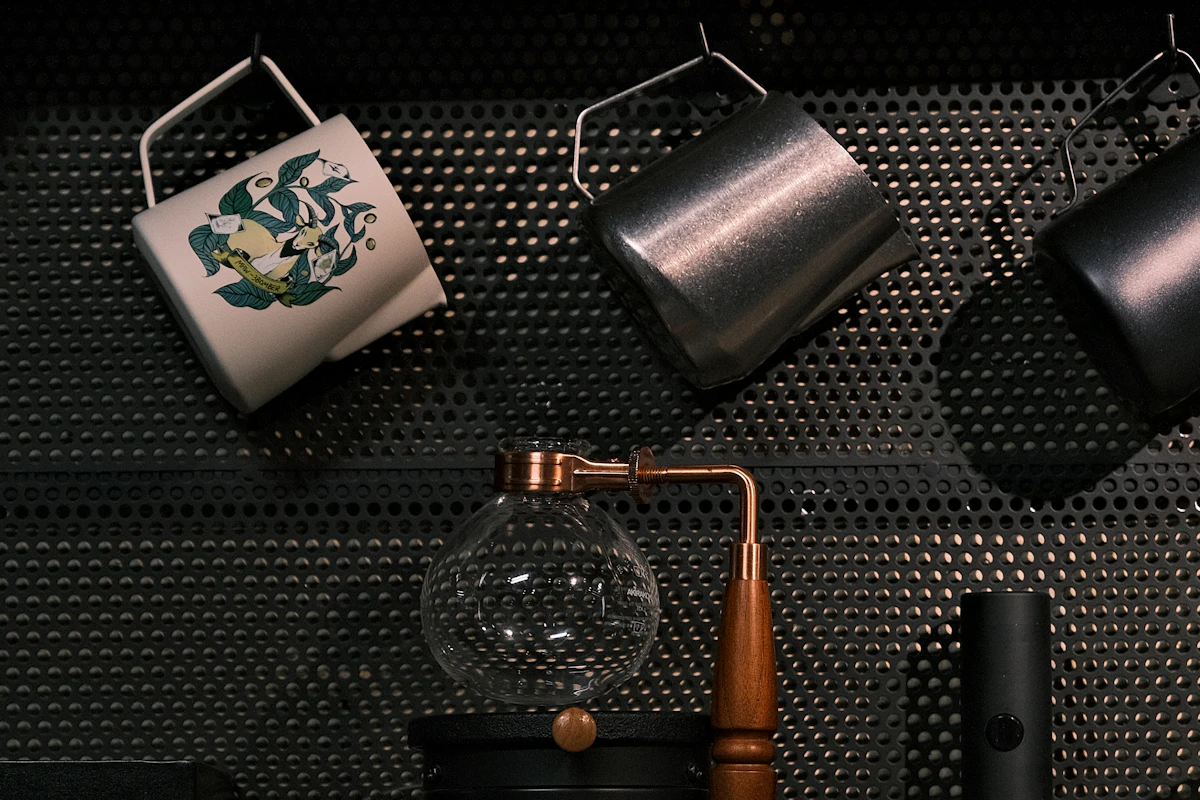
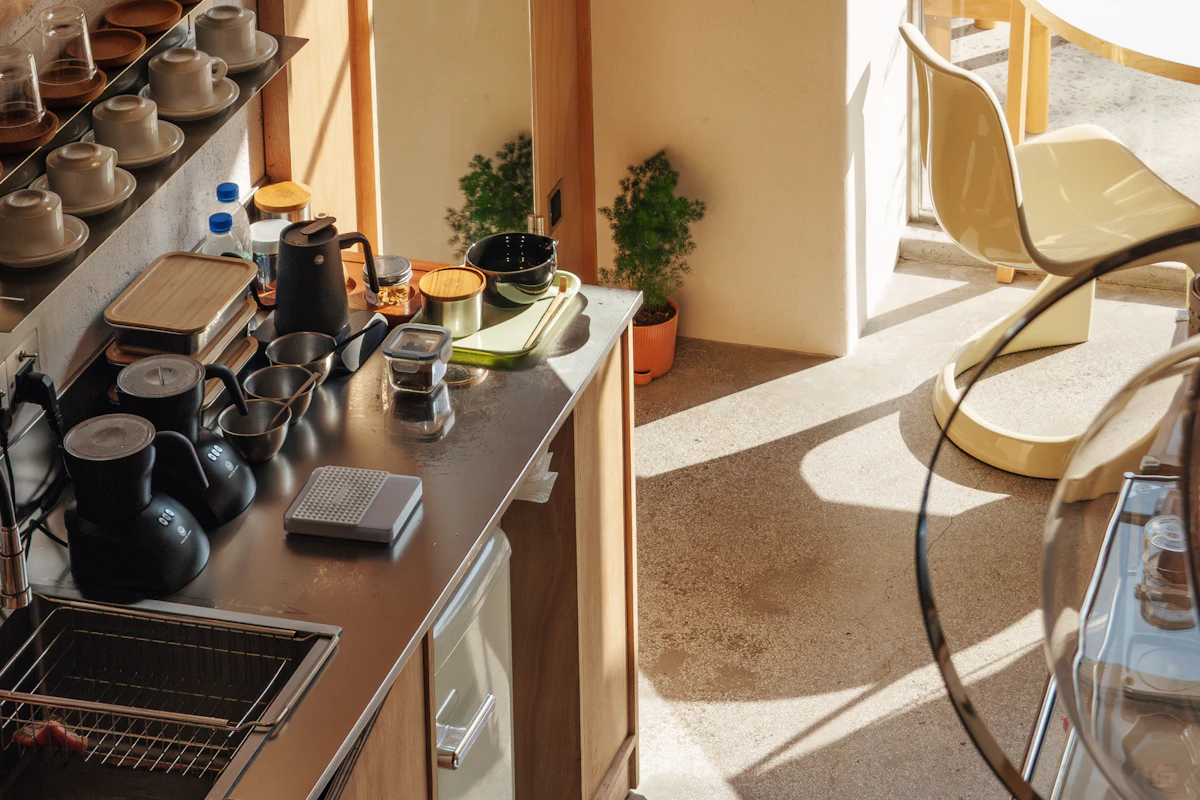
The photograph shows a coffee maker and cups arranged together on a shelf. It illustrates keeping related items near each other, rather than displaying every piece of brewing equipment you may own. At home, put your everyday mugs close to the brewer, then store only the tools needed for your preferred method nearby. A pour-over setup might need a scoop and filters, while a French press might need a spoon and a place for the kettle. If you use an electric machine, position it on a stable surface and follow its manual instead of assuming that any decorative shelf can safely support its weight or heat. Leave vents unobstructed and keep loose paper, towels, and electrical cords clear of hot parts. A shallow drawer divider may hold small accessories, but a cupboard you already own is often sufficient. Make your usual drink once and notice which tools you repeatedly reach for, then arrange those supplies in their order of use. This turns an attractive coffee display into a practical daily station.
5. Make Cleanup Part of the Plan
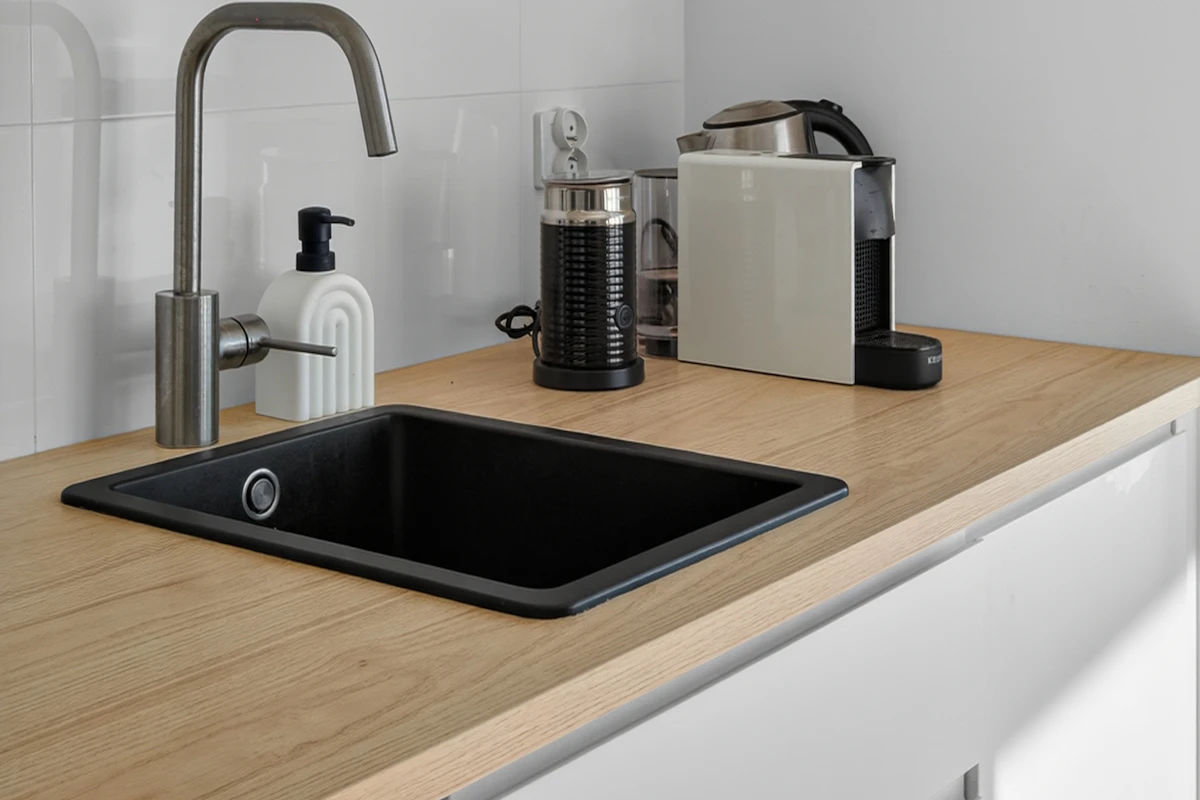
The image shows a coffee machine on a kitchen counter near a sink. It illustrates why washing up should be considered when placing a coffee station, but it does not depict the machine being cleaned. Choose a position that makes it easy to carry used mugs and removable parts to the sink without exposing the machine or its power cord to splashing water. Leave a clear place for a drying towel or rack, but avoid blocking the worktop and appliance ventilation. After brewing, dispose of grounds as instructed, wash removable components according to the maker’s directions, and wipe up visible drips before they dry. For electric machines, consult the manual about reservoir cleaning and descaling; a cleaning solution suitable for one model may not be suitable for another. NSF’s consumer-product guidance includes coffee makers among appliances evaluated for cleanability and highlights the importance of keeping kitchen equipment hygienic. A small cleanup routine after every cup keeps the station easier to use the next morning.
6. Make Your Daily Coffee Moment Simple

The final photograph shows a cup of coffee resting on a table beside a window. It captures the moment after brewing, not a fully equipped coffee station. That distinction is useful when planning your own setup: keep the brewing counter practical, and choose a separate place to enjoy your drink if you have room. A favorite mug, a clear tabletop, and a little natural light can make a short break pleasant without filling the kitchen with décor. If mornings are rushed, check that the brewer is clean and the coffee is stored properly the night before; do not leave perishable milk or other ingredients unrefrigerated. Return washed cups and tools to their places so the station is ready for the next use. The same organized area can work for tea or decaf coffee, using only the supplies you actually need. For more realistic habits, see our gentle morning routine ideas. Try your arrangement for a week, then remove decorative objects that make brewing or cleaning harder.
Practical Tips for a Small Coffee Station
Try using your current setup for a week before buying new organizers. Pay attention to what gets in the way, how far you reach, and what is most inconvenient to clean.
- Measure your counter and check doors, lids, and cabinets for clearance.
- Begin with one brewer, two everyday mugs, one coffee container, and your essential tools.
- Keep water, cords, hot surfaces, and paper supplies safely separated.
- Avoid placing coffee beans in direct sunlight or beside hot appliances.
- Reassess the setup during a simple Sunday reset.
Final Thoughts
A useful coffee station does not have to look like a professional café. A well-sized brewer, a few reachable mugs, protected coffee storage, and a simple cleaning plan can improve even a narrow countertop. Start with the items you own, try the arrangement for several days, and add something new only when it solves a problem.
Useful Resources and Photo Credits
- National Coffee Association: French Press Coffee — brewing equipment.
- National Coffee Association: Coffee Storage — freshness and storage.
- NSF: Consumer Product FAQs — coffee maker cleanability.
- Unsplash License; photo credits: CHEN HENG; Arthur Charles Pratt; Arturo Añez; Wojciech Pacześ; wenbin sia; Piotr AMS; Esra Afşar. All images cropped to landscape 3:2 and converted to WebP.
You May Also Like

7 Gentle Morning Routine Ideas for a Calm Start to Your Day
Explore simple, realistic habits for making the start of your day feel more comfortable.