How to Organize a Small Kitchen Pantry in 7 Practical Steps
How to Organize a Small Kitchen Pantry in 7 Practical Steps
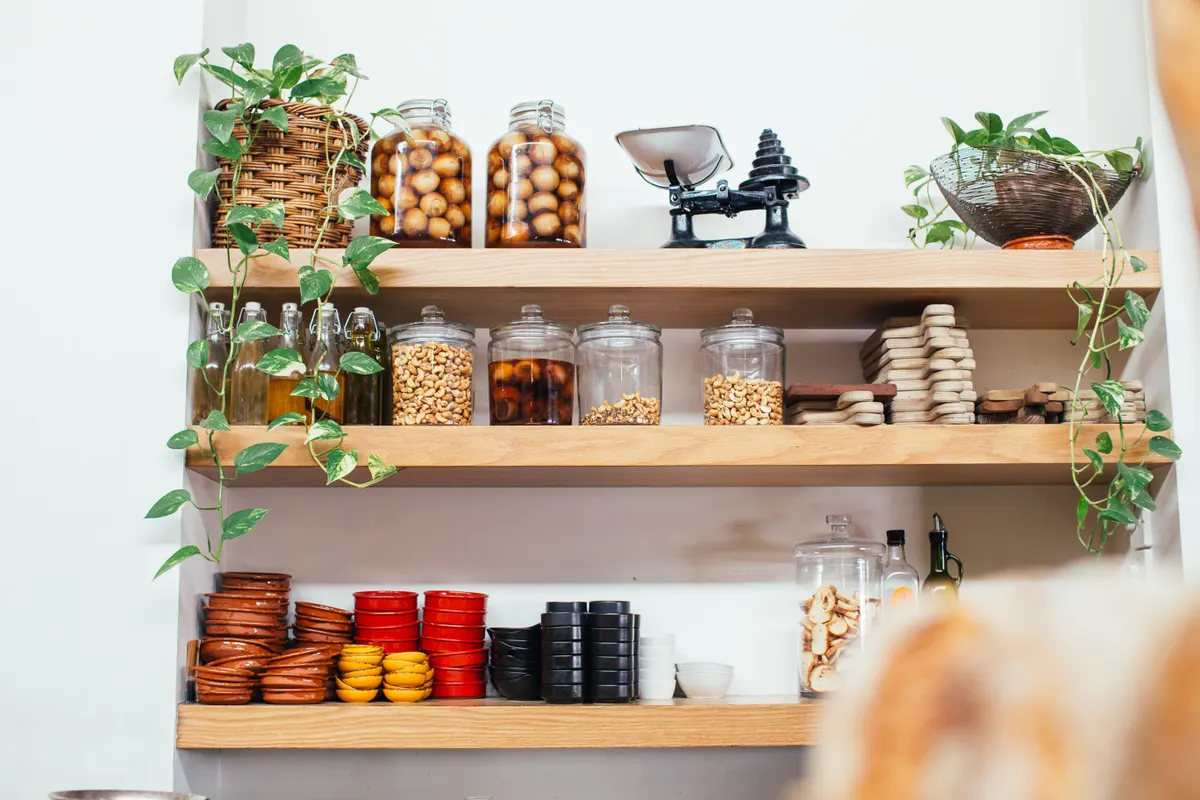
A small pantry can feel crowded even when the household has only a few shelves. The cover photograph shows a warm, practical mix of glass jars, dishes, and greenery, but you do not need a styled kitchen or a row of matching containers to make yours work. This small pantry organization guide walks you through seven affordable steps for cleaning shelves, grouping groceries, keeping baking ingredients handy, and shopping with less waste. The setup works for a narrow apartment cabinet or a modest kitchen pantry, and it is especially useful before a busy season of cooking at home.
In This Article
- 1. Empty One Shelf at a Time and Check What You Own
- 2. Group Similar Foods Into Small, Easy-to-Find Zones
- 3. Reuse Clear Containers Only Where They Actually Help
- 4. Make a Compact Baking and Seasonal-Cooking Zone
- 5. Keep Cans and Packaged Staples Visible, Then Rotate Them
- 6. Check Your Inventory Before Buying Ingredients
- 7. Put Everyday Breakfast and Snack Staples Within Reach
1. Empty One Shelf at a Time and Check What You Own
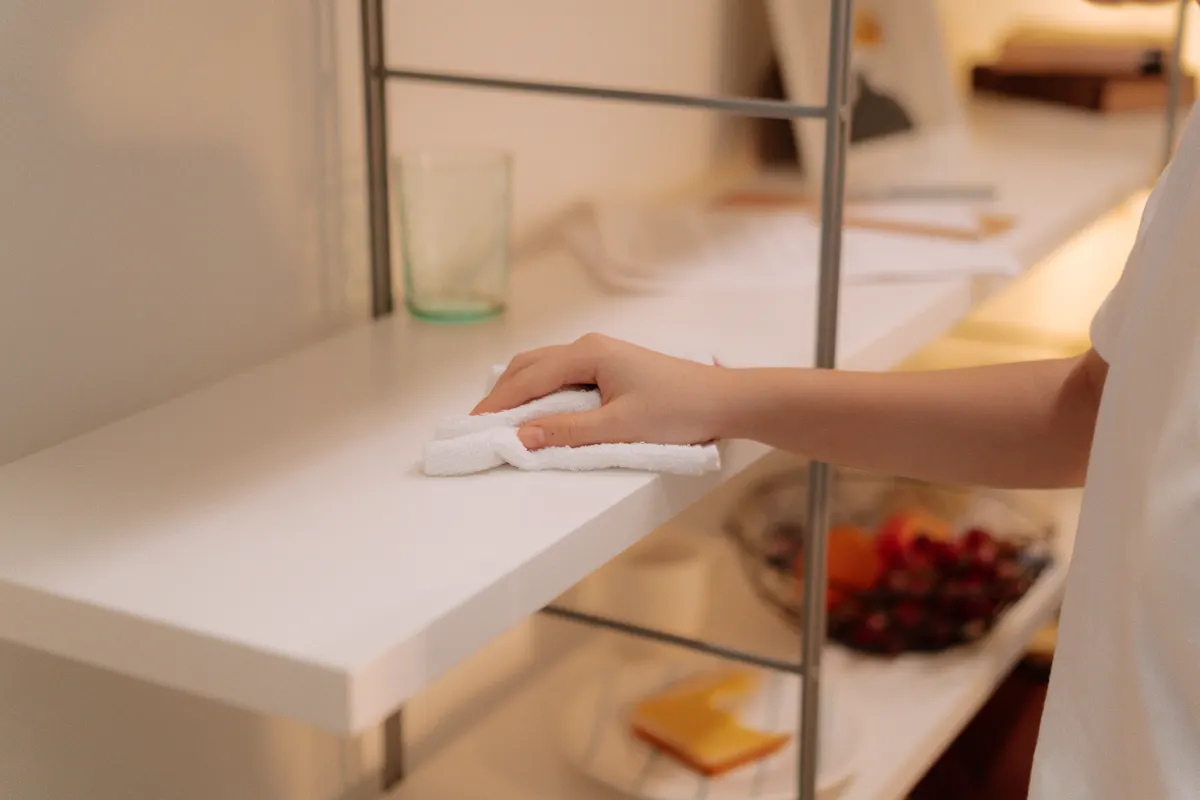
The photograph shows a hand wiping a white shelf with a cloth, which is a useful first step before anything goes back into a pantry. Work on one shelf rather than unloading the entire kitchen if counter space is limited. Set shelf-stable food on a clean table, group unopened packages, and look for spills, damaged packaging, pests, or items you no longer use. Wipe the shelf with a cleaner appropriate for its material, then allow it to dry fully. The University of Illinois Extension recommends keeping pantry storage dry and separating food from household cleaning products. Before replacing supplies, measure the clear width, depth, and height of each shelf, including any door hinges that reduce usable space. Those measurements matter more than how an organizer looks in a product photograph. If you find food in a swollen can, or packaging with signs of contamination, follow food-safety guidance instead of returning it to the shelf. A small, clean starting area makes every next decision easier.
2. Group Similar Foods Into Small, Easy-to-Find Zones
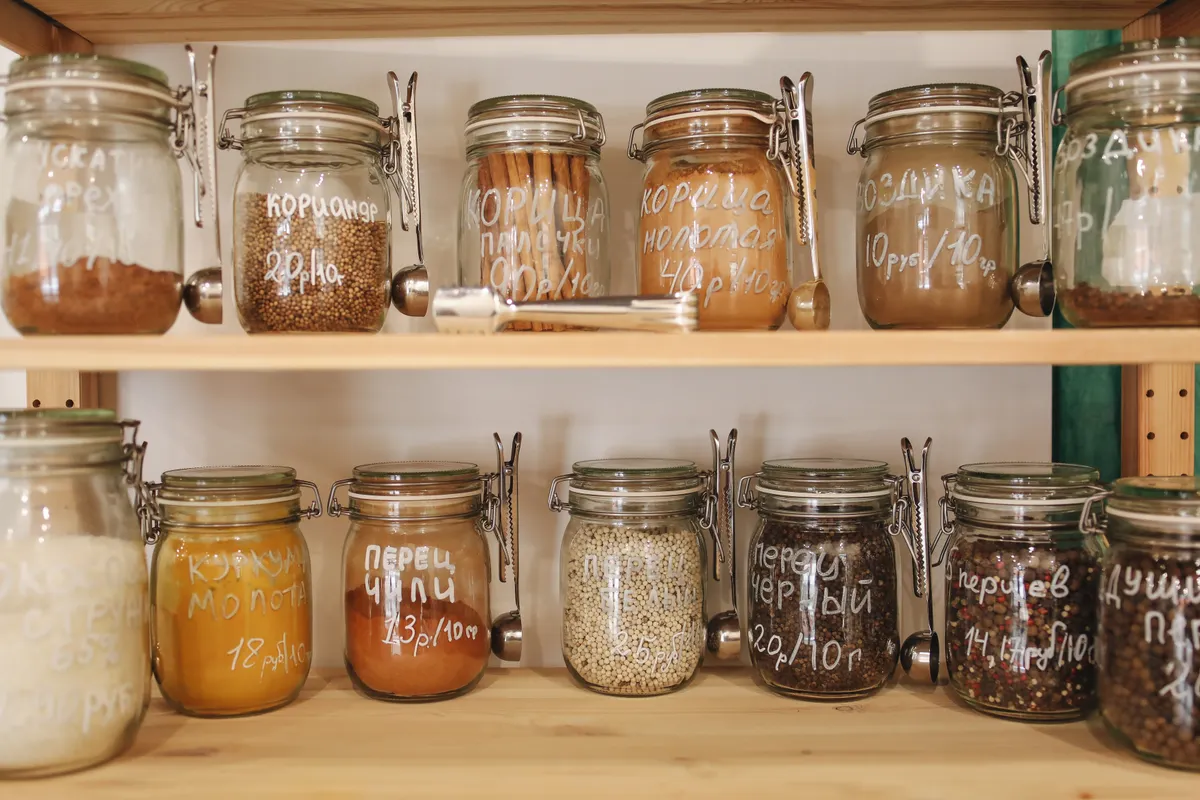
In the photograph, two wooden shelves hold glass jars of different spices and dry ingredients. Many jars have handwritten labels, making their contents easier to recognize at a glance. The useful lesson is to give your own groceries predictable places rather than copying every container in the picture. On your own pantry shelf, group breakfast food, rice and pasta, canned vegetables, sauces, baking ingredients, and extra snacks into practical zones. Keep frequently used ingredients at a comfortable reach and reserve higher or lower shelves for lighter, less-used supplies; take care with anything heavy or breakable. If there is only a narrow cabinet, designate parts of shelves rather than buying seven separate bins. A strip of removable tape inside the door can serve as an inexpensive zone key while you test the arrangement. Consider keeping bulky dishes elsewhere if they crowd your food storage. The same idea of reducing visual clutter also works for a small kitchen countertop: fewer items in view help you see the space you have. The best zones reflect what you cook, not categories copied from a showroom.
3. Reuse Clear Containers Only Where They Actually Help
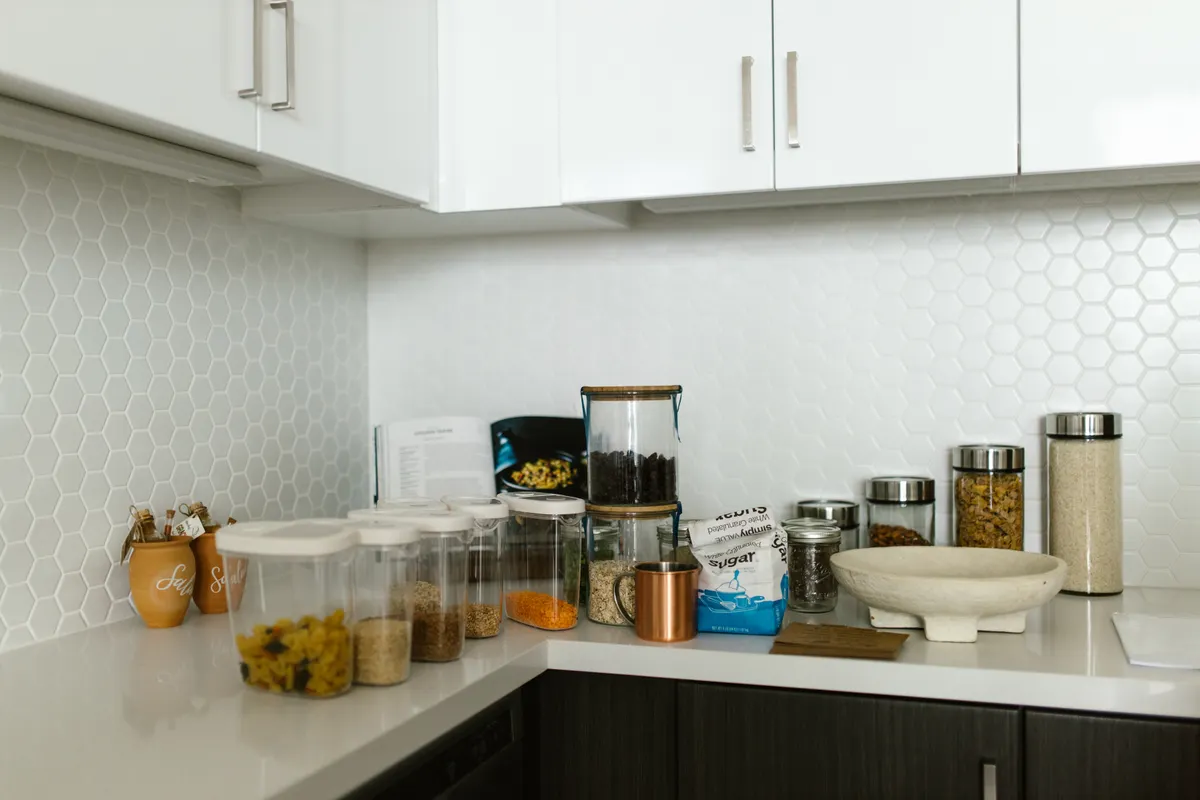
The photo shows a clear plastic container beside several glass jars on a kitchen counter. Transparent containers can make the amount of an everyday ingredient easy to see, but there is no reason to decant every bag or box in your pantry. First check whether a package already reseals well; a sturdy original package may need nothing more than a basket to keep it upright. For food that regularly spills, choose an appropriately sized food-safe container with a secure lid. If you transfer ingredients, keep the original package information or copy the product name, cooking directions, relevant allergen information, and date onto a label that stays with the food. Measure container height before purchasing because tall jars can waste space in a low cabinet. Reuse clean jars only if they are appropriate for the intended food and easy to wash. Do not assume a decorative jar is airtight. Position heavier glass containers on stable lower shelves, particularly where children can reach. One or two useful containers are often a better investment than an expensive matching set.
4. Make a Compact Baking and Seasonal-Cooking Zone
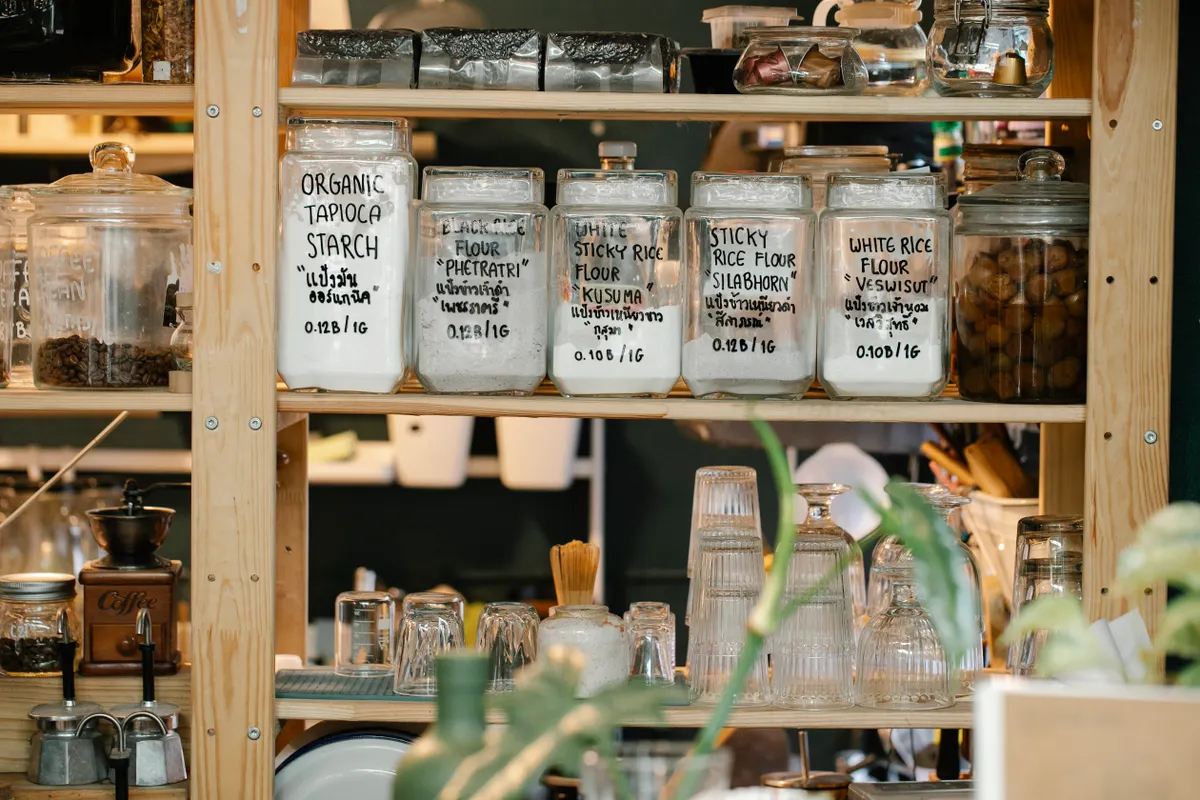
Several glass jars of dry foods sit on wooden shelves in this photograph, with other glassware nearby. Use that idea to gather the baking ingredients you truly need in one area before a busy cooking weekend: flour, sugar, baking powder, oats, and any regularly used spices. A small washable bin can hold the unopened packets and small boxes that otherwise tip over behind larger jars. Keep ingredient labels and dates visible, and check instructions on each package before deciding where it belongs. If you cook only occasionally, store this zone on a less accessible shelf and move it down when you need it. A budget-friendly alternative is to reuse one clean shoebox-size basket already at home, as long as food remains in its own sealed, food-safe packaging. Leave enough room to lift containers out without knocking their neighbors over. When planning seasonal meals, a single baking zone makes it easier to check what is missing before you shop; it does not require a large walk-in pantry or custom cabinetry.
5. Keep Cans and Packaged Staples Visible, Then Rotate Them
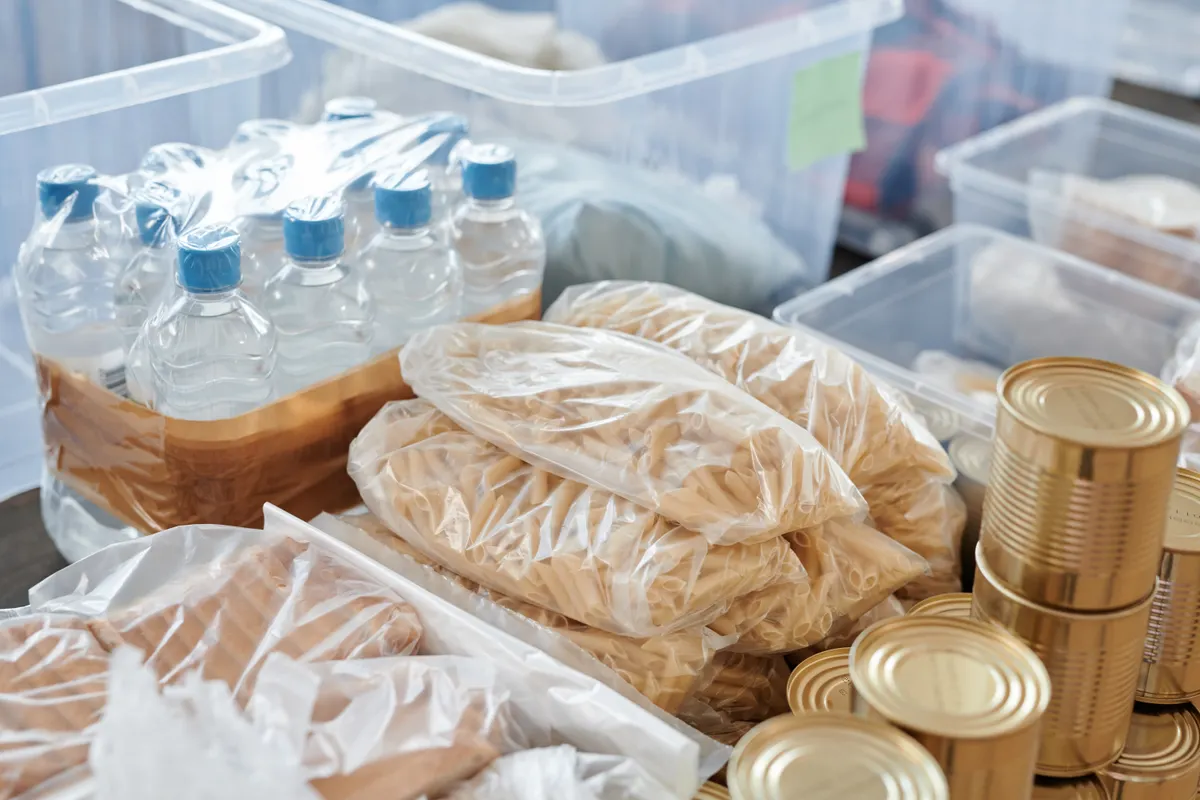
The photograph shows sealed cans, bags of dry pasta, and bottled water grouped in clear storage bins. It shows the supplies before they are put away, not a finished pantry shelf. At home, these everyday staples can become hard to track when newer purchases cover older ones. Store cans where labels can be read without moving an entire stack, and put newer purchases behind comparable older items when practical. The University of Illinois Extension’s pantry guidance calls this the first-in, first-out method and recommends a cool, dry storage area. Do not crowd shelves with tall, unstable towers of heavy cans; check the shelving manufacturer’s weight limits and use a stable arrangement. Keep pantry foods away from household chemicals, and do not store them under a leaky sink. Be cautious about damaged cans: swelling, leaks, or compromised seals can signal unsafe food, so do not taste contents to decide. A plain cardboard divider or small existing basket can keep packets upright and separate from cans without hiding the labels you need.
6. Check Your Inventory Before Buying Ingredients
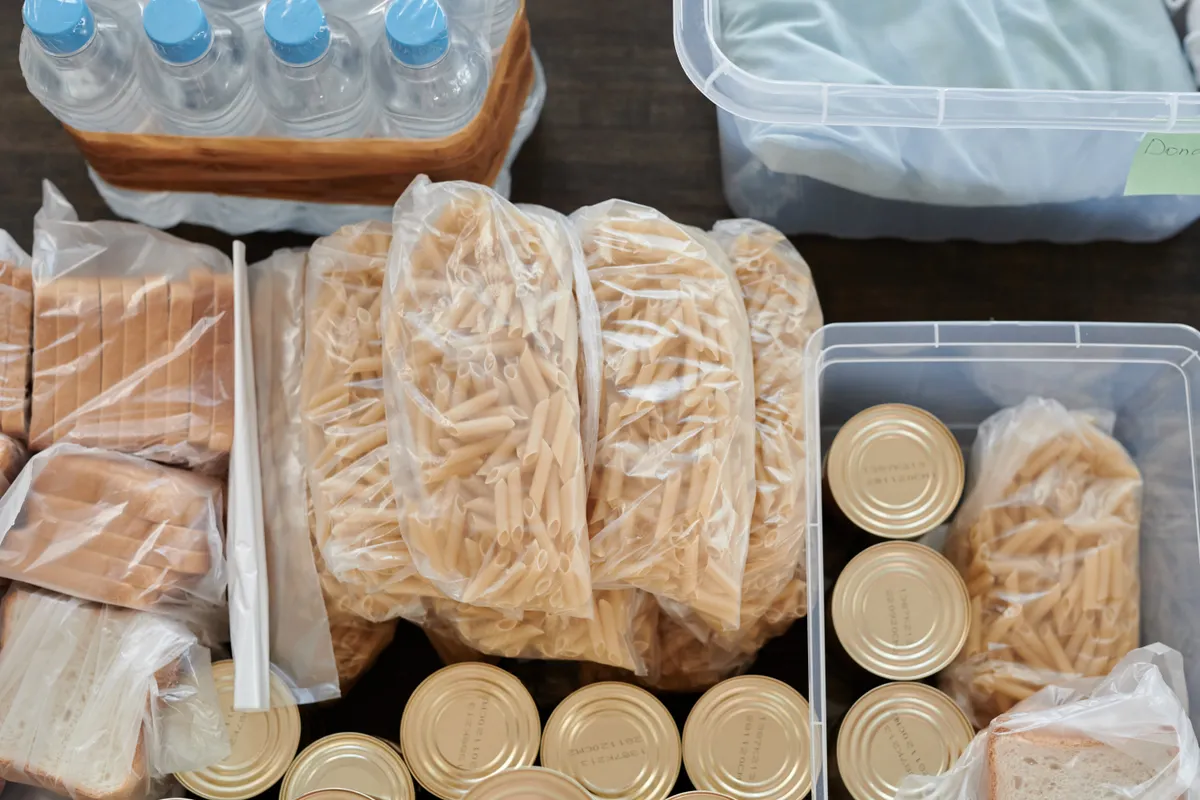
The overhead photograph shows bagged dry pasta, canned food, sliced bread, and bottled water gathered together. Laying out what you have gives you a clear starting point for a pantry inventory. Do a smaller version of that check before your next grocery run: look at the foods in the pantry, decide which meals you want to make, then list only the missing ingredients. For seasonal cooking or hosting, write the main dish and side dishes first, check portions realistically, and avoid buying duplicates just because an item is on promotion. The U.S. Food and Drug Administration recommends planning meals, checking existing food, and shopping from a list to help reduce waste. A note on your phone or the back of an envelope is enough; there is no need for a new app. Keep a small note near the pantry for staples you finish during the week, such as oats, rice, or canned tomatoes. When you unpack groceries, store refrigerated or frozen items promptly according to their packaging instead of leaving them on the counter while you rearrange shelves. The inventory step saves space by preventing unnecessary extras.
7. Put Everyday Breakfast and Snack Staples Within Reach
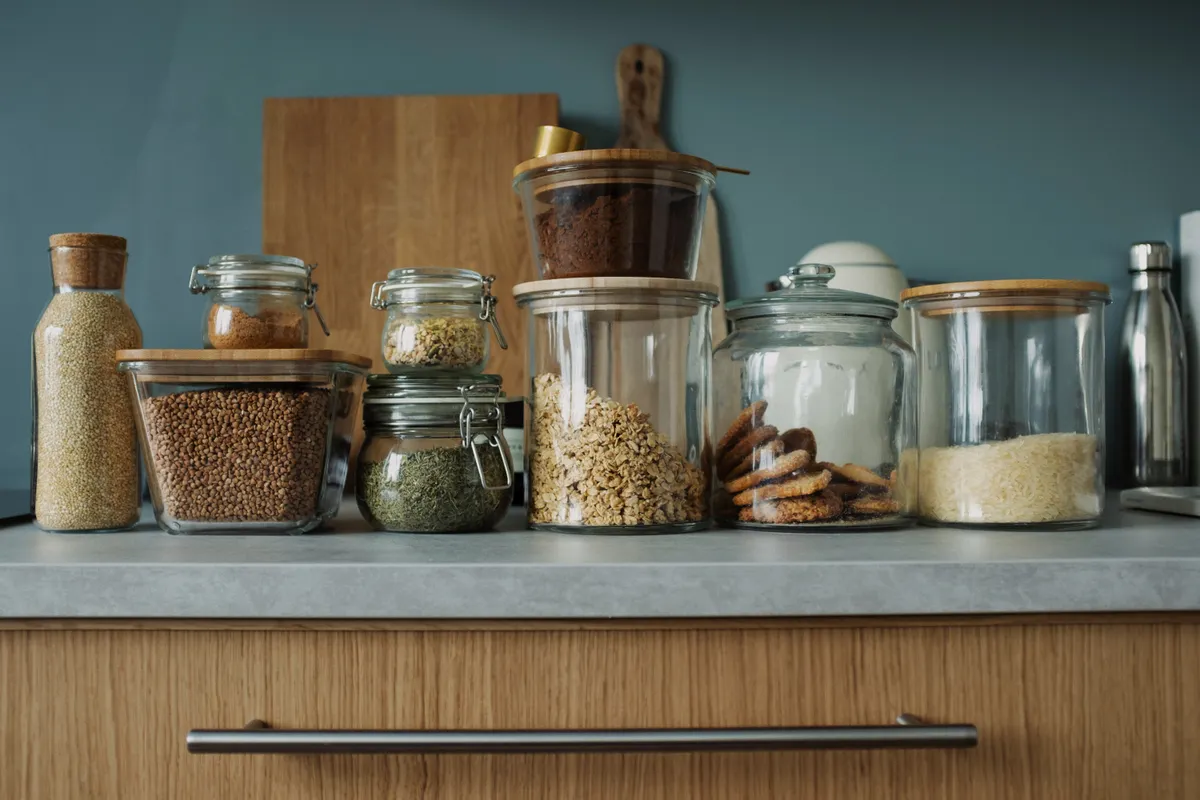
The final photograph shows glass jars containing everyday pantry foods such as oats and cookies on a kitchen counter. Treat that arrangement as a small staging example, then give your own breakfast staples a permanent, reachable home inside the pantry. Place the cereal, oats, nut butter, or sealed snack packages you use most often together on one front section of a shelf. Check whether small children can safely reach the items intended for them, and keep glass containers and heavy cans out of hazardous positions. If a deep shelf makes things disappear at the back, use one shallow existing bin that you can pull out comfortably rather than several tall organizers. Avoid leaving perishable foods at room temperature merely for convenience; the FDA’s storage guidance stresses following refrigeration instructions. Revisit the zone after a week: if nothing is being used from a container, move it to a more suitable place. The goal is a pantry that makes ordinary mornings simple as well as busy holiday cooking days.
Practical Tips for Small Pantry Shelves
You can organize a small food cabinet without buying a complete storage system. Test your arrangement with the baskets, jars, and boxes you already have; only buy something when you know the size and purpose it needs to serve.
- Measure every shelf: Note the usable width, depth, height, and clearance around hinges before choosing organizers.
- Prioritize visibility: Keep labels and package instructions readable, especially for canned foods and allergens.
- Protect food quality: Store shelf-stable foods in a cool, clean, dry place and follow each product’s instructions after opening.
- Use affordable substitutes: Reuse an existing shallow basket for snack packets or small boxes; avoid transferring food into decorative, non-food-safe containers.
- Try a five-minute weekly check: Return items to their zones, write down a nearly finished staple, and move older comparable groceries forward.
Free printable: Keep a paper copy of the seven steps and track pantry staples with our Small Pantry Organization Checklist (PDF). Print it before organizing or use the inventory table to avoid buying duplicates.
Final Thoughts
An organized pantry is useful when you can find what you own, safely reach the items you use, and shop without bringing home unnecessary duplicates. Start with one clean shelf, make a few realistic food zones, and keep the system simple enough to maintain after a busy day. A few well-placed containers and a short inventory habit can serve a small kitchen better than an expensive, picture-perfect pantry makeover.
Useful Resources and Photo Credits
- University of Illinois Extension: Room Temperature Storage — dry pantry storage, food separation, and rotating supplies.
- U.S. FDA: How to Cut Food Waste and Maintain Food Safety — shopping lists and food-date guidance.
- U.S. FDA: Are You Storing Food Safely? — appropriate food storage and refrigeration.
- Pexels License — authorizes editorial and commercial reuse of the original photographs with applicable limits.
- Image creators: Rachel Claire; cottonbro studio; Polina Tankilevitch; RDNE Stock project; Sarah Chai; Julia M Cameron; Julia M Cameron; ready made. All photographs cropped to 3:2 and optimized as 1200 × 800 WebP.
You May Also Like
Home
7 Beautiful Small Kitchen Countertop Organization Ideas
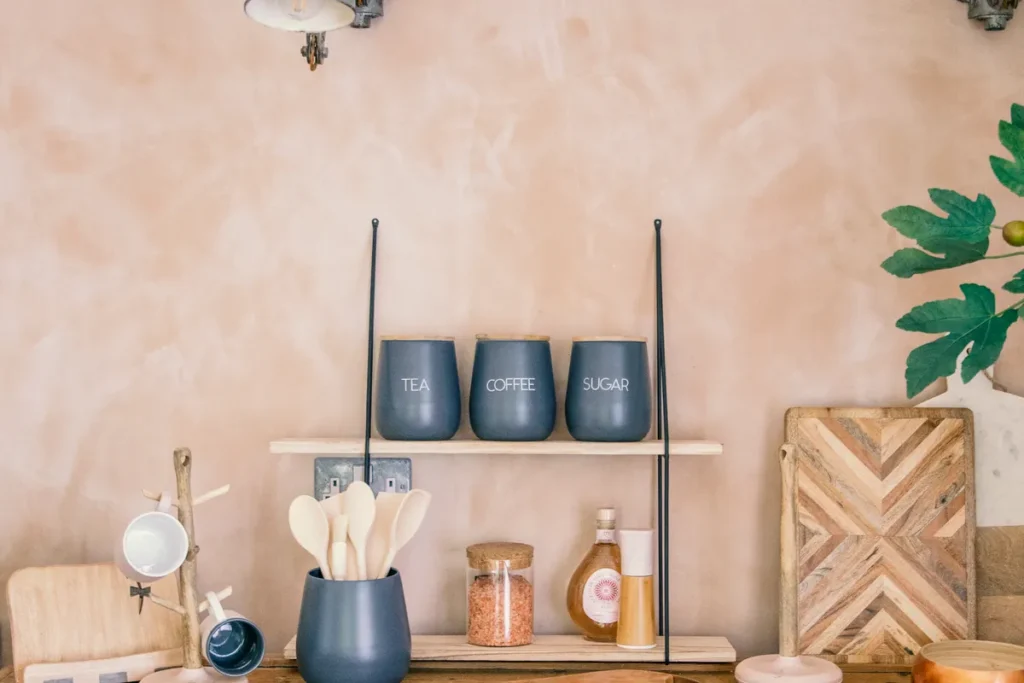
Give the counters around your pantry the same practical treatment, with everyday tools in reach and unnecessary clutter put away.